How to change a WordPress theme from the database using PHPMyAdmin
After making changes to your WordPress website plugins and setup your website may break due to incompatibilities with your current theme, resulting in the inability to access your WordPress dashboard. In that case you could try changing the active theme for your website to a different one.
Before making changes to your website’s database make sure that you have created a backup of your WordPress which you can use to restore the website if needed.
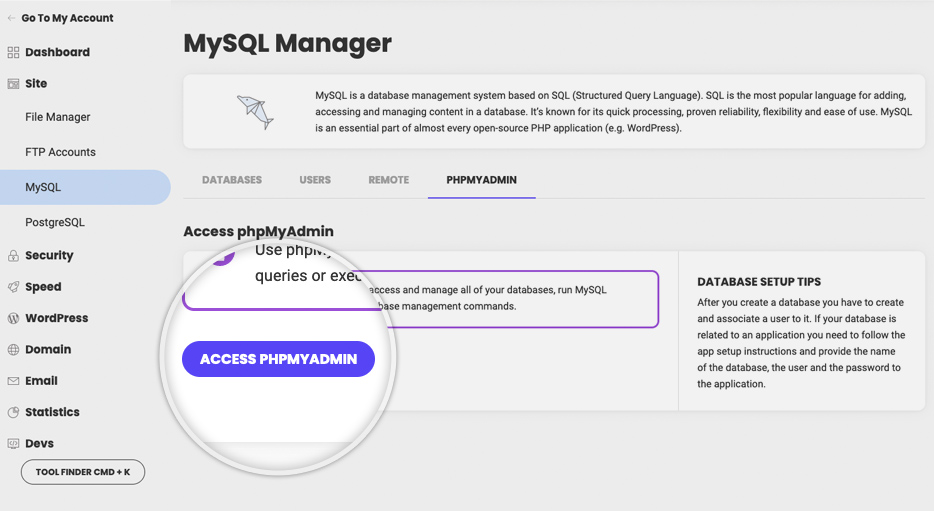
Start by accessing PHPMyAdmin from Site Tools -> Site -> MySQL -> phpMyAdmin -> Access phpMyAdmin.
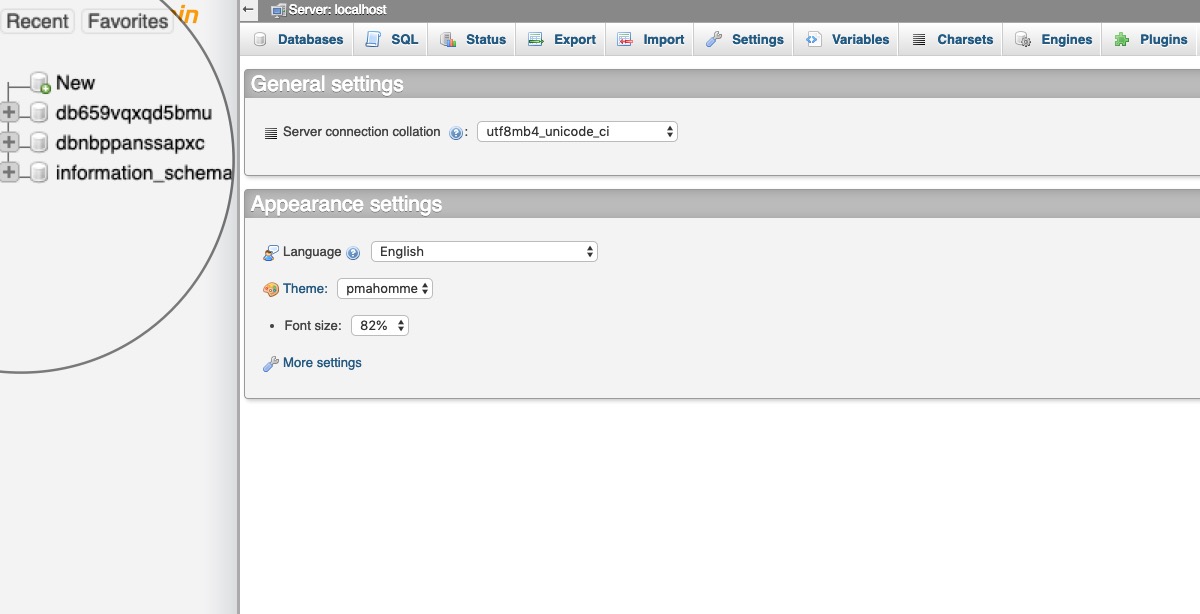
In phpMyAdmin, in the list on the left, select the name of the database your site uses.
In the list of table that shows, find the table which name ends in “_options” and click on it.
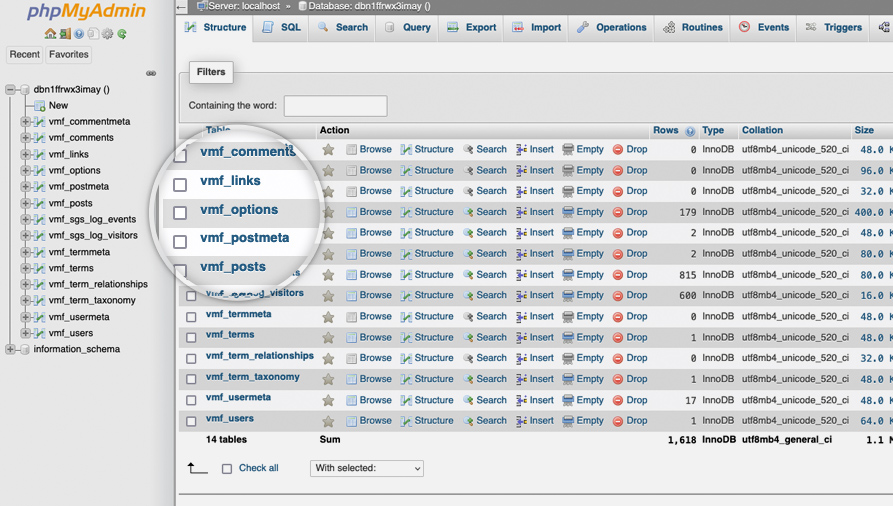
Note that the part before the _options one in the name is randomly generated and in your case it would be different.
In the Number of rows drop down menu select 50 and then search the list of rows for template and stylesheet.
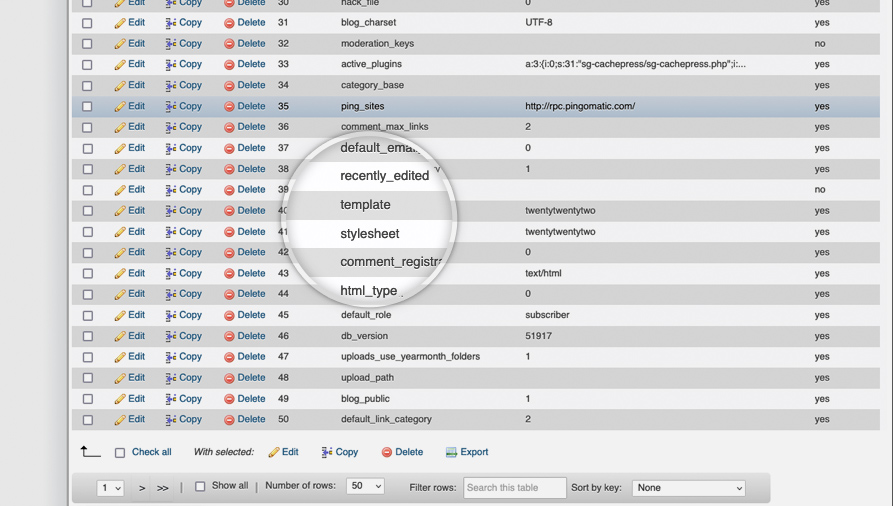
Click the Edit button (pencil icon) to edit each of these two rows and edit the option_value field to the name of the new theme you want to set. For example, to activate the Twenty Twenty-Two theme, change the value to twentytwentytwo.
Click the Go button at bottom right to save the changes.

Make sure to do this for both the template and stylesheet rows.
With the above actions you have configured your WordPress website to use the new desired theme. It is very likely that this will make your website appear broken, but should allow you to access its dashboard again, so you can investigate and potentially resolve any problems with the previously set theme.