MySQL Workbench tutorial
Table of Contents
The MySQL Workbench software is a program developed by Oracle that allows you to remotely administer your databases from your computer.
You can download the MySQL Workbench program from the MySQL official website. After you download the program follow the installation steps to successfully install the software on your machine.
Before you can connect to your MySQL database you have to allow your IP access to the server. You can find more information on how to do that in our tutorial.
Setup a connection to your account
When you are ready with the installation of the software and you have allowed access to your account from your IP, open the MySQL Workbench program. You will see a welcome page with general information about the software and links to various resources.
You will need to add a new connection, which can be done by clicking the + button next to the MySQL Connections line.

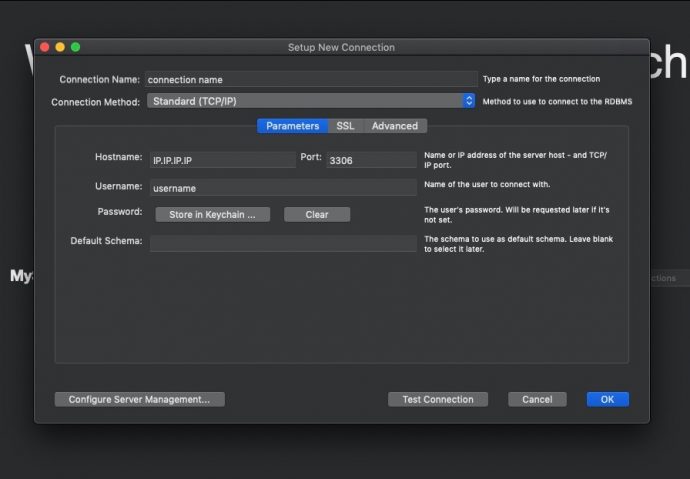
This will open a new window named Setup New Connection where you need to fill in the appropriate connection information for your account:
- Connection Name – place the desired name for the connection;
- Connection Method – leave it to the default option – Standard (TCP/IP);
- Hostname – here place the IP of your website;
- Port – leave it to the default one – 3306;
- Username – your username;
- Default Schema – leave it blank.
You can use the Test Connection button to test if the settings you used are correct.
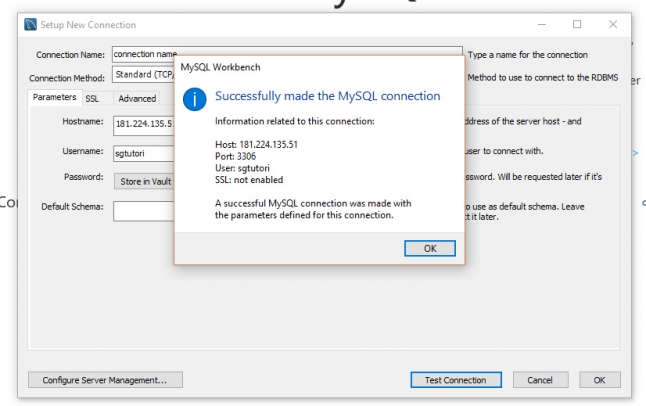
Upon testing the connection you will be asked for a password. Provide your password and click OK to confirm.

If the connection was established properly you will see a success notification.
Save the connection by clicking OK. Then on the main window of the MySQL Workbench software, you will see a new connection show under the MySQL Connections line. Double-click on it to establish a connection to your hosting account and start managing your databases.

How to backup and restore a database
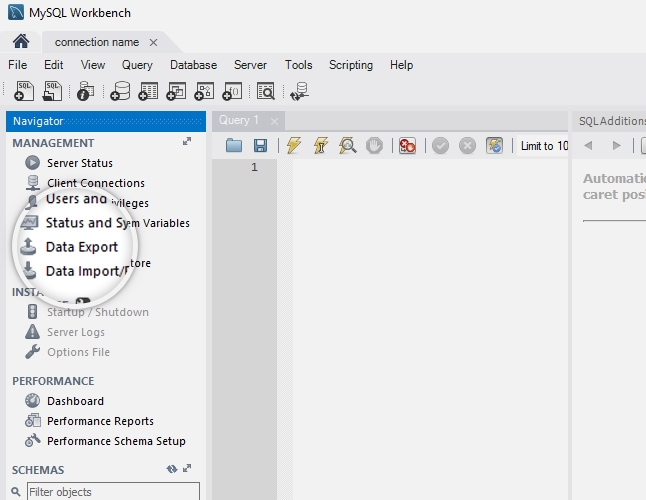
When you open a connection to your account you will see a new window which has several tools available for you to use. You can use these tools to backup and restore a database.
To back up a database from your account to your local machine you can use the Data Export tool from the left side column.
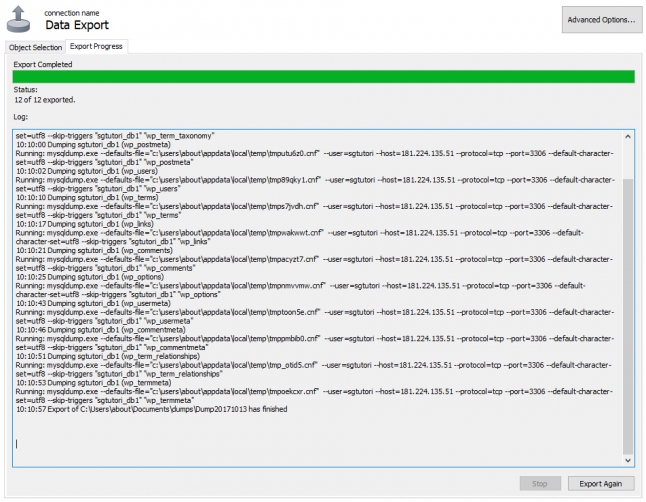
When you access the tool you will be presented with a list of all databases associated with your account. Use the checkbox next to each of the databases to select the ones you want to backup. Then set a path to which the databases should be exported in the Export to Dump Project Folder field, which will export each table separately in its own file or select the Export to Self-Contained File option to back up the entire database in one single file. Once ready, click Start Export to initiate the export process.
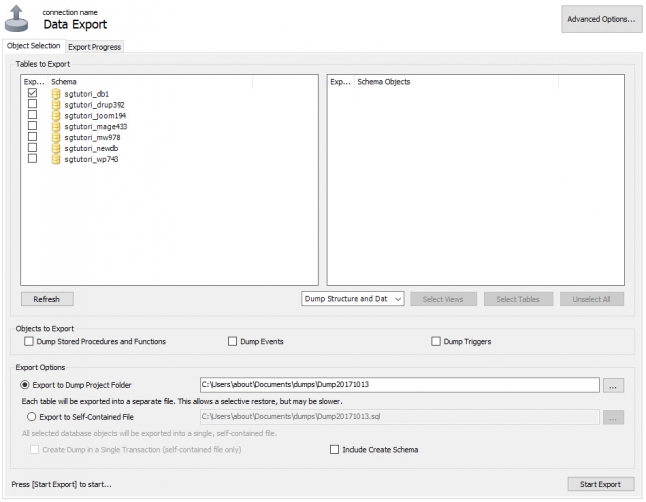
The export process will start and you can follow the progress from the window that opens.
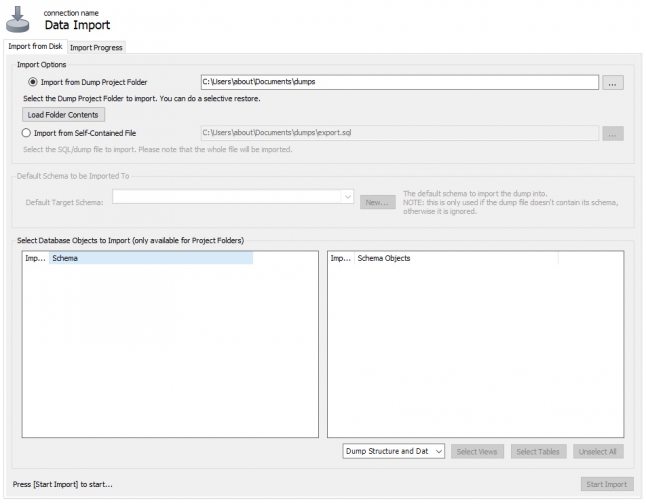
Restoring a database is a similar process and you can perform it via the Data Import tool. Select the path from which tables should be imported in the Import from Dump Project Folder field or use the option Import From Self-Contained File if you have a .sql copy of the database.
How to query a database
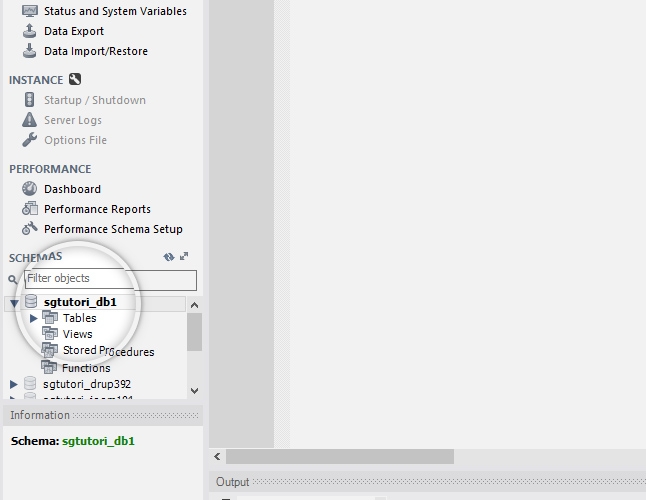
You can use the MySQL Workbench software to perform MySQL queries towards the databases on your account as well. To do that, first select the desired database from the left column menu by double-clicking it.
Then type in the MySQL query you want to run in the text field in the middle of the program window and use the yellow lightning button above that text field to run the query.
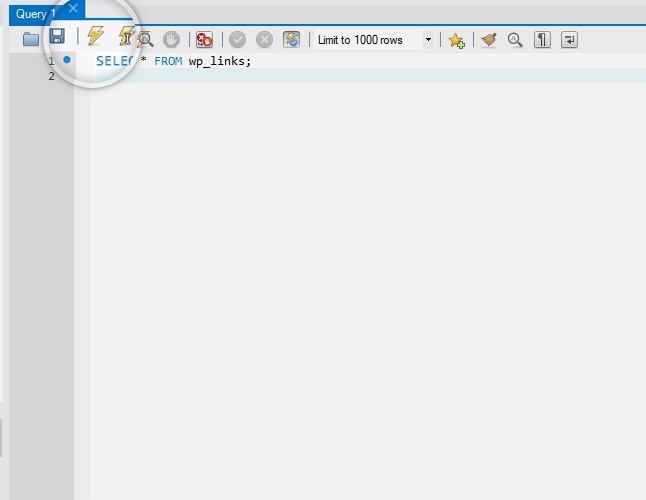
The software will execute the query and you will see the results at the bottom of the window.