How to fix the SSH “Connection refused" error?
Table of Contents
SSH is a network protocol that allows you to execute numerous tasks over an encrypted and secure connection. Like FTP, you can use it to upload, download or edit files.
However, through SSH you are able to perform much more advanced tasks. You can run various scripts and commands directly on the server over a command-line interface. For more information, read this detailed SSH guide.
You won’t encounter this error in your browser while visiting sites. The SSH connection is established between an SSH client installed on your computer and an SSH server program (also called a daemon) installed on a web hosting server. Therefore, the most common place where you will see this error is in an SSH client program.
Below you can see an example of the error “SSH port 22 Connection refused” in Terminal on a Mac computer.

Similarly, you will see the error in the Terminal if you are a Linux user. The example below is from a Linux/CentOS operating system.

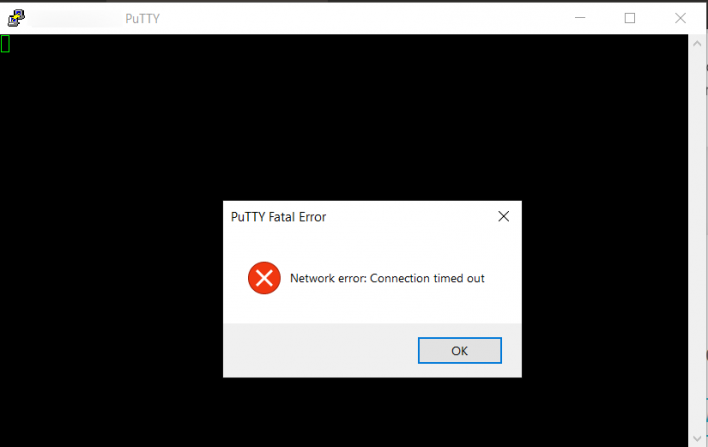
Windows users will usually see the error on the popular SSH client PuTTY. PuTTY may display another variation of the error – “Connection timed out.”
What are the reasons for the error “Connection Refused” in SSH and how to fix them?
Although the error message itself is not quite informative of the problem, there are a few common causes. We will go through each case and its solution.
Your local computer doesn’t have an SSH client installed
To establish an SSH connection, your computer must have a program called SSH client. It allows you to communicate with a remote server and execute SSH commands. If the program is missing, you will see the SSH “Connection refused” error.
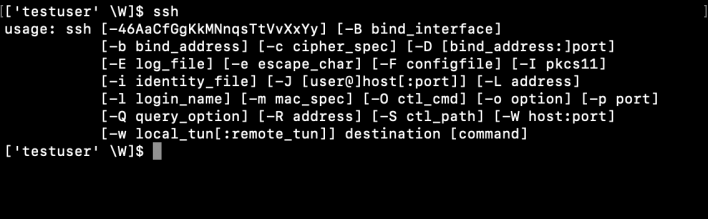
An easy way to determine if your computer has SSH installed is to run the following command in Terminal.
$ sshIf SSH is installed, the response on the Terminal will be a list of available commands. Otherwise, the output will be “command not found”.
Mac users don’t need to install an SSH client. All modern macOS versions have a pre-installed SSH package, and you can run it from the Terminal tool.
On Linux, you can also execute SSH from the Terminal. However, there is no built-in SSH client by default so you must install it additionally.
Depending on your distribution, you can install the OpenSSH package for Linux OS by running the specific commands in Terminal.
To install OpenSSH in Ubuntu/Debian distribution, run the following command.
$ sudo apt install openssh-clientFor CentOS/RHEL distributions, use this command.
$ sudo yum install openssh-clientsWindows doesn’t have an SSH client by default either, so you will need to install it yourself.
In older Windows versions, OpenSSH is not directly supported. Therefore, you need to install a client program that allows you to establish an SSH connection. The most popular one is PuTTY. For detailed instructions, read this guide on how to install and use PuTTY.
From Windows 10 (build1809) onwards, you don’t need a dedicated client for SSH access. You can install and run OpenSSH in Command Prompt or PowerShell. For detailed instructions, see the official documentation on how to install OpenSSH on Windows.
Your web hosting server doesn’t have an SSH daemon installed
Having an SSH client on your local computer is an important prerequisite for an SSH connection. However, your website’s hosting server must also have an SSH server program installed. It is called SSH daemon and it serves to monitor and authorize SSH connections.
If you try to connect to a server missing an SSH daemon, you will trigger the message “Connection refused” as well. Most managed hosting providers have pre-installed SSH servers by default. SiteGround clients have SSH enabled on all plans.
Contact your hosting provider to ensure that SSH daemon is installed on your server. Maybe the SSH daemon is set, but it is currently down. Your hosting’s support will be able to check its settings and provide more information.
In case you are managing your own dedicated server or localhost, you need to install the SSH daemon package.
For installing OpenSSH server, you can use the following guides.
- How to install OpenSSH server on Linux Ubuntu/Debian
- How to install OpenSSH server on Windows
- How to install OpenSSH package on Linux CentOS/RHEL
A firewall is blocking the SSH port
To handle the data and traffic from different services efficiently, the operating systems use ports. Ports are software endpoints designed to handle data only from specific services. For instance, your email application uses one port to send emails over SMTP and another port to receive incoming messages over IMAP or POP3.
The SSH service also uses dedicated ports to exchange data. By default, the port is 22. However, many hosting providers use a custom SSH port instead. The SSH port on SiteGround is 18765.
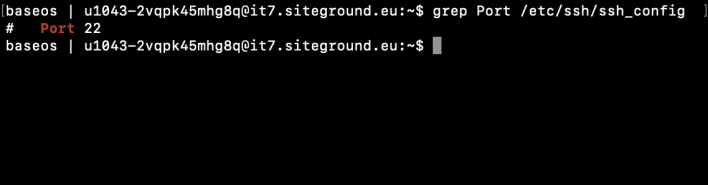
If you are not certain of the port, you can run either of the following commands on your server.
$ grep Port /etc/ssh/ssh_configor
$ grep Port /etc/ssh/sshd_configThe output of the command will display the SSH port. In the example below, the system indicates it is 22.
Every open port is considered a potential vulnerability that bad actors could exploit. Therefore, a firewall may be blocking the SSH port. Most often, more restrictive firewall rules are set on office, VPN and public networks, such as university, airport or library Wi-Fi.
If you are using such a network and receive this error, test connecting to SSH from another network. Ideally, try from your home Wi-Fi which should be less restrictive. If you still can’t connect to SSH, check your firewall settings and make sure to allow connections for ports 22 and 18765 (for SiteGround).
Another possibility is that the block may come from the hosting server. You may use incorrect credentials and accumulate failed login attempts. Thus, the server’s firewall can block your IP for connections on the SSH port. Contact your hosting provider, so they can check your IP and unblock it, if that is the case.
Wrong SSH credentials or port
You need several credentials to connect from your SSH client to a server. If any of the settings are wrong, the server will return the “Connection refused” message.
Any SSH connection requires the following details:
- Hostname – this is the address of the server. It could be its IP address, the server name, or your website’s domain (if the domain’s A record is pointed to the server).
- SSH username – the username for the website’s SSH server.
- Password – it’s important to note that the SSH user doesn’t have a password. The prompted password is the passphrase of your private SSH key. Learn more about SSH keys.
- Port – the default port for SSH connections is port 22. However, for the sake of better security, many hosting providers use a custom SSH port instead of the default one. The port for SSH in SiteGround is 18765.
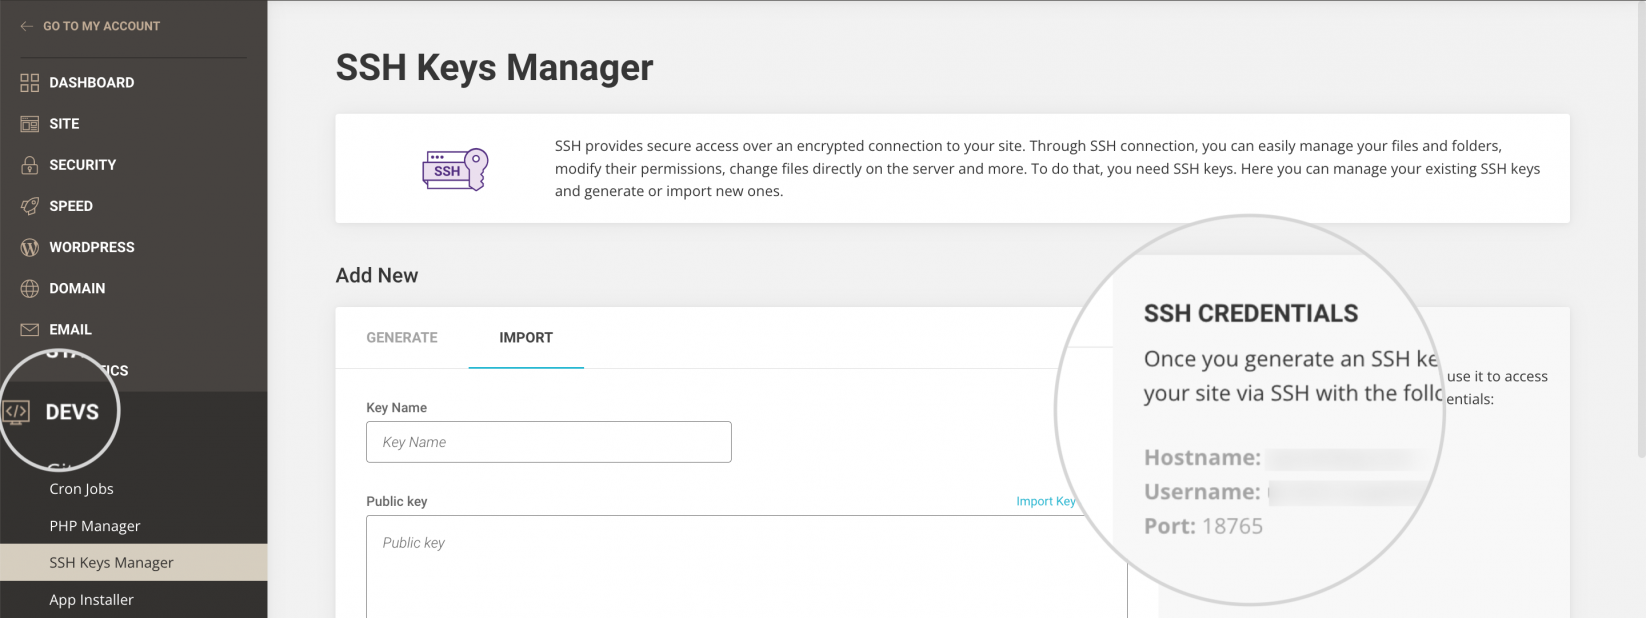
To make sure you have the correct details, log in to your hosting’s control panel. There should be a section where the SSH credentials are listed.
SiteGround users can find the credentials in Site Tools. Open the “Websites” section of your Client Area. Access Site Tools for the particular site and navigate to the section DEVS, then select SSH Keys Manager. On this page, you can see the SSH user, hostname, and port under SSH Credentials.
SSH service is down
Most of the solutions listed so far help, given that the problem is originating from your local device or network. If none of them worked out, the error may be caused by an ongoing issue on the hosting server.
The SSH service may be down if the server is overloaded due to insufficient resources or massive traffic spikes. Contact your hosting provider’s support, so they can check the status of the SSH service and provide more information.
If you manage your own dedicated server or localhost, you may need to check the status of the SSH server. It may be installed, but not activated.
To activate the SSH server, run the following SSH command in Terminal.
$ sudo service ssh startIf you need to restart the SSH server, use the command below.
$ sudo service ssh restartSummary
SSH is extremely helpful in many situations and it provides a wide range of functions for advanced users. Needless to say, it’s frustrating when such an essential service is down. However, the “Connection refused” error boils down to a limited number of possible causes.
This guide examined the most common ones. Going through the above-mentioned solutions should help you fix the error.
Another error related to SSH connections is “Permission denied.” Learn more about it and how to fix it in this guide about “Permission denied (publickey)” error when connection over SSH.
For detailed steps on how to connect to SSH, read this article on how to access your site through SSH connection.