phpMyAdmin Installation Tutorial
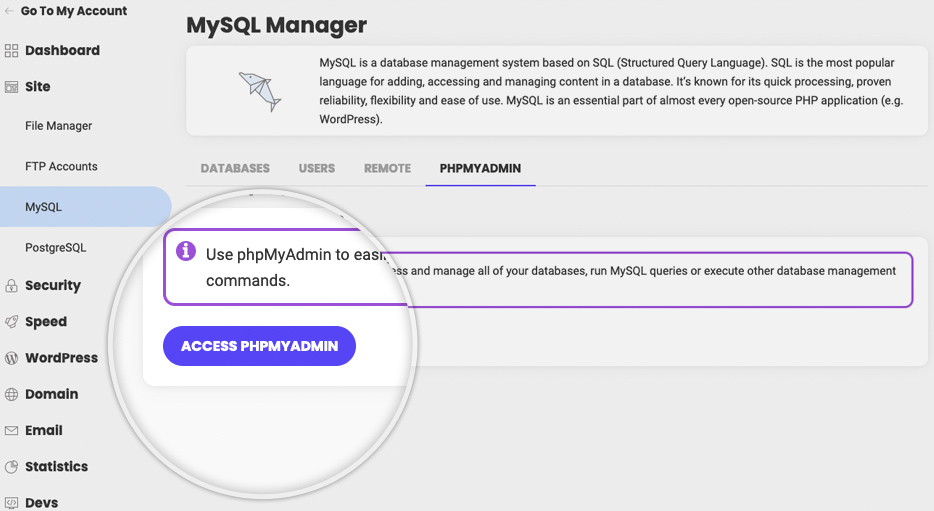
All hosting accounts on the SiteGround servers come with pre-installed phpMyAdmin software. The application can be opened from Site Tools > Site > MySQL> phpMyAdmin.
Once the package is uploaded on your account, you must extract it, which will result in a new folder named phpMyAdmin-X.X.X where X.X.X is the version of the software you downloaded. If you want, you can rename that folder to phpmyadmin, so that you can access the application later with http://yourdomainname.com/phpmyadmin.
Next step is to access the folder which you created with your browser. If you have renamed the folder to phpmyadmin, then the URL should be http://yourdomainname.com/phpmyadmin. This will open the phpMyAdmin login page.
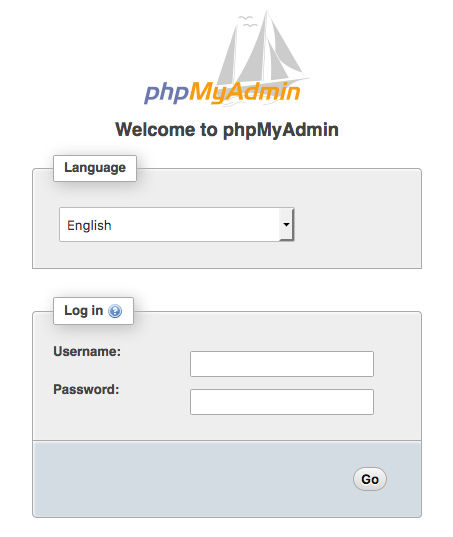
To use the software, input a valid MySQL username and password and click on Go.