How to publish custom sign-up forms on your WordPress website
Table of Contents
You’ve already connected the Email Marketing plugin to your SiteGround Email Marketing tool and built a sign-up form.
Great! You are almost ready. Now, you just have to publish the form on your website so it can start accumulating subscribers to your mailing list. Depending on your preferred page builder, the process may vary. Read further to learn the steps in each case.
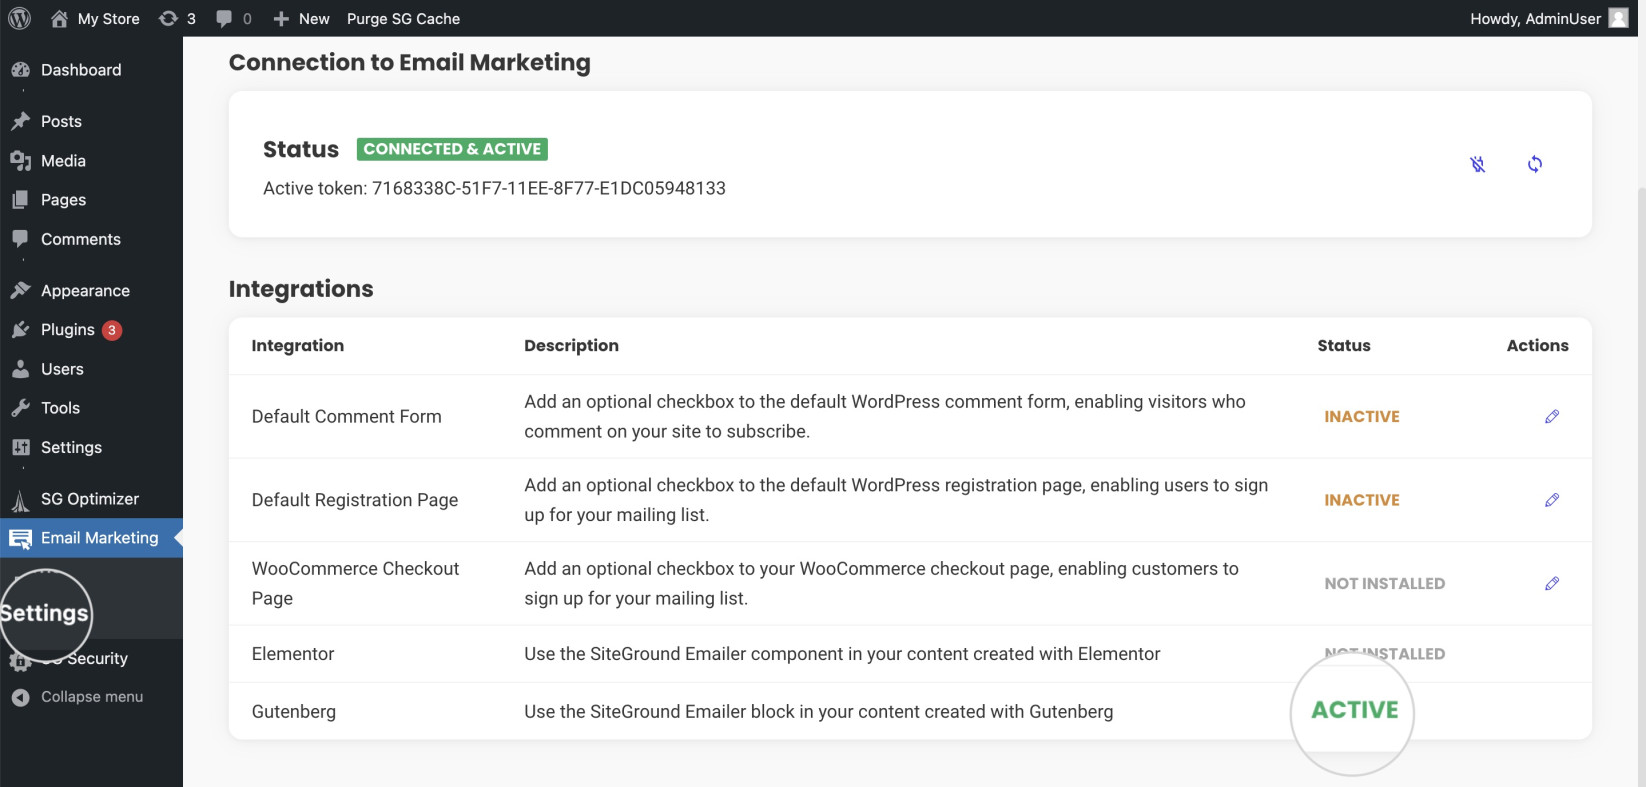
Follow the step-by-step instructions below.
- To add a form, you have to create a new page or edit existing ones.
- Determine the page area where you want the form to appear.
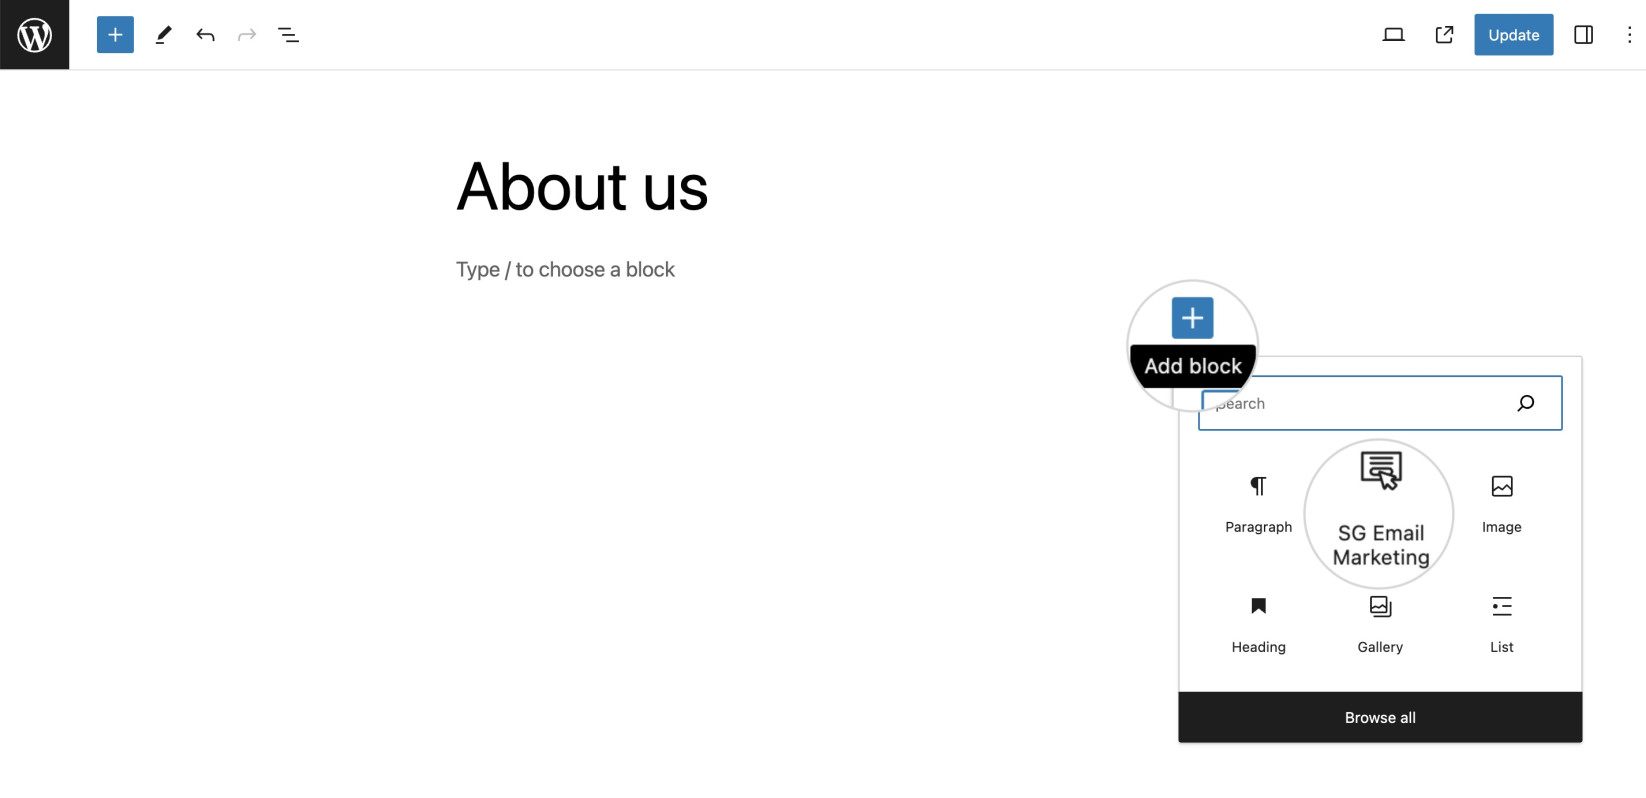
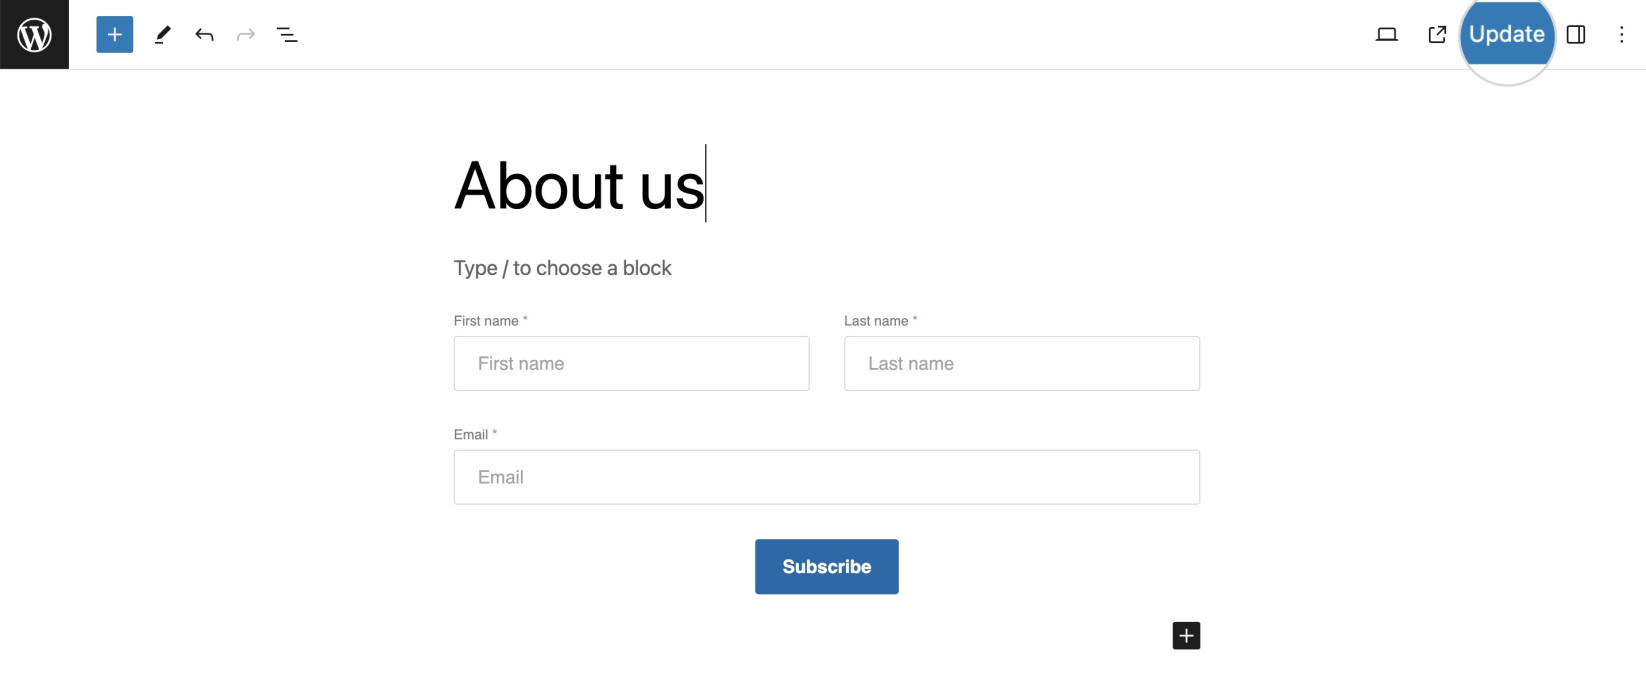
- Use the Add Block (+ sign) button and select SG Email Marketing. If you don’t see the widget, use the search bar to find it or browse all widgets.
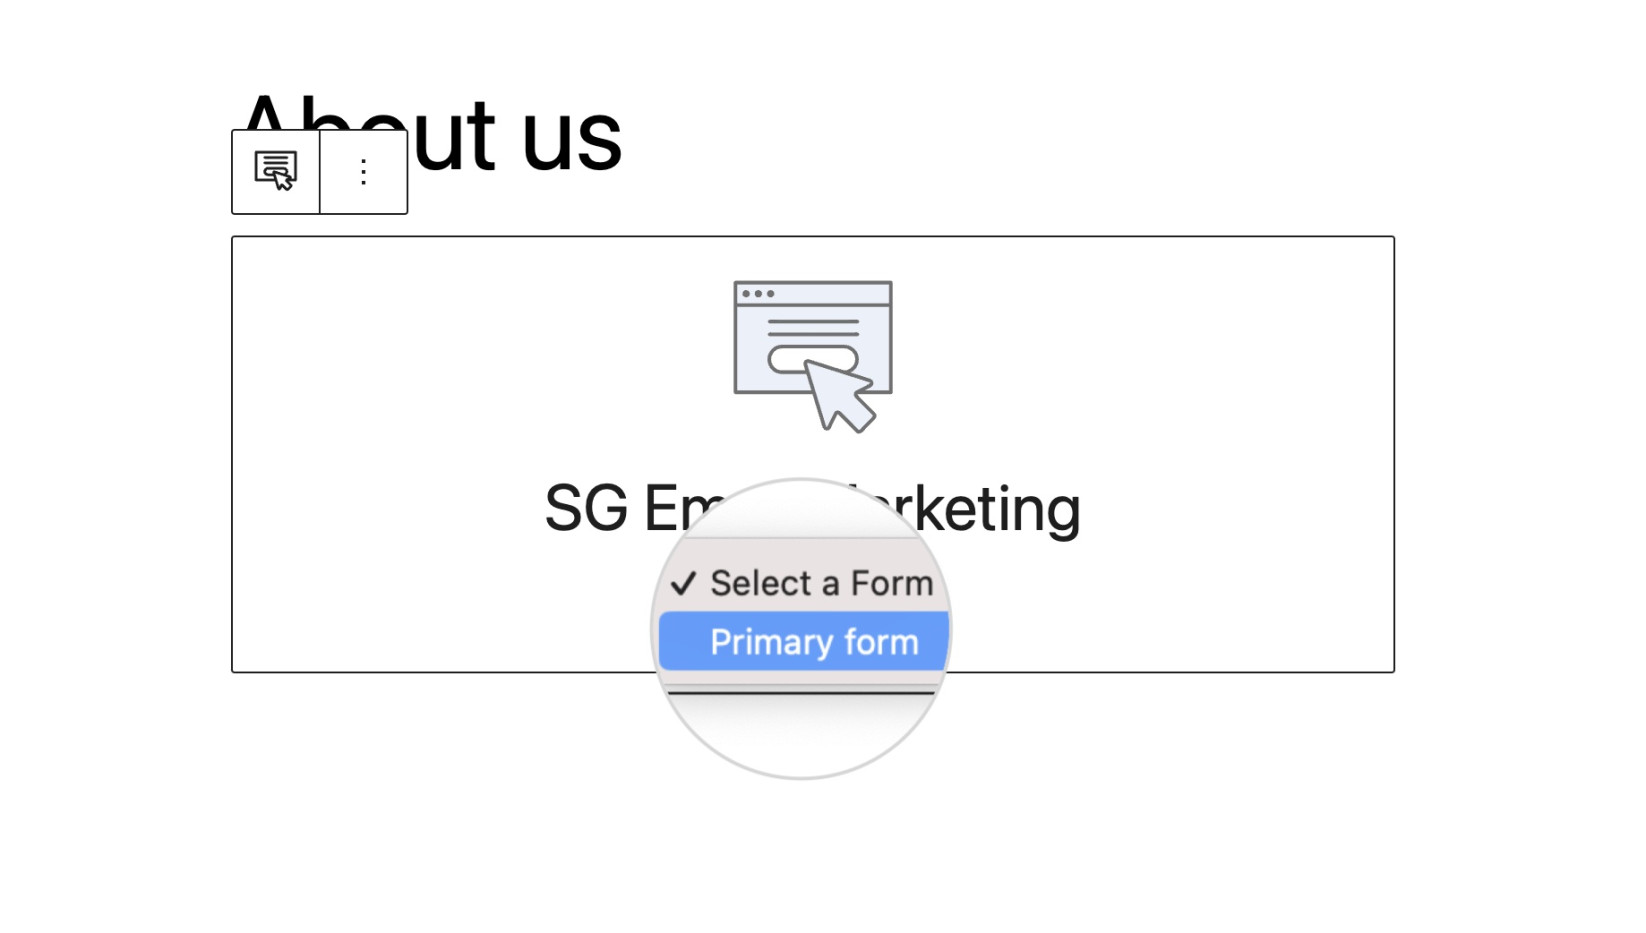
- SG Email Marketing will populate the selected block. Choose one of your existing forms from the Select a Form drop-down menu.
- The form is now added to the page. To save the change, press the Update or Publish button.
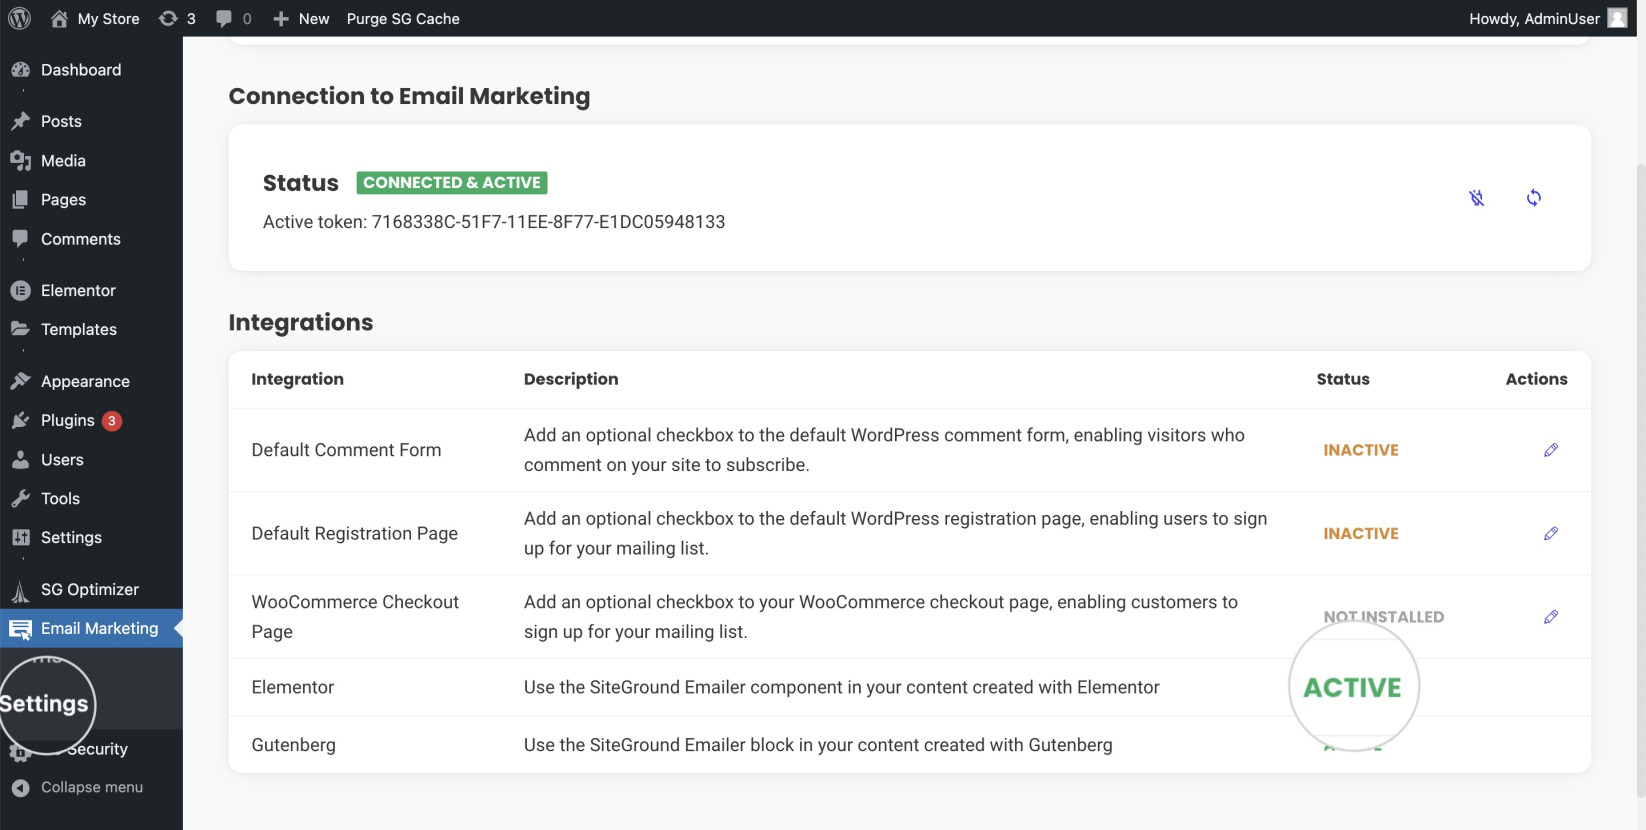
You can then add a sign-up form to a new or existing page while editing it with Elementor.
- Select the SG Email Marketing widget from the menu on the left and drag and drop it to a page section. If the widget is not visible, you can use the search bar to find it.
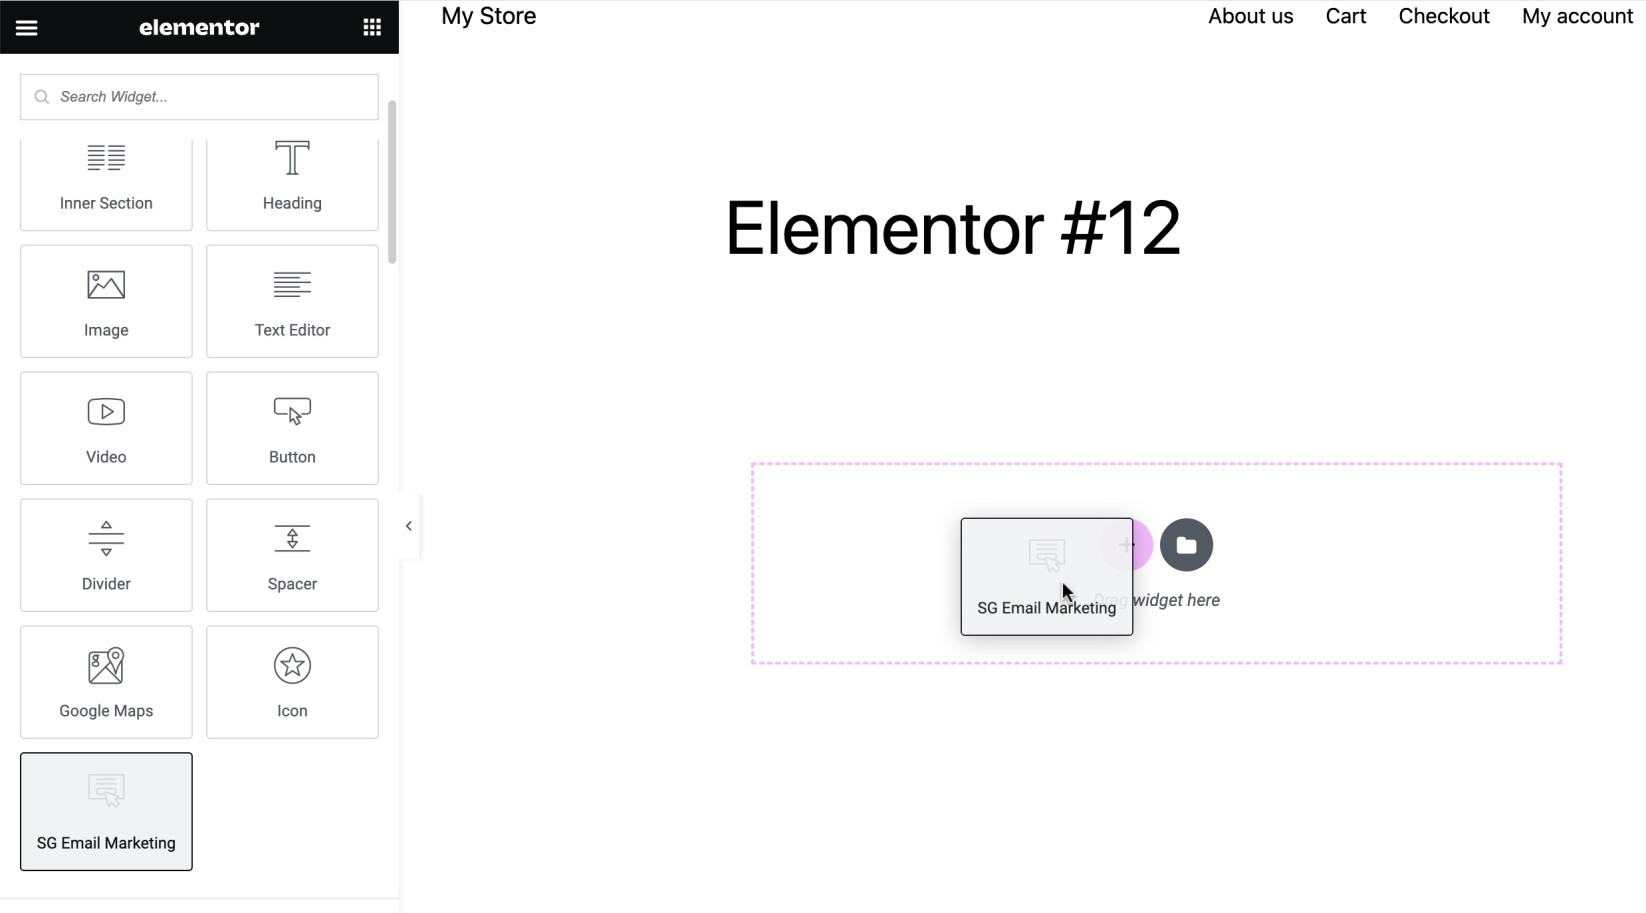
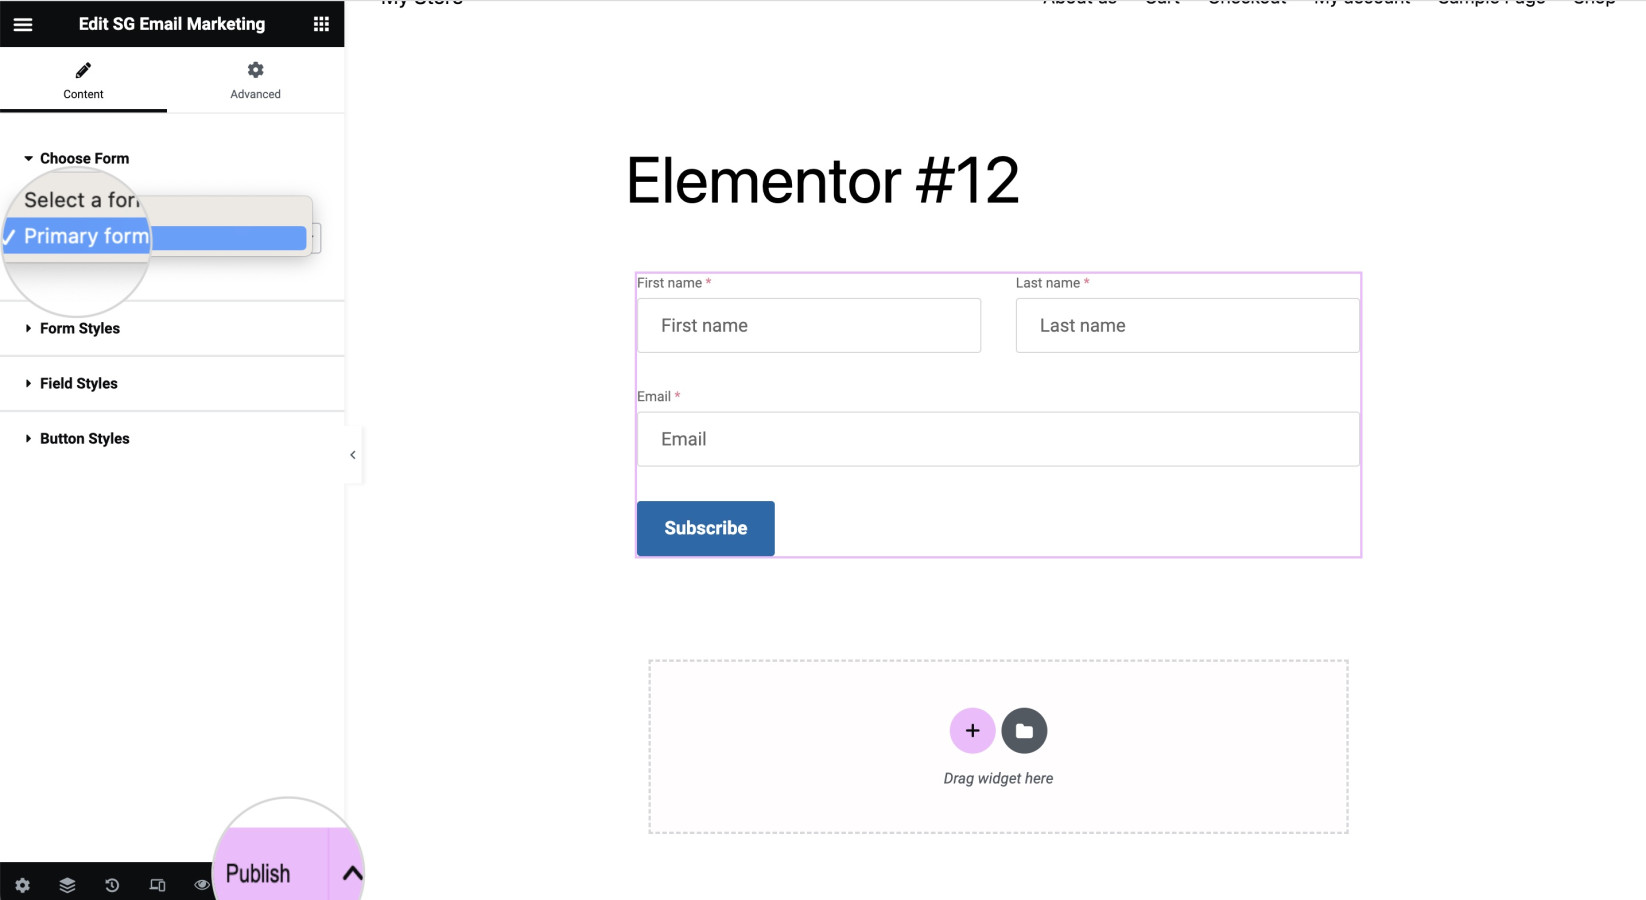
- After you insert the widget, Elementor will display a context menu for SG Email Marketing. Choose one of your existing forms from the Choose Form drop-down menu.
- Finally, click the Publish or Update button to save the changes.
- You can obtain the shortcode from your WordPress dashboard > Email Marketing > Forms.
- Under the Shortcodes column for the chosen form, you can see its shortcode and copy it using the Copy Shortcode button.
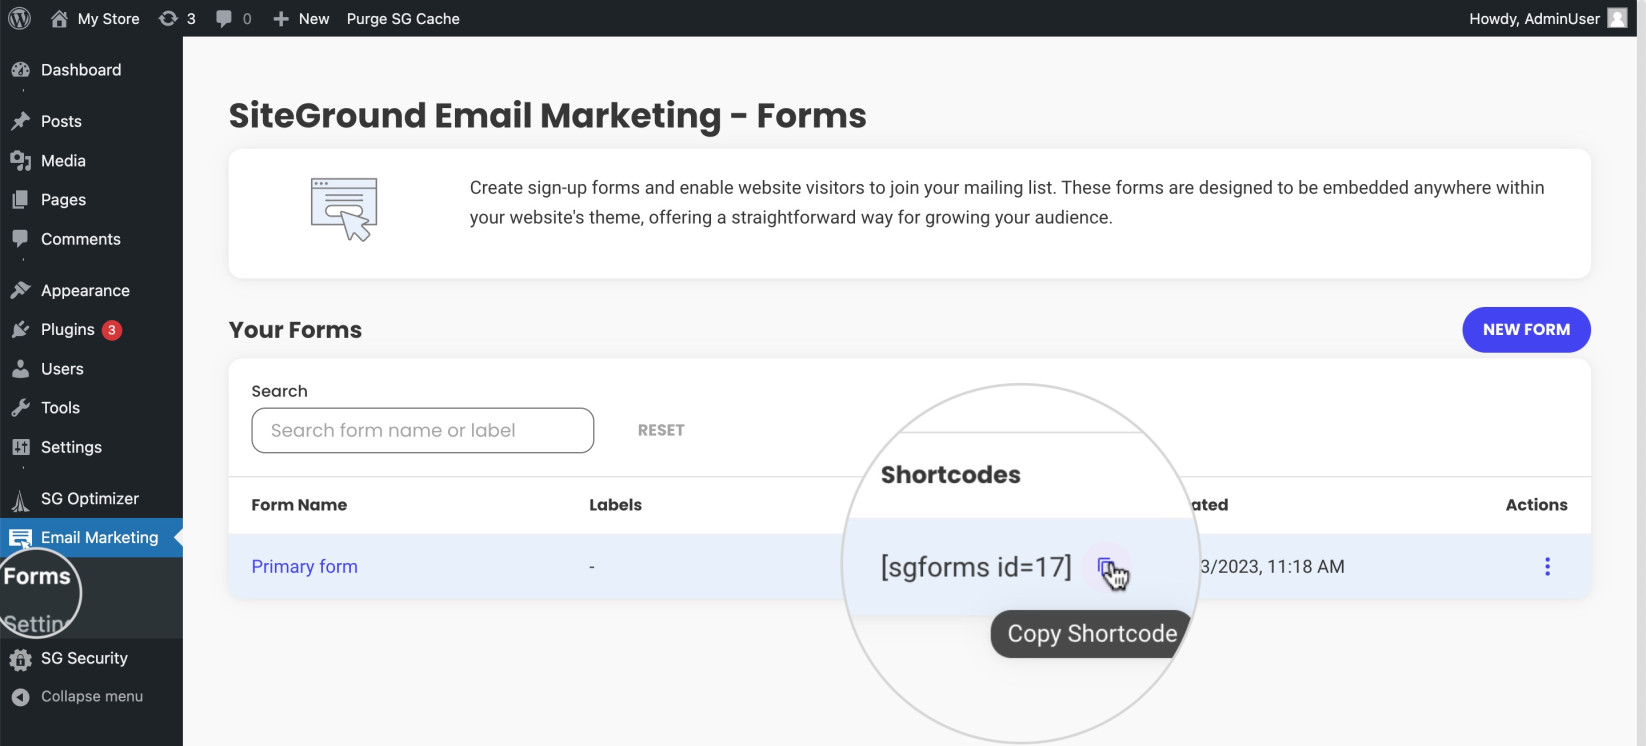
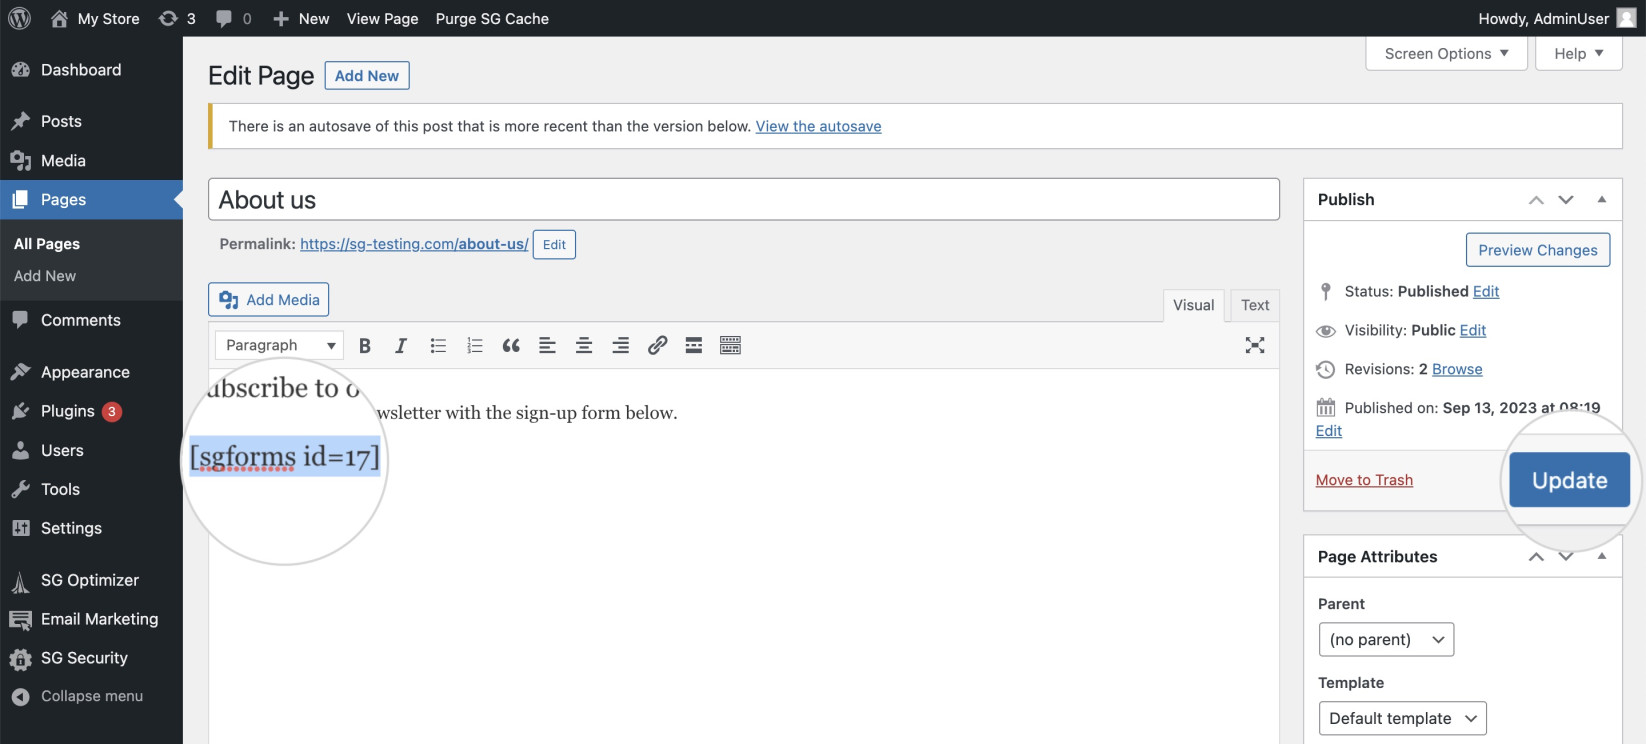
- Open your page editor and paste the shortcode to the page section where you want the form to appear.
- Then, save the changes by pressing the Update or Publish button.
