How To Create a WordPress Dropdown Menu (5 Methods)
Table of Contents
The WordPress dropdown menu functionality guides your visitors around your site. It’s the roadmap keeping them from getting lost and ensuring they find what they need without a hitch. A meticulously organized website navigation structure can keep your visitors on your site longer and more engaged.
But how do you structure a dropdown menu to build an enjoyable and productive user experience?
In this article, we’ll show you 5 methods to create a dropdown menu and outline the best practices for structuring it. Read on to become a master of creating dropdown menus in WordPress.
5 Methods to Create Dropdown Menu in WordPress
WordPress offers several methods to create dropdown menus. They range from straightforward built-in options and plugins to more advanced approaches using custom CSS and PHP. Keep reading to learn more about each of these options.
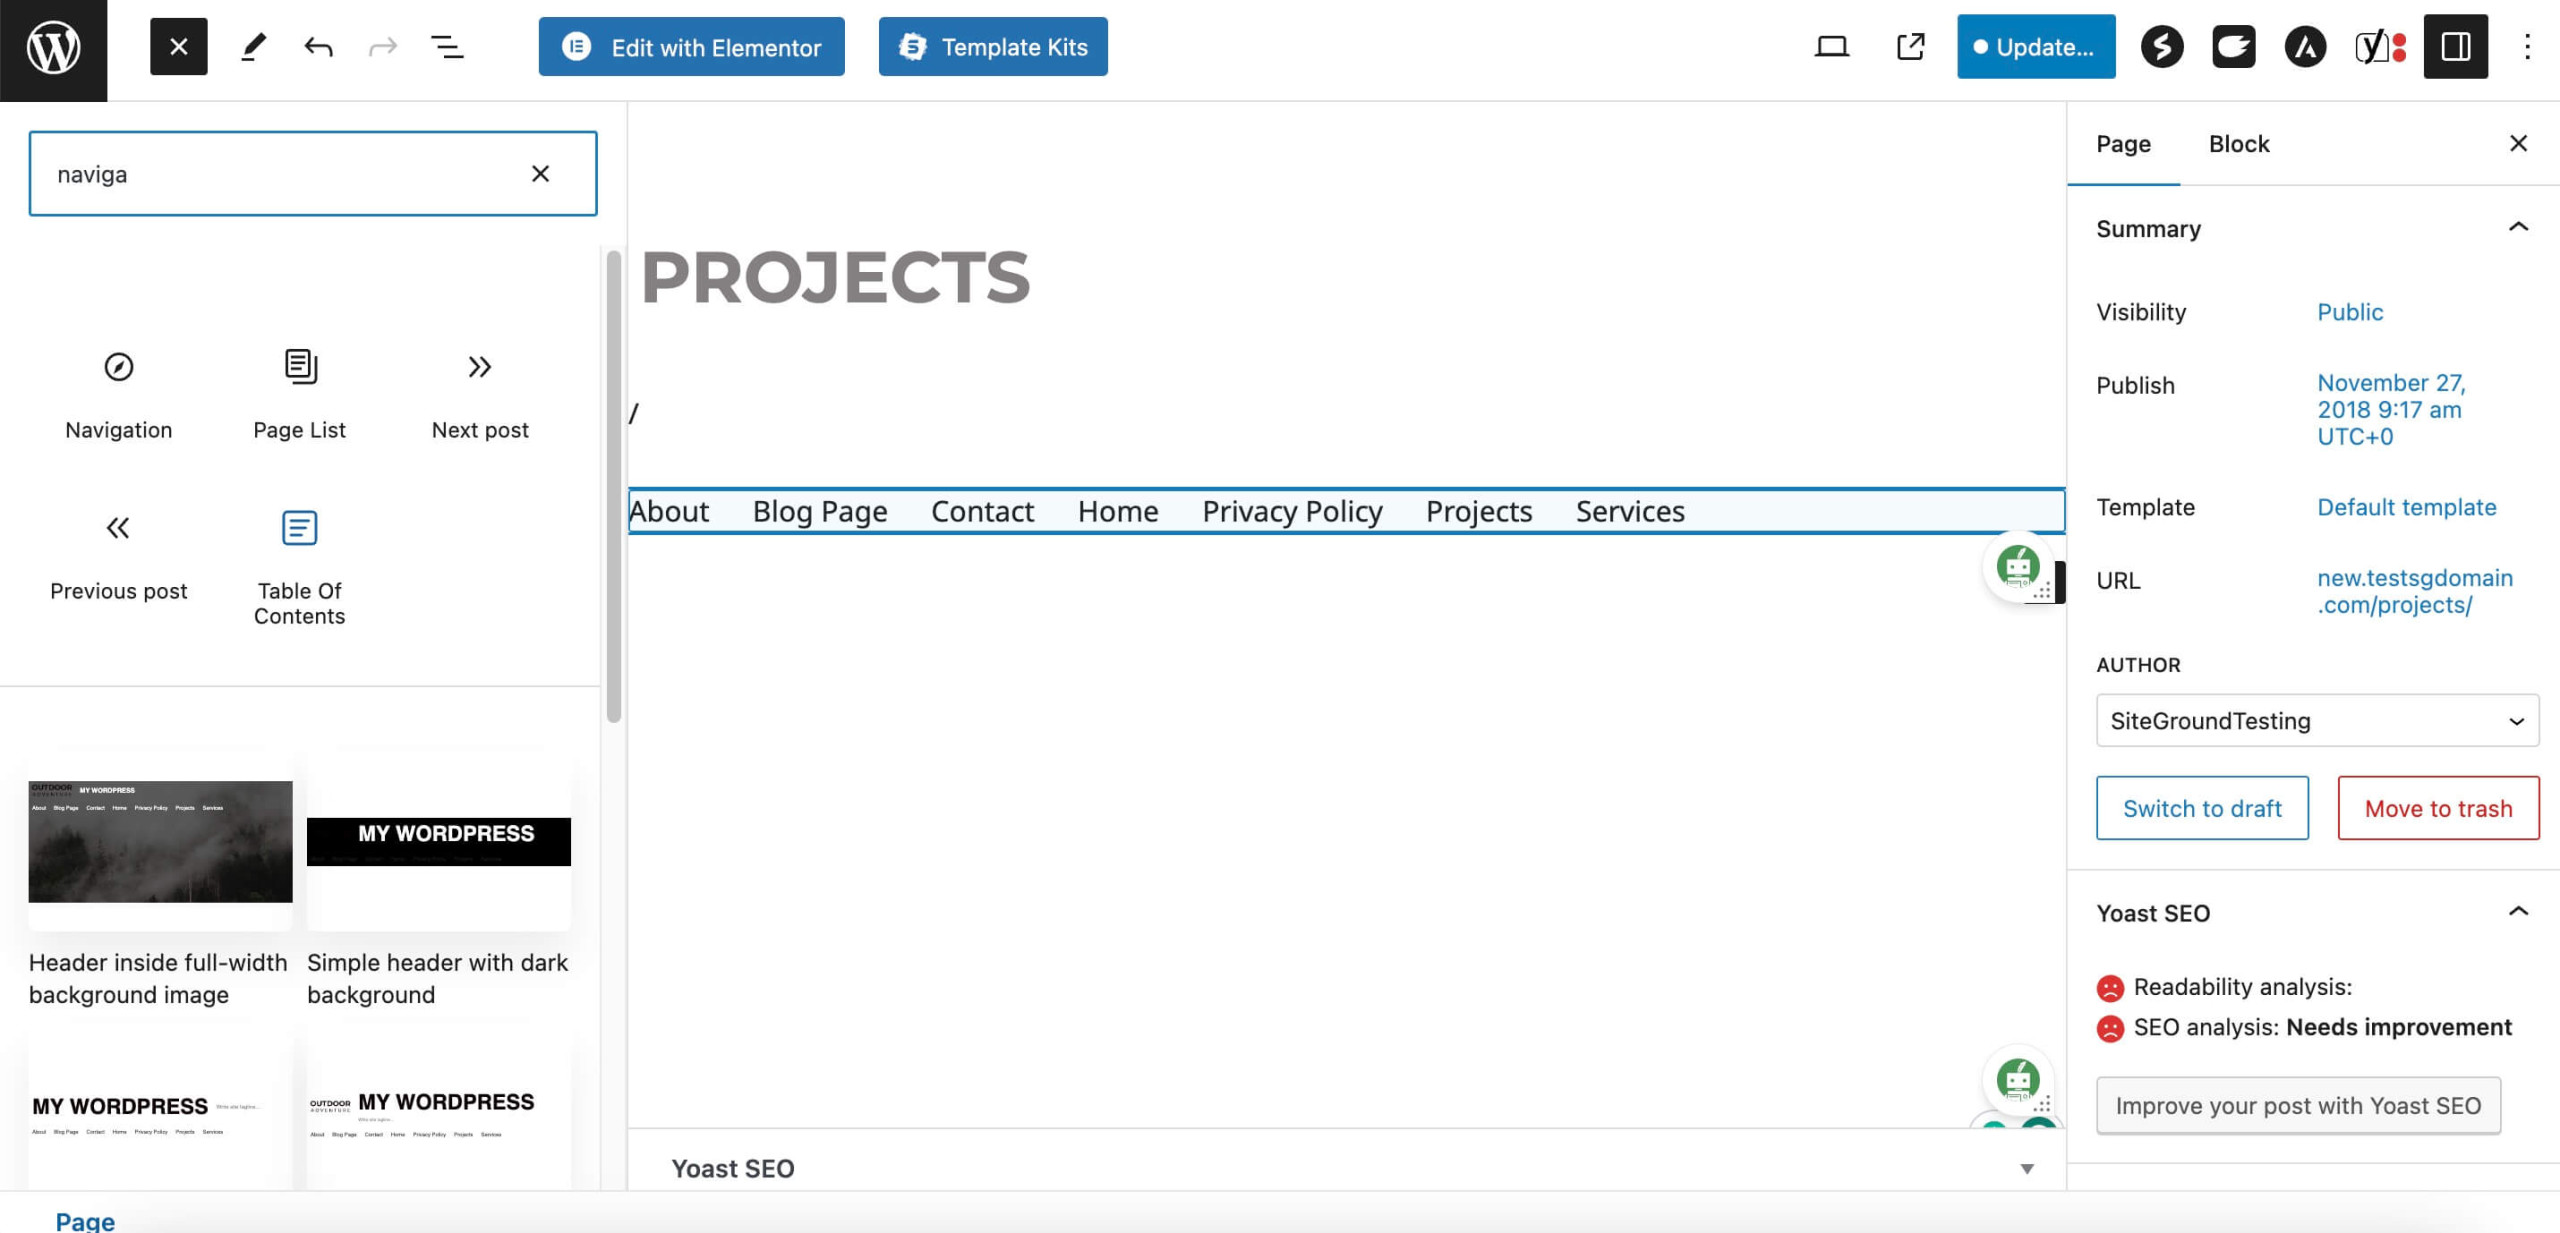
1. Using the Built-in Menu Editor
WordPress provides a built-in menu editor that allows you to create dropdown menus without additional plugins or coding knowledge.
Follow these steps:
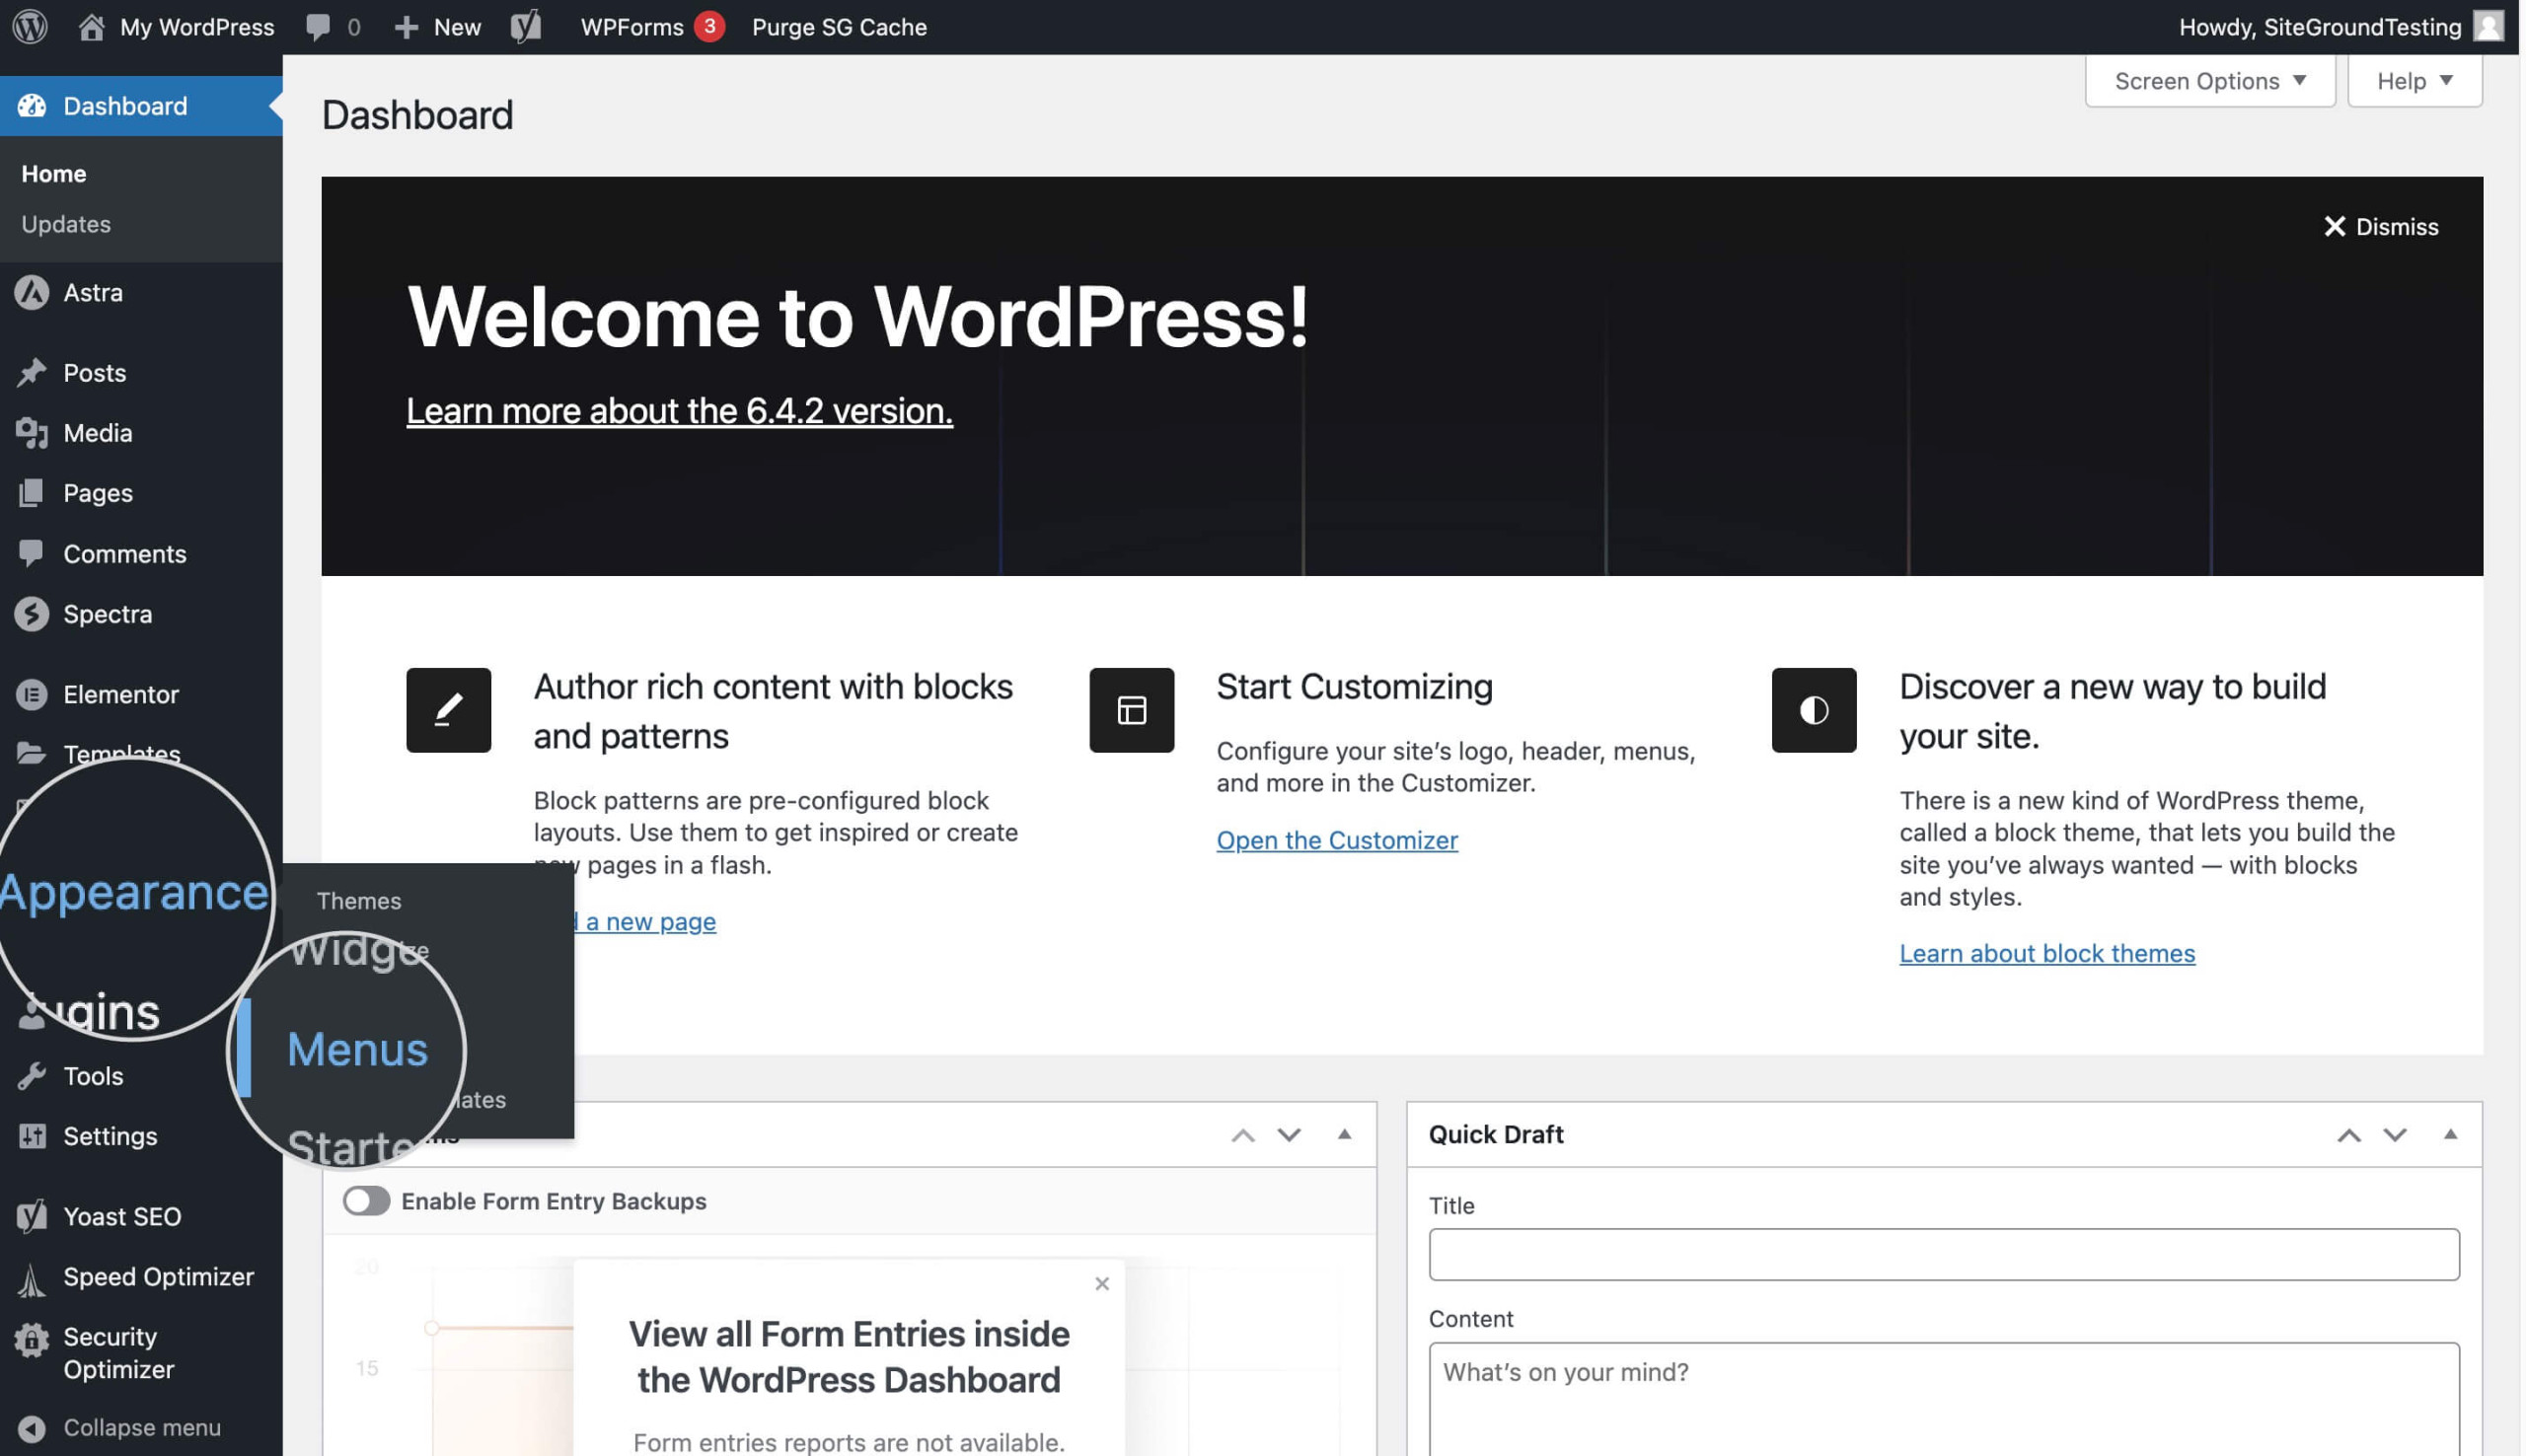
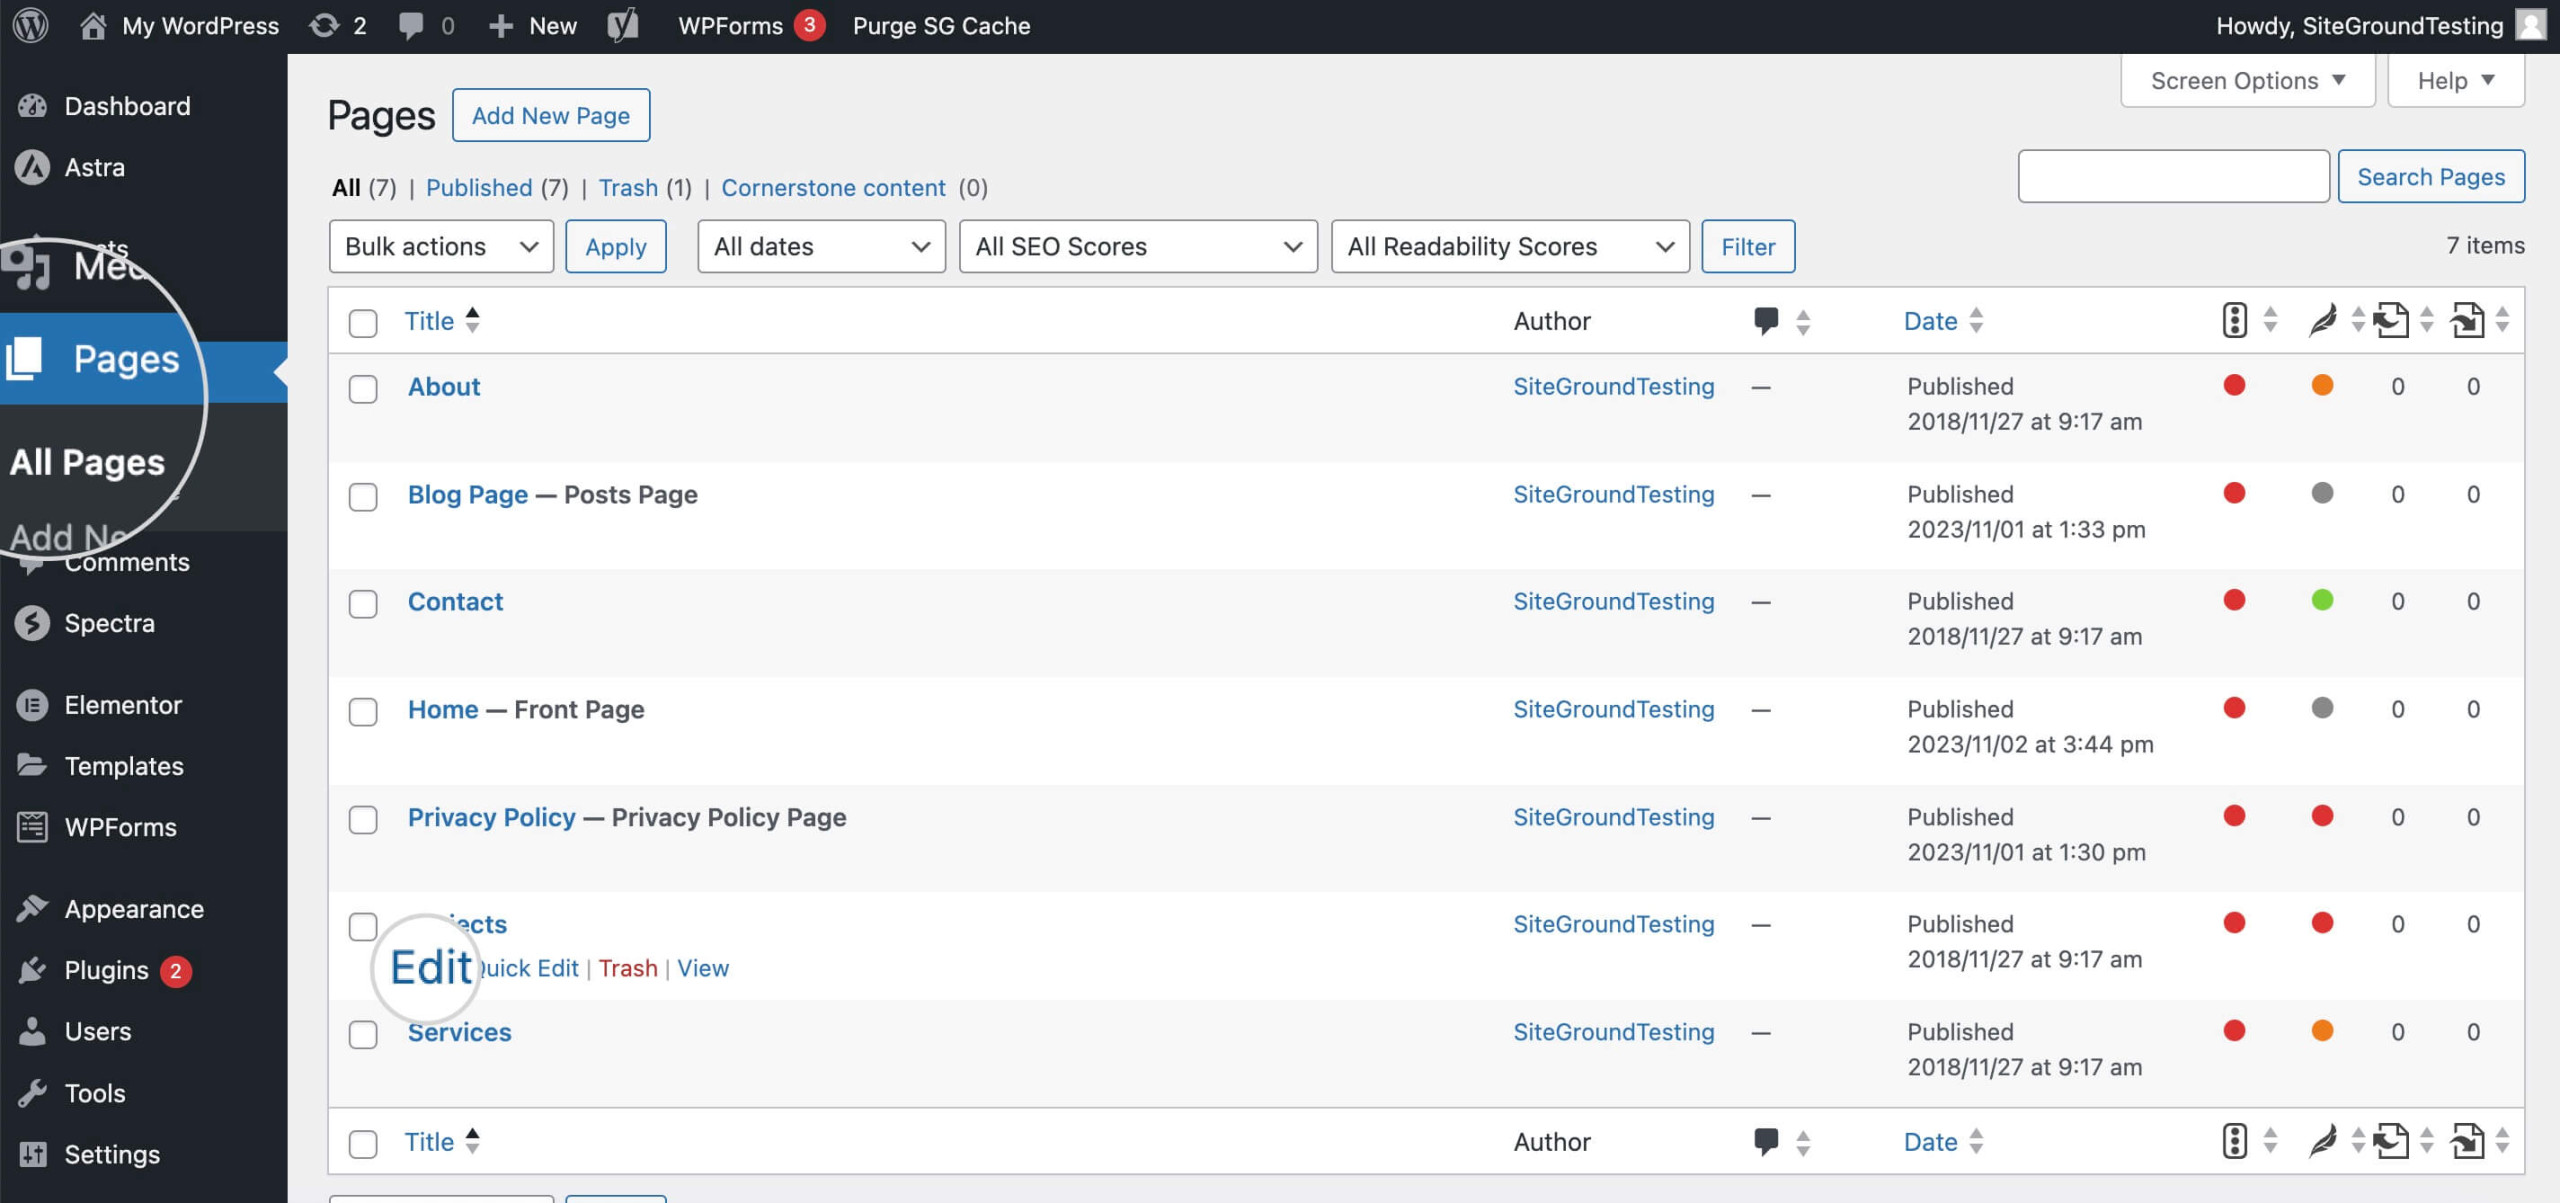
- Start by logging into the backend of your WordPress site.
- Go to Appearance > Menus in your WordPress dashboard.
- Click the “Create Menu” button.
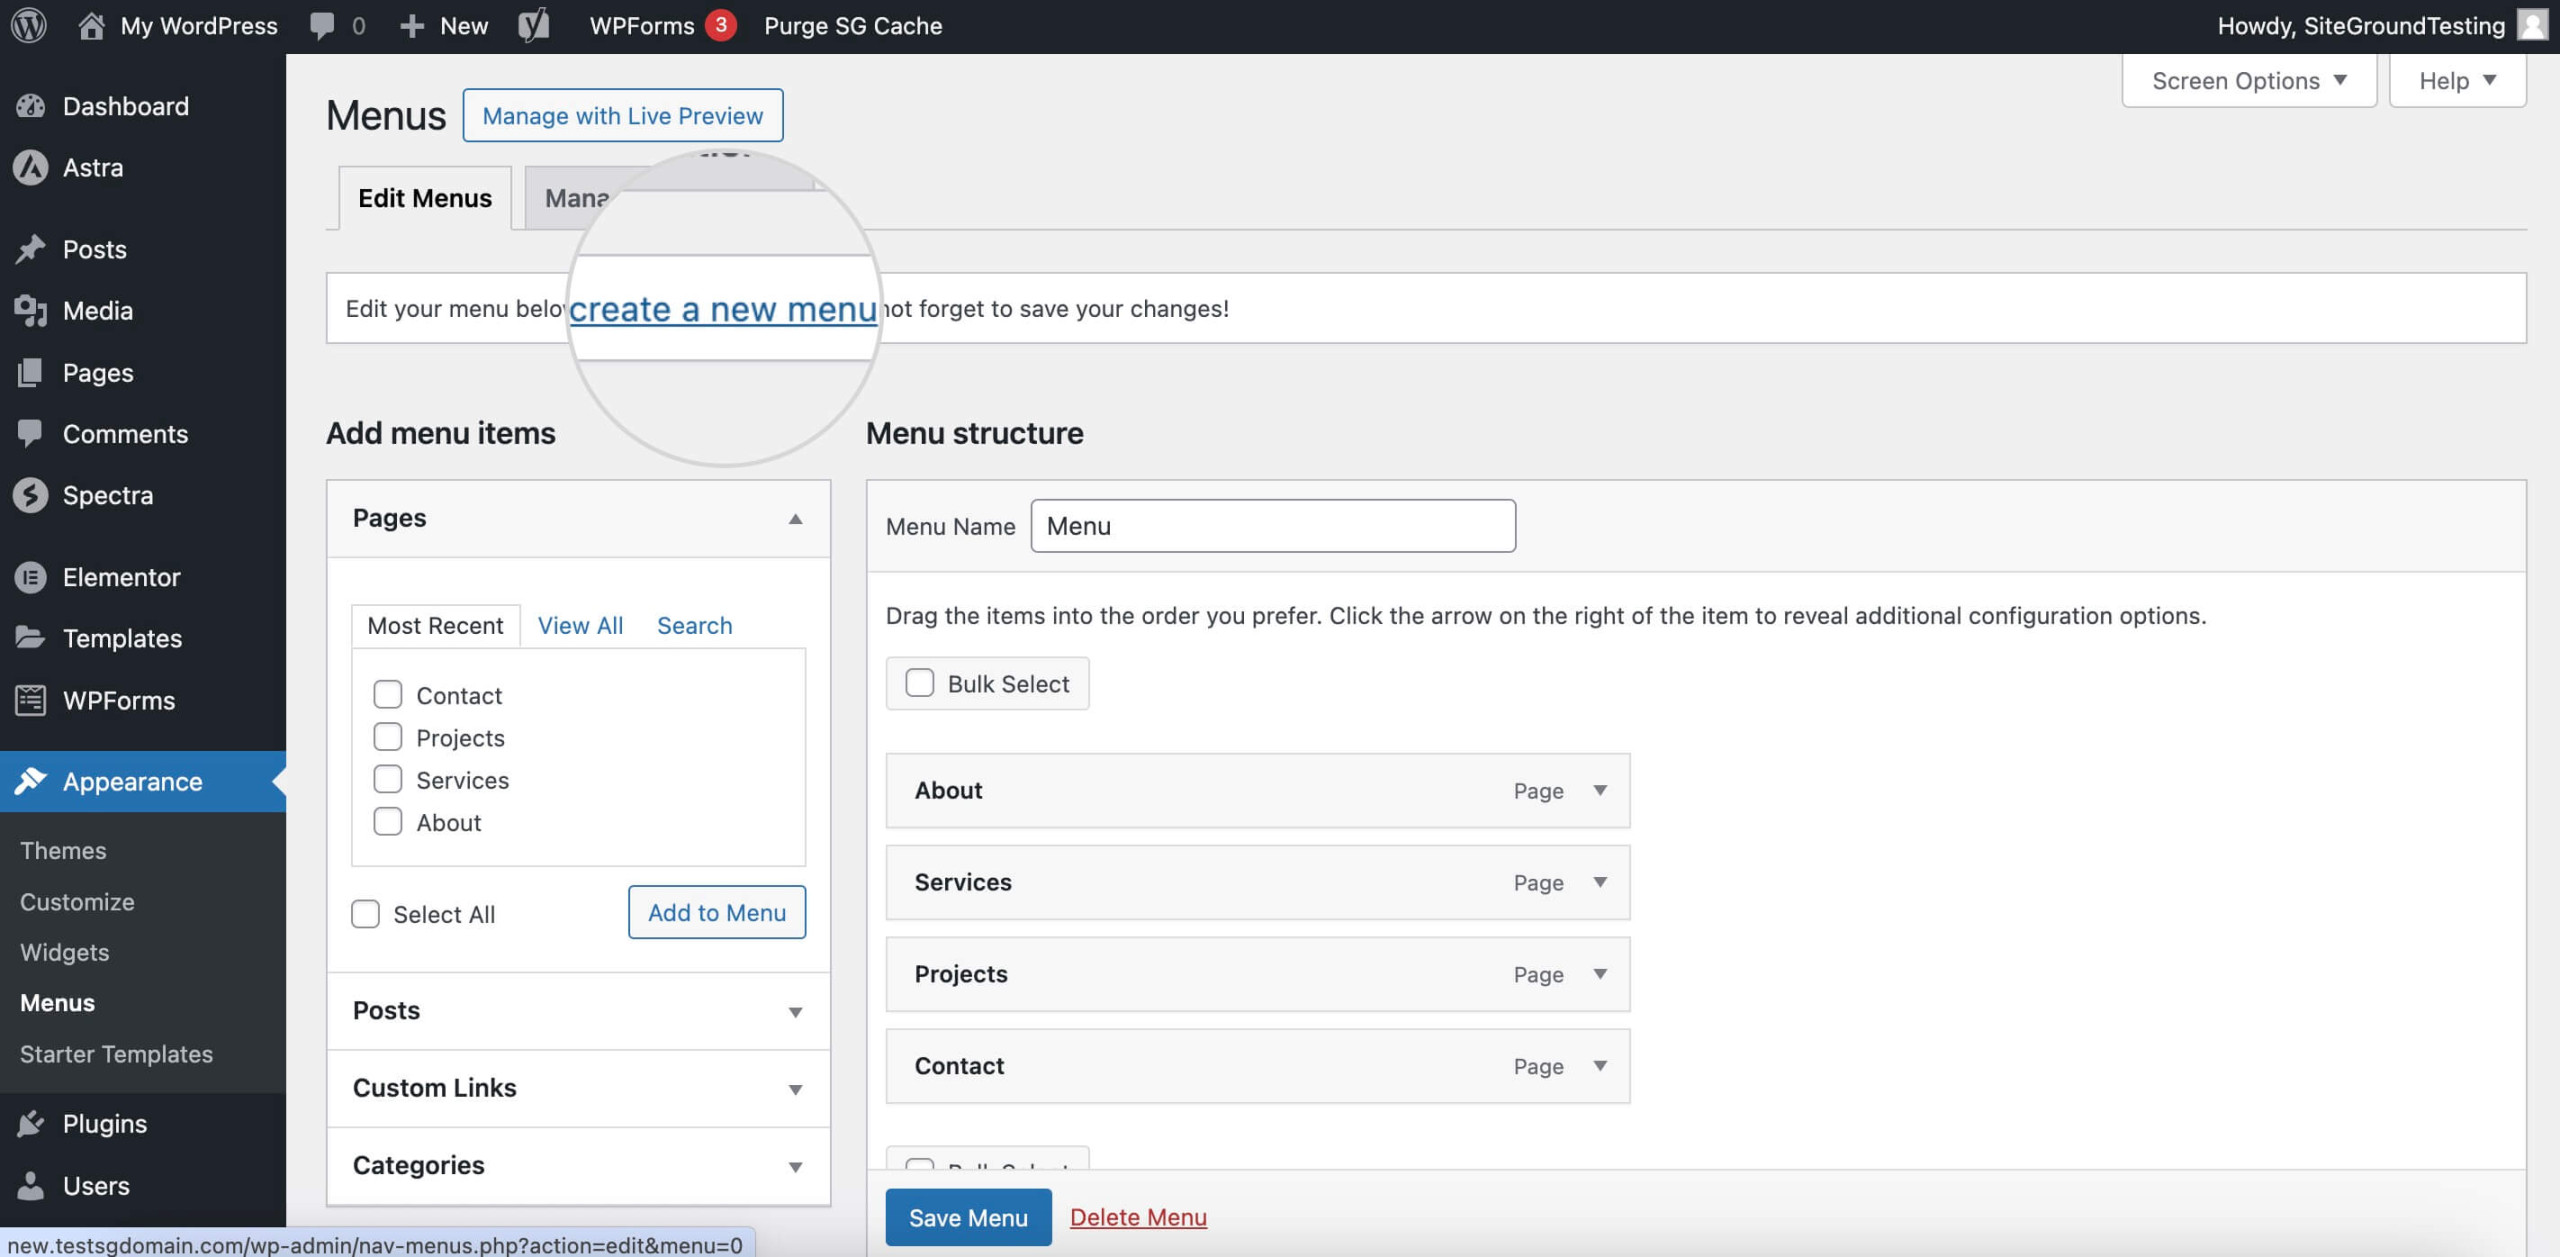
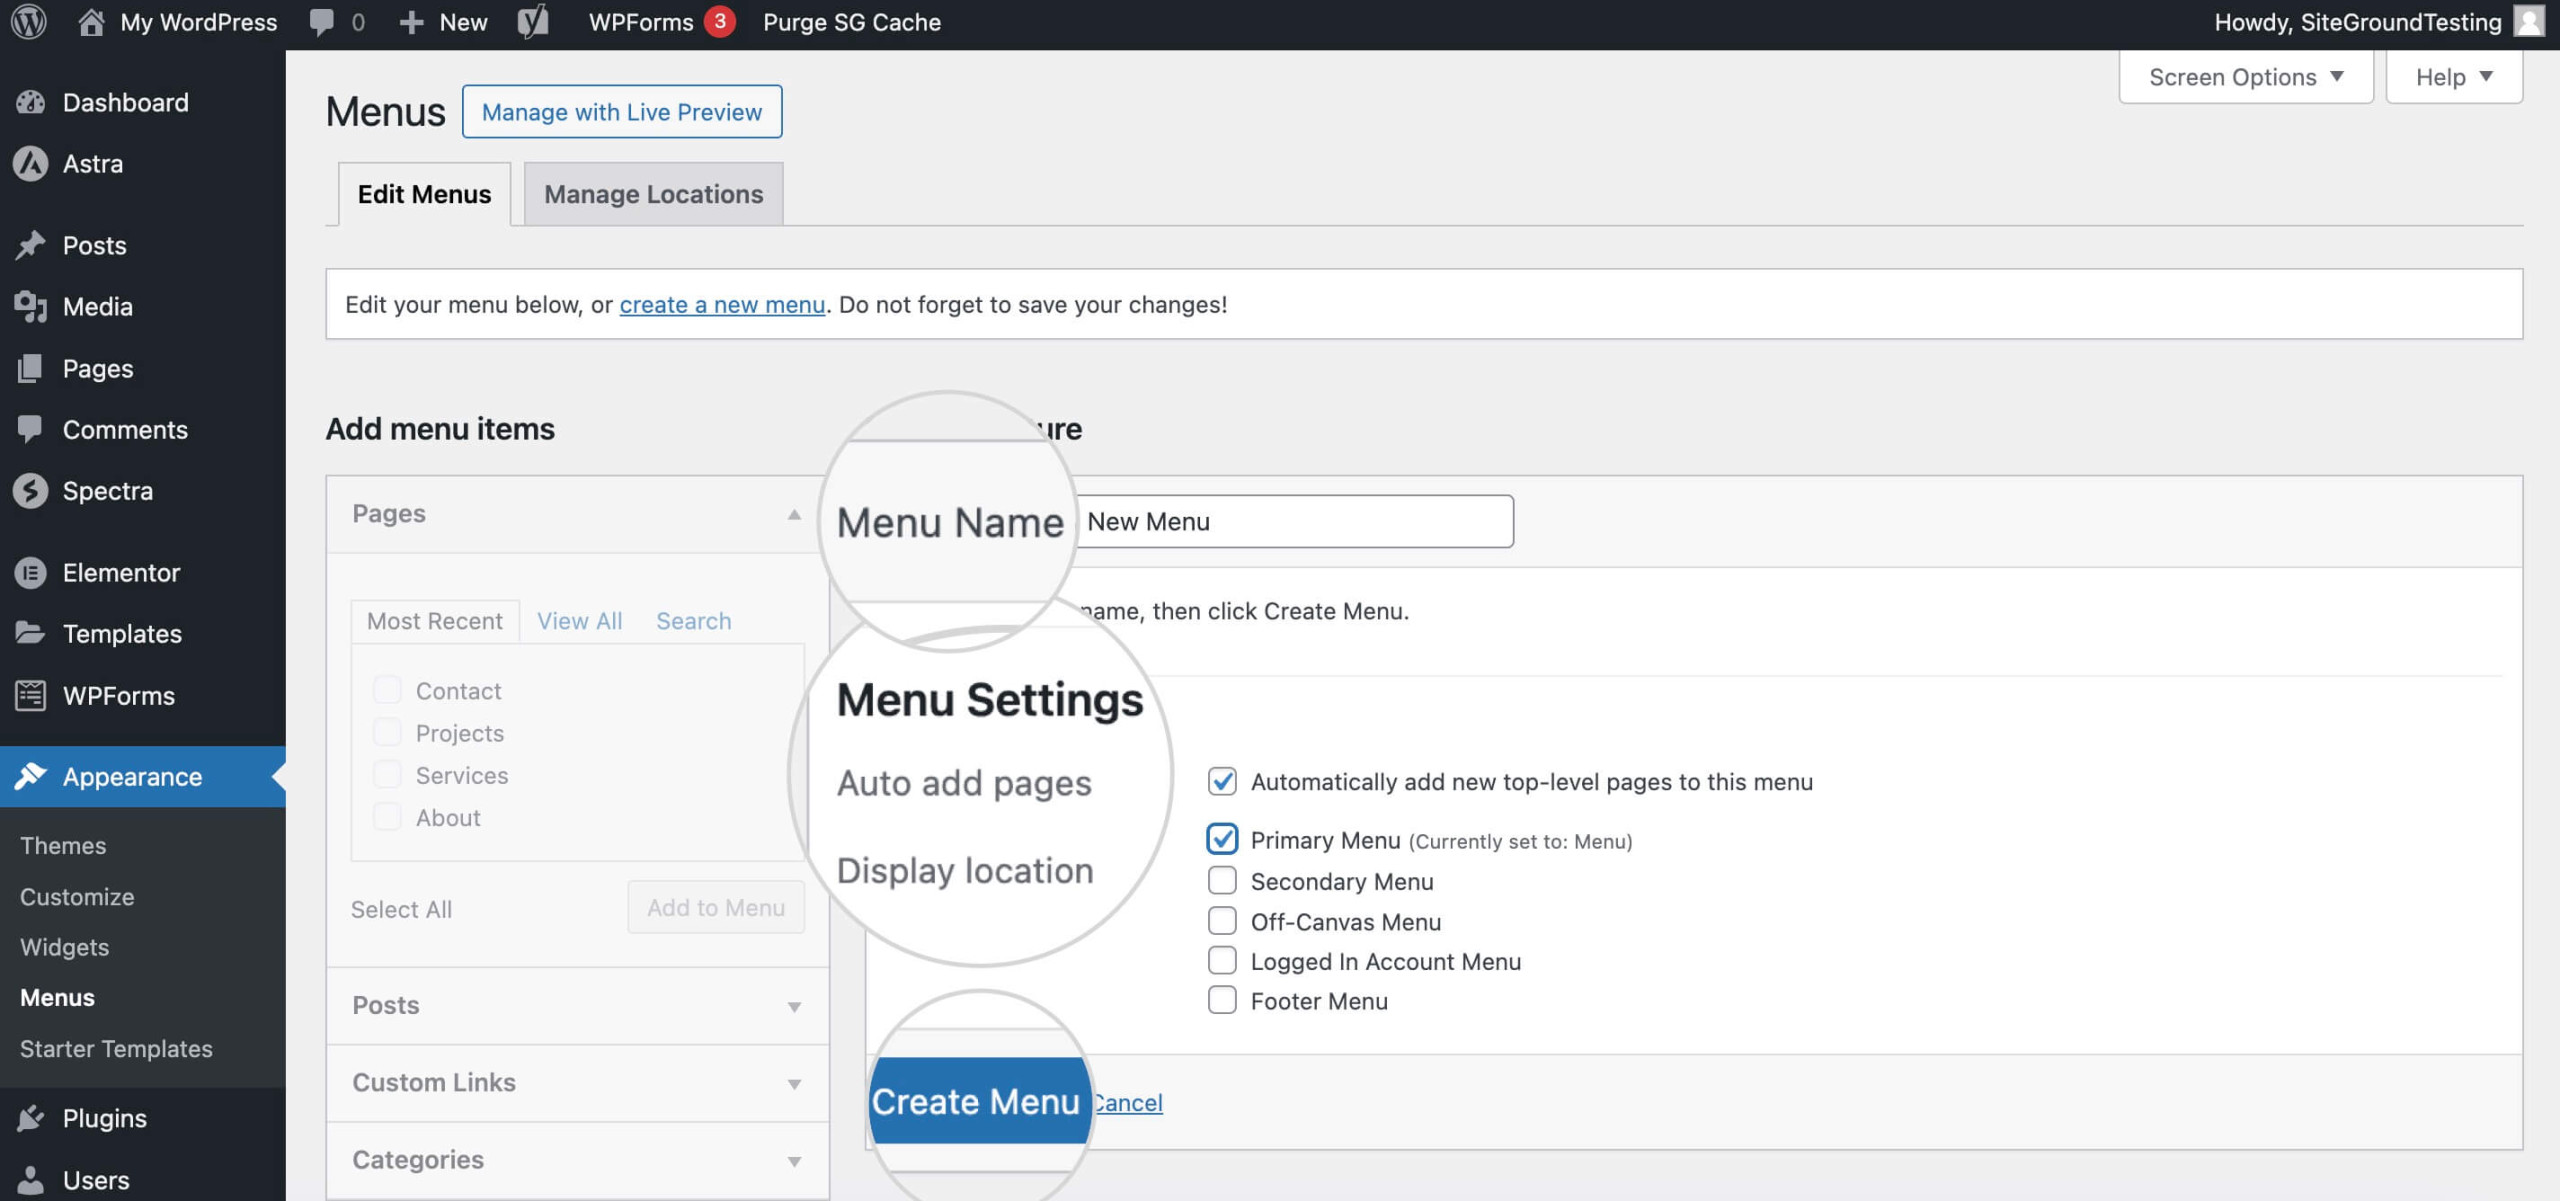
- Give a name to your new menu.
- Choose its location on your site under Menu Settings section. You can select “Automatically add new top-level pages to this menu” by checking the respective box. Additionally, you can check the boxes to manage locations on your site where you want this menu visible.
- Go to the “Add Menu Items” section on the left side of the screen and select the pages you want to include in your menu.
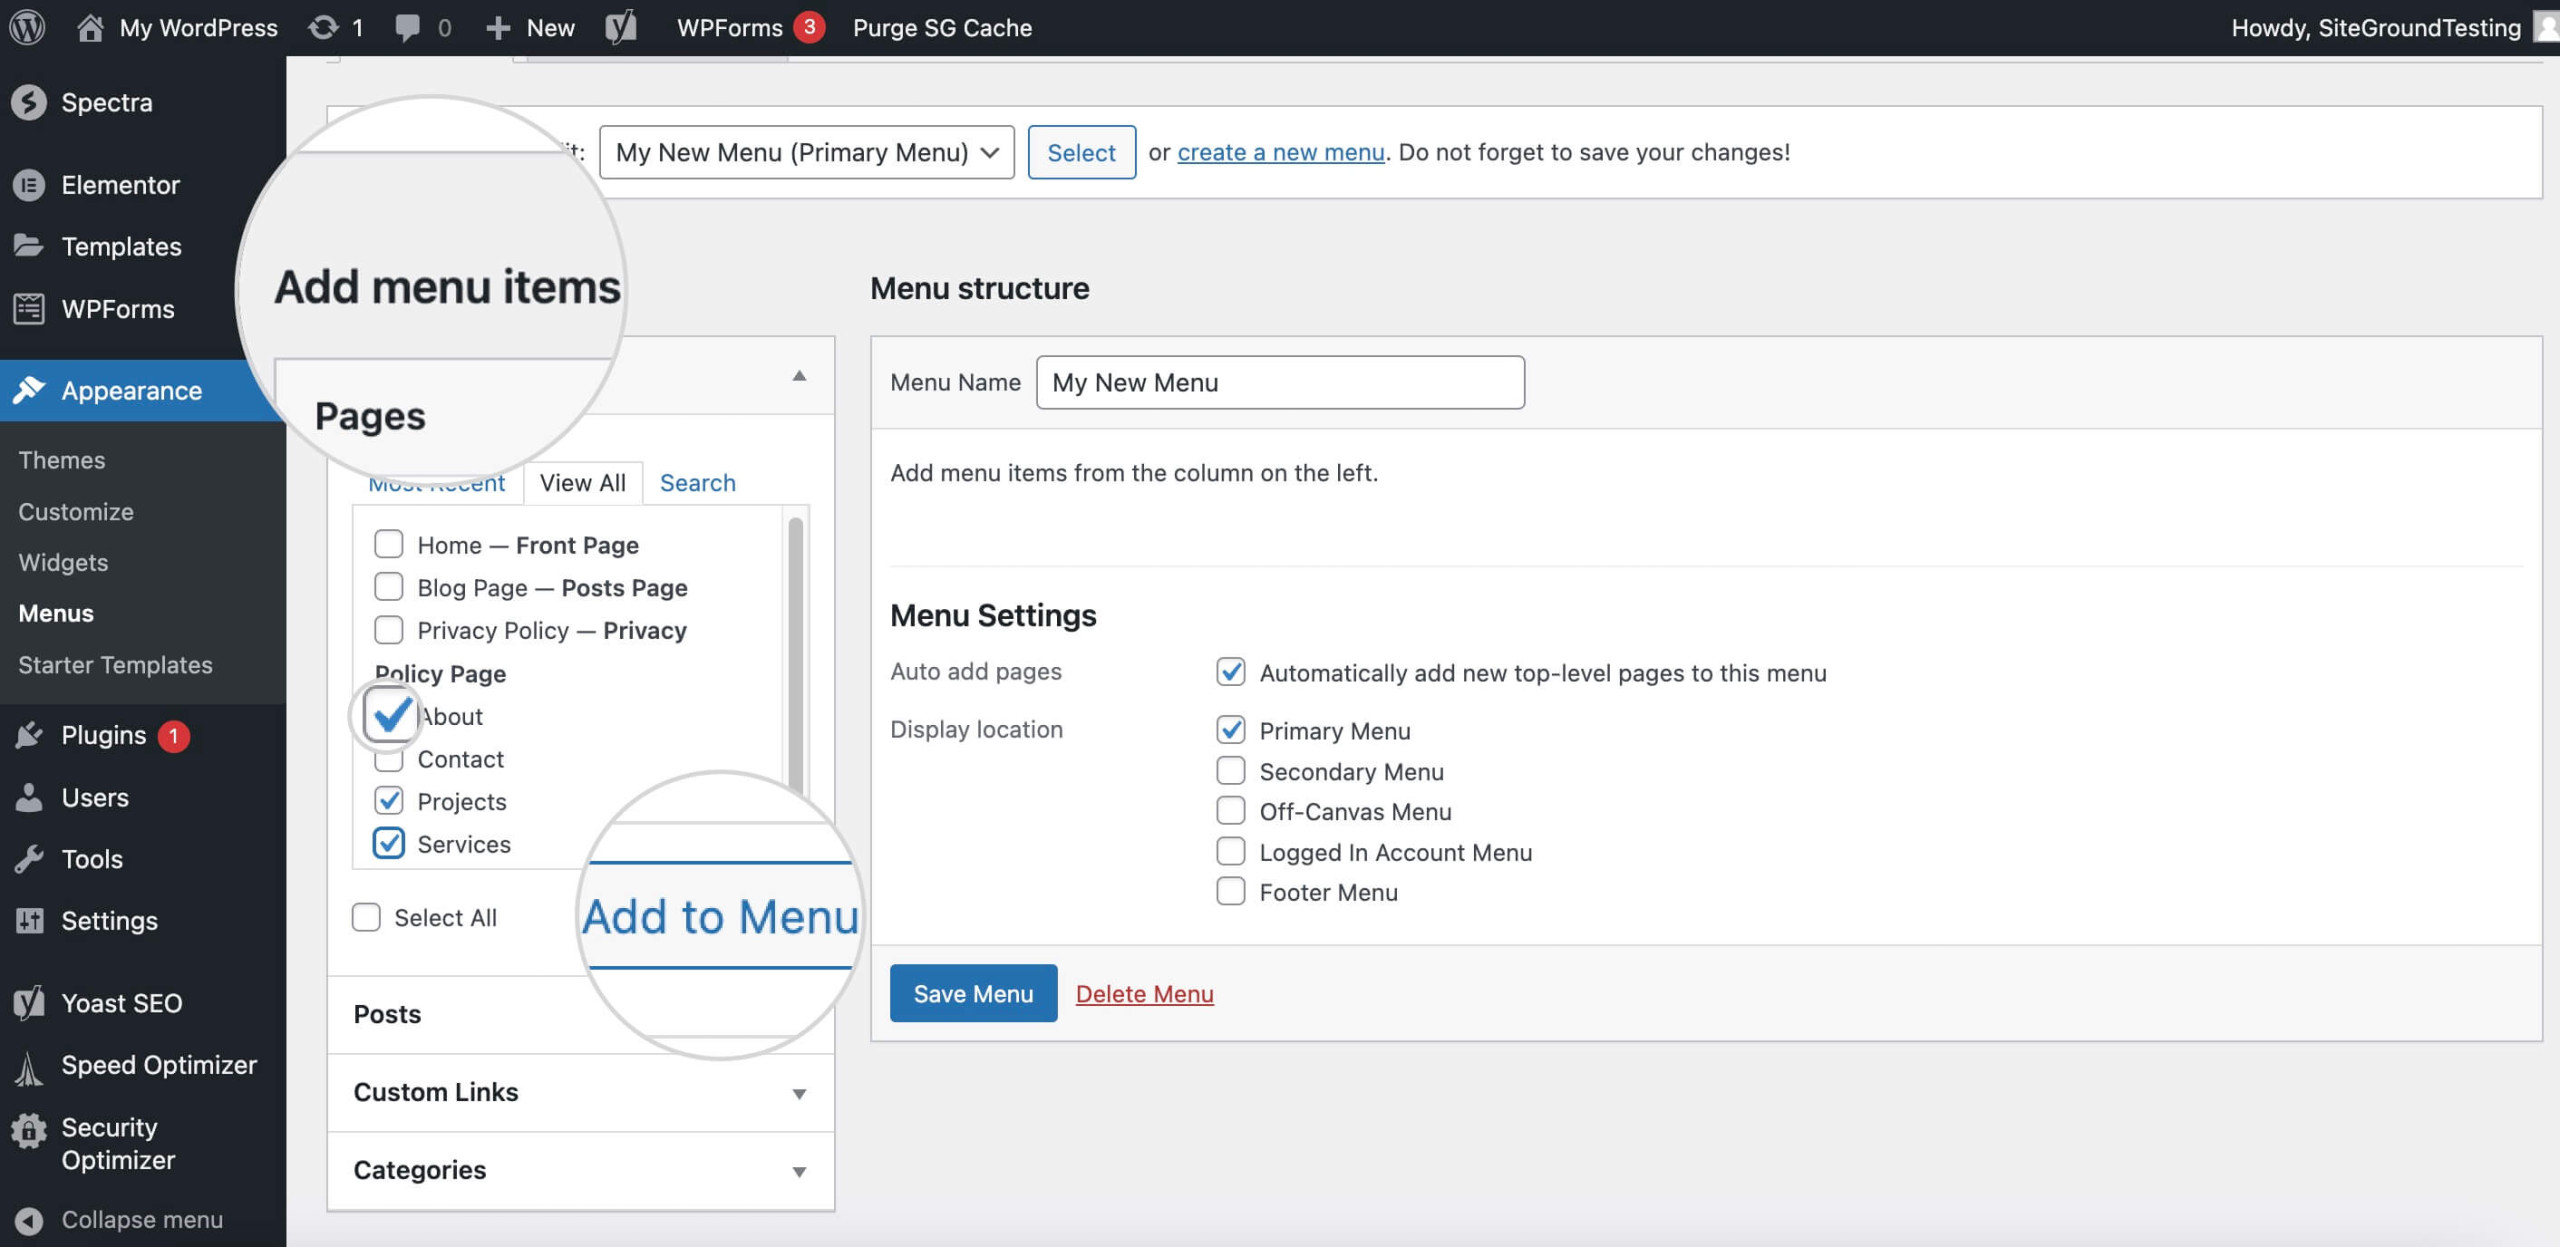
- Include specific Posts, Custom Links, or Categories, by expanding each section with a click on the arrow on the right.
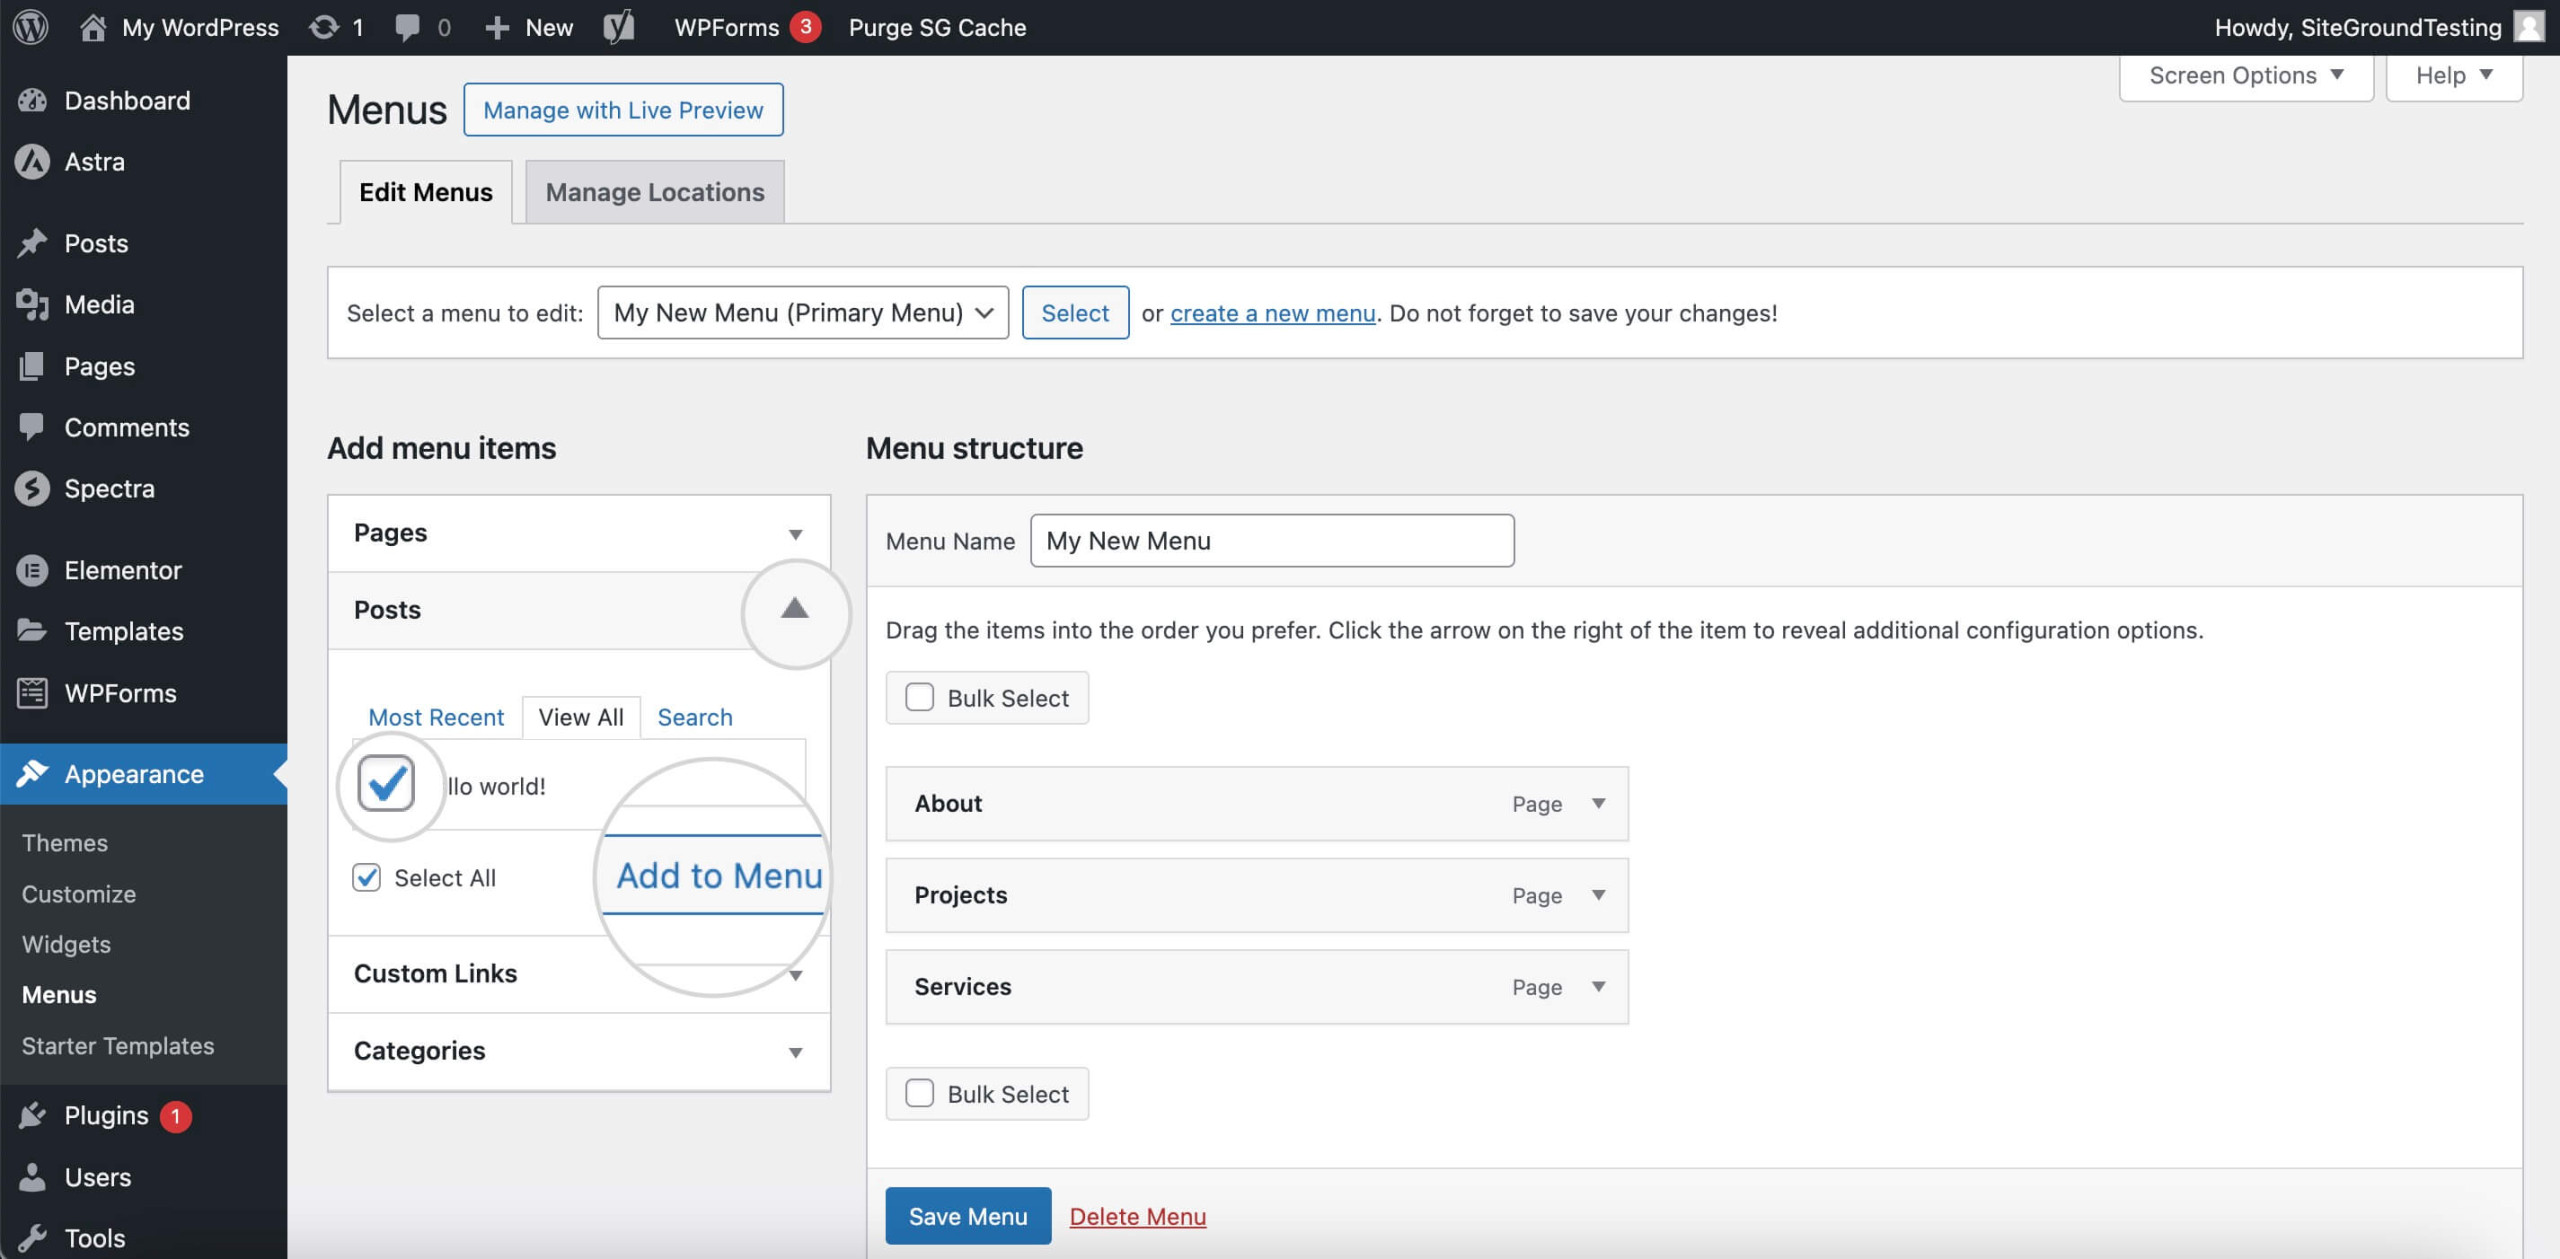
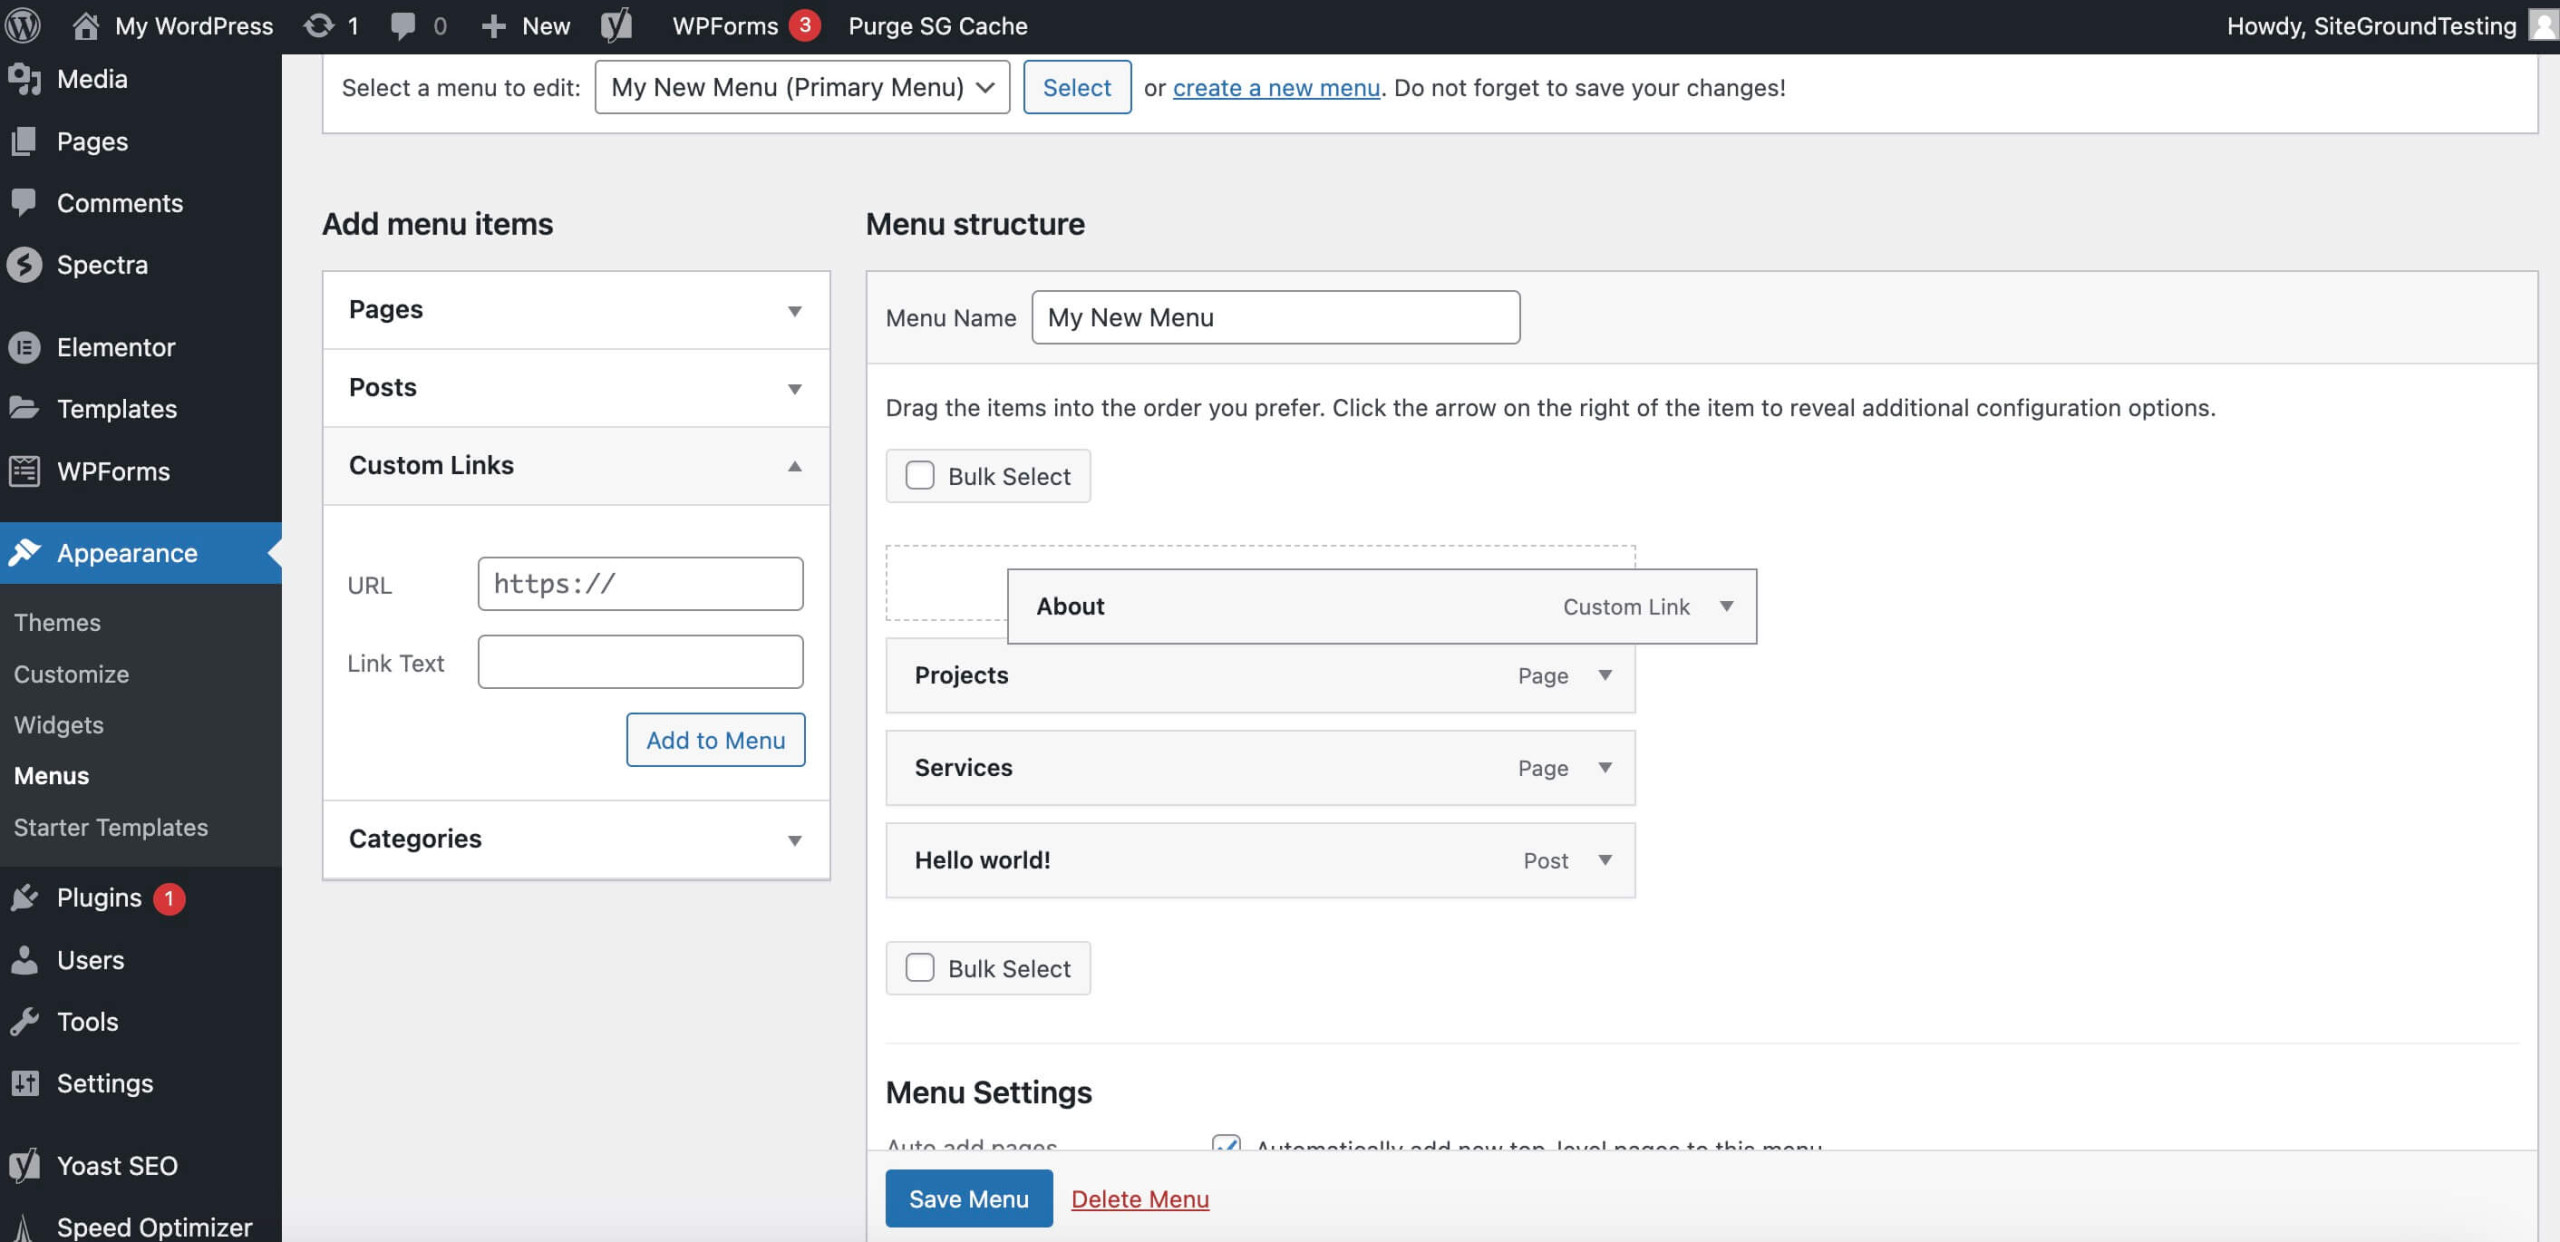
- Add a Custom Link (placeholder for a dropdown) by entering the URL and link text (use # if it’s unclickable) and then adding it to the Menu.
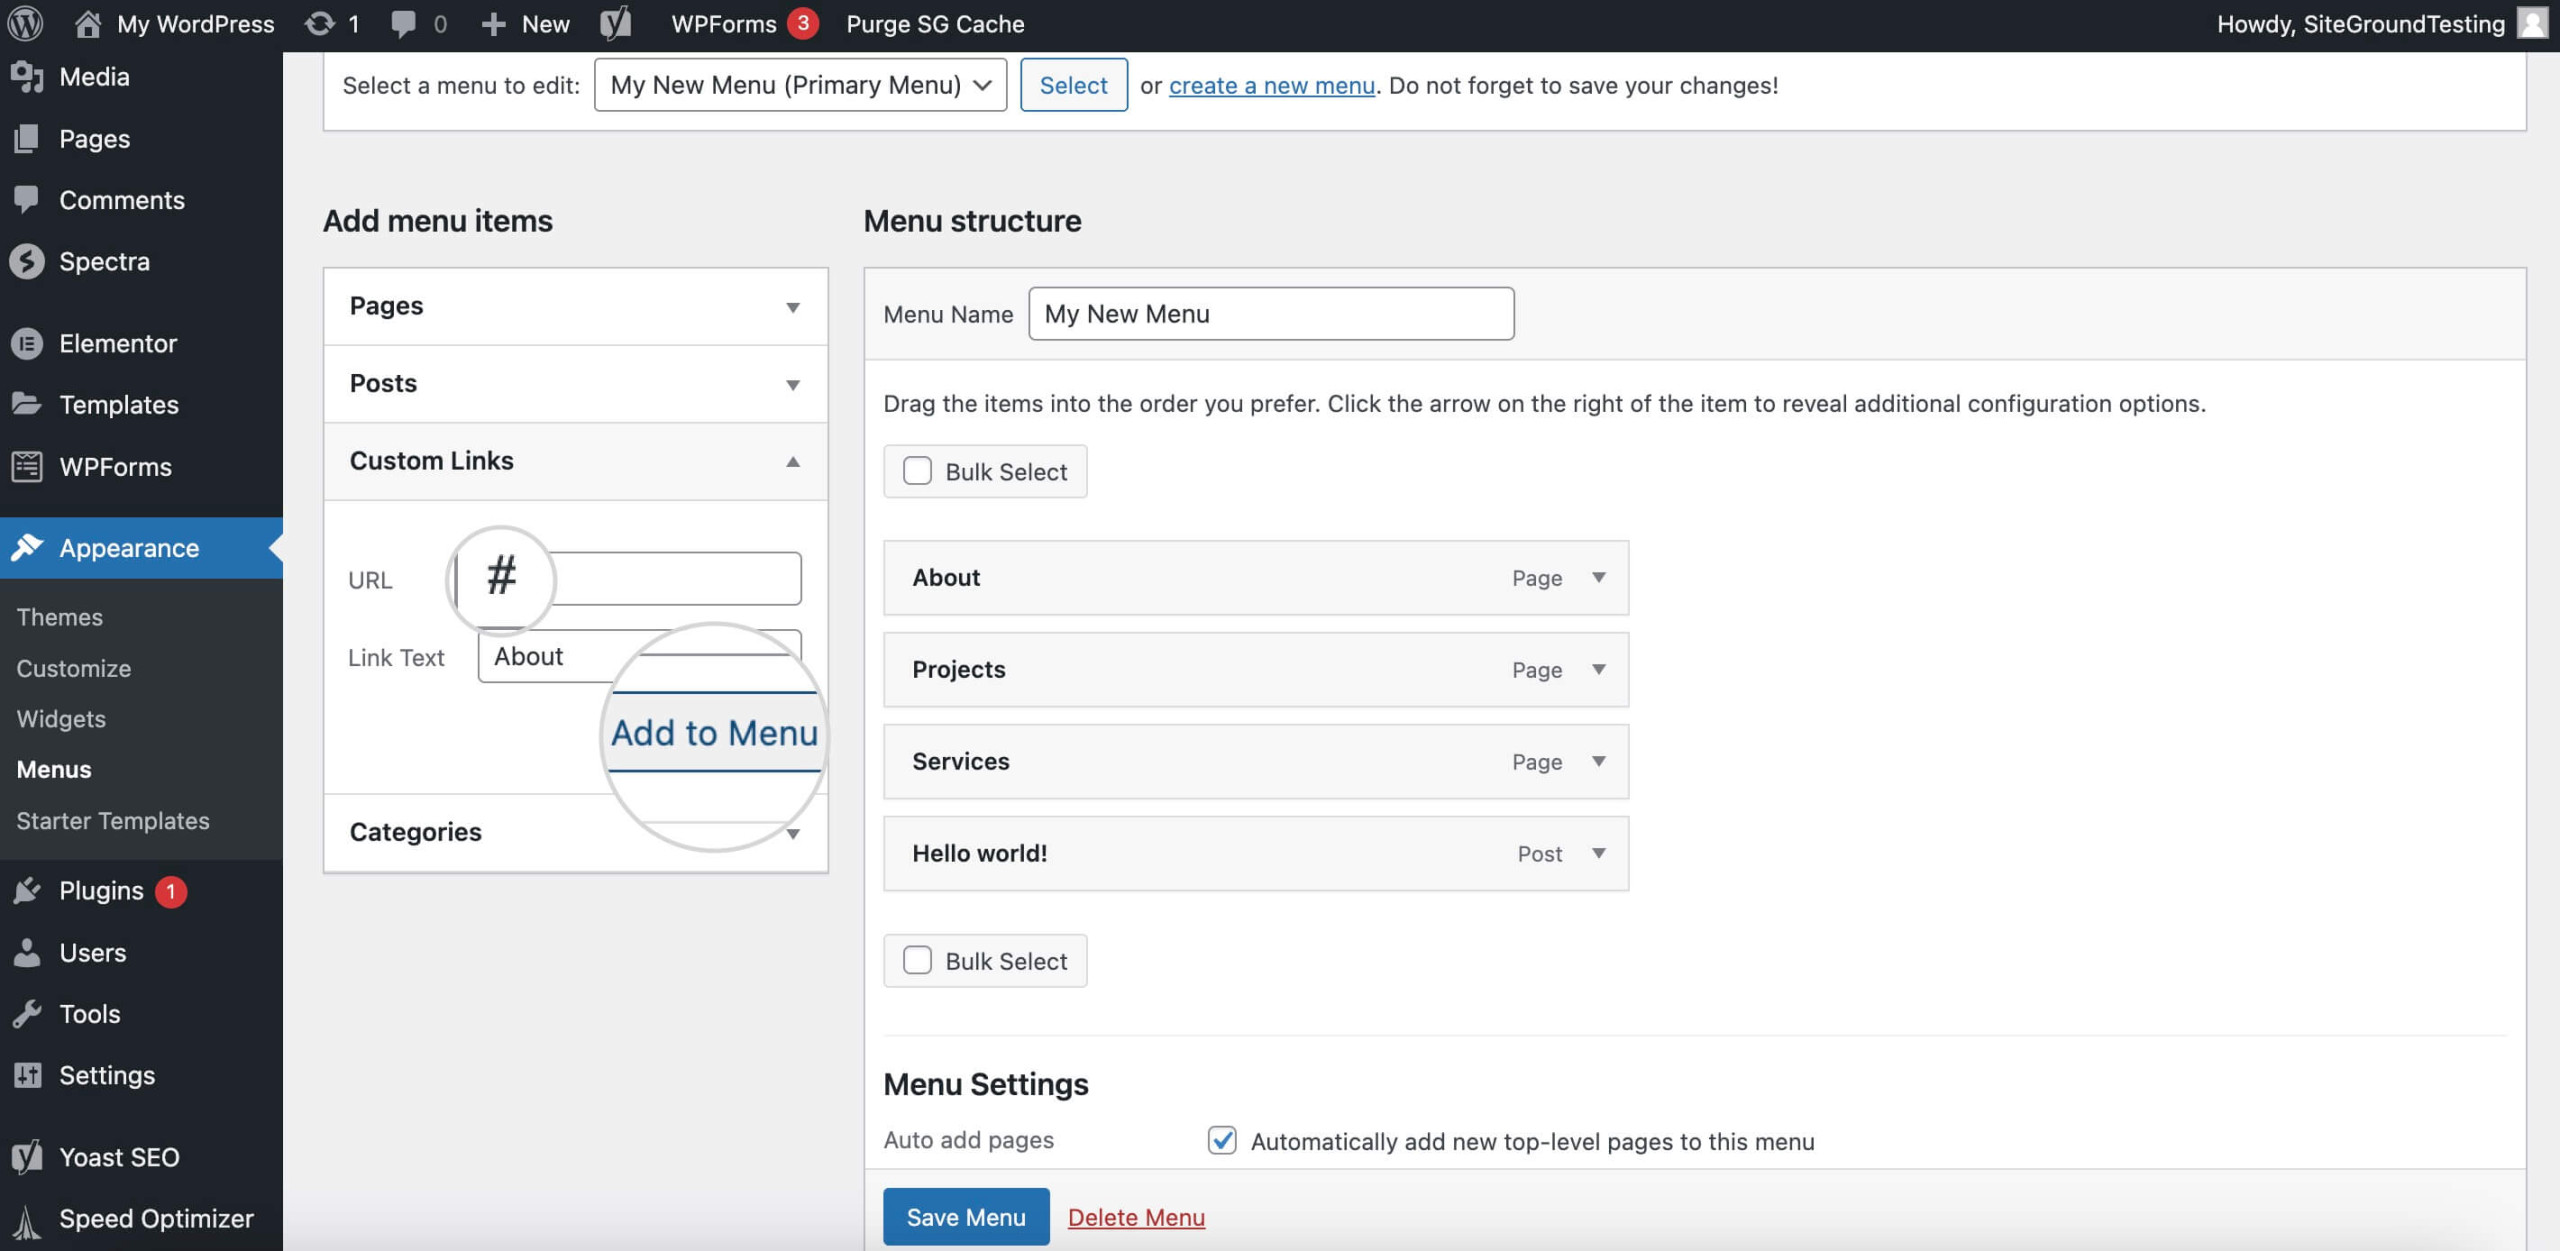
- Simply drag and drop the items on the right-hand side of the screen to arrange their order.
- Turn menu items into sub menus by selecting the “Under” option below a parent item.
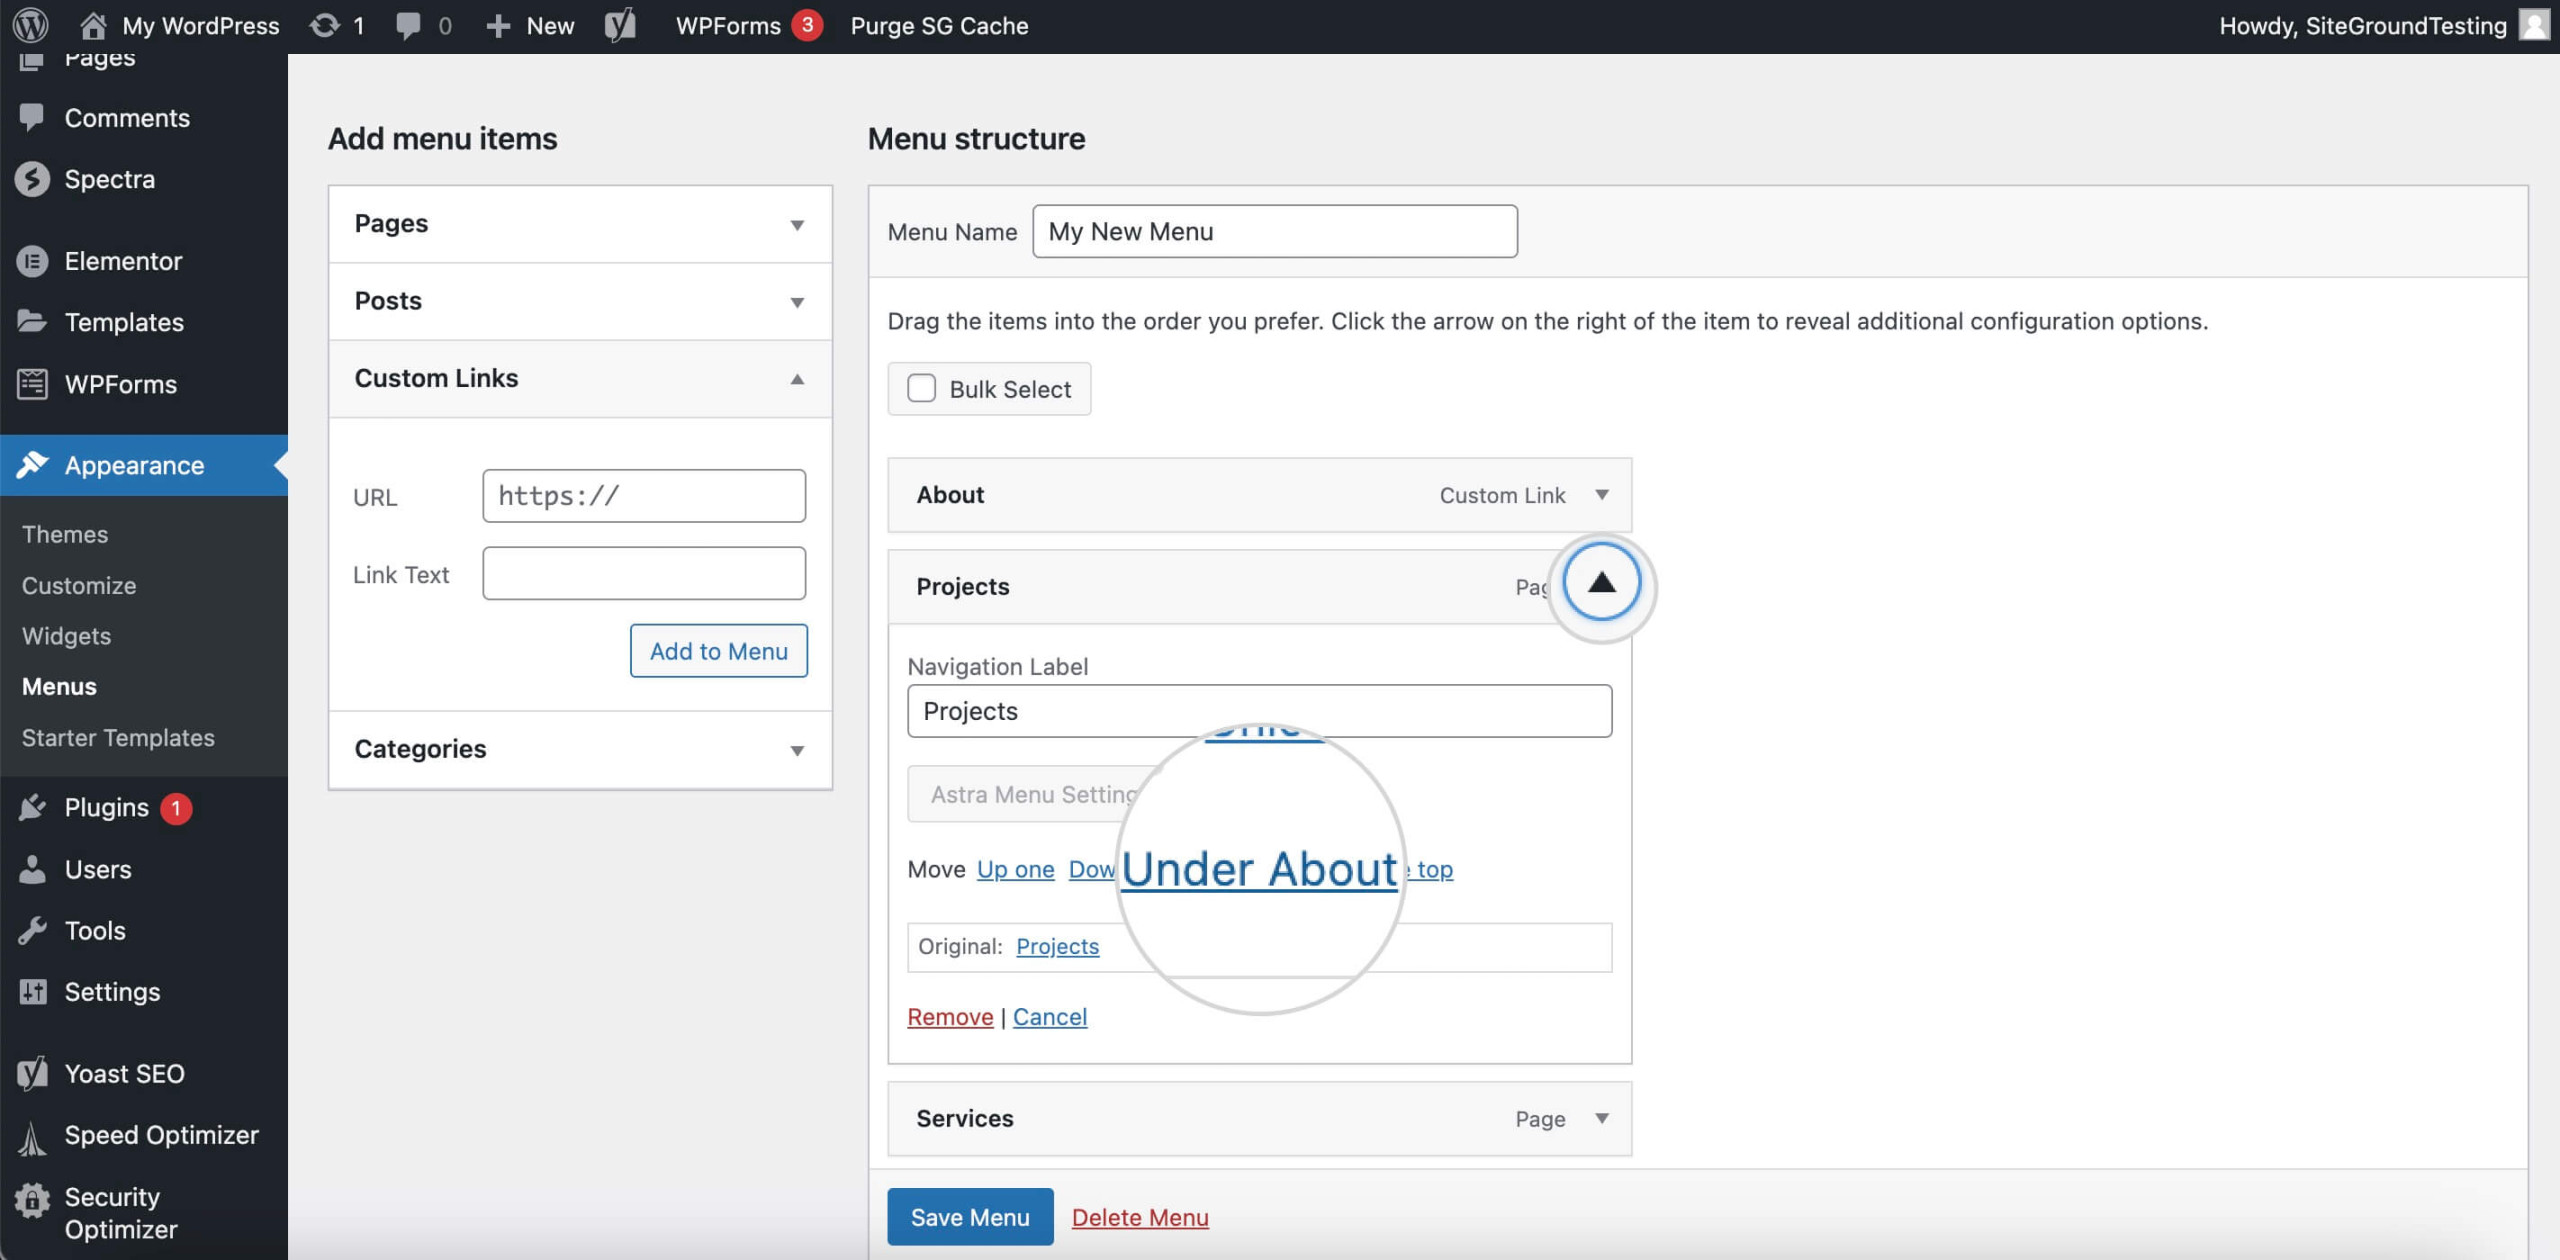
- Click “Save Menu” to store your changes.
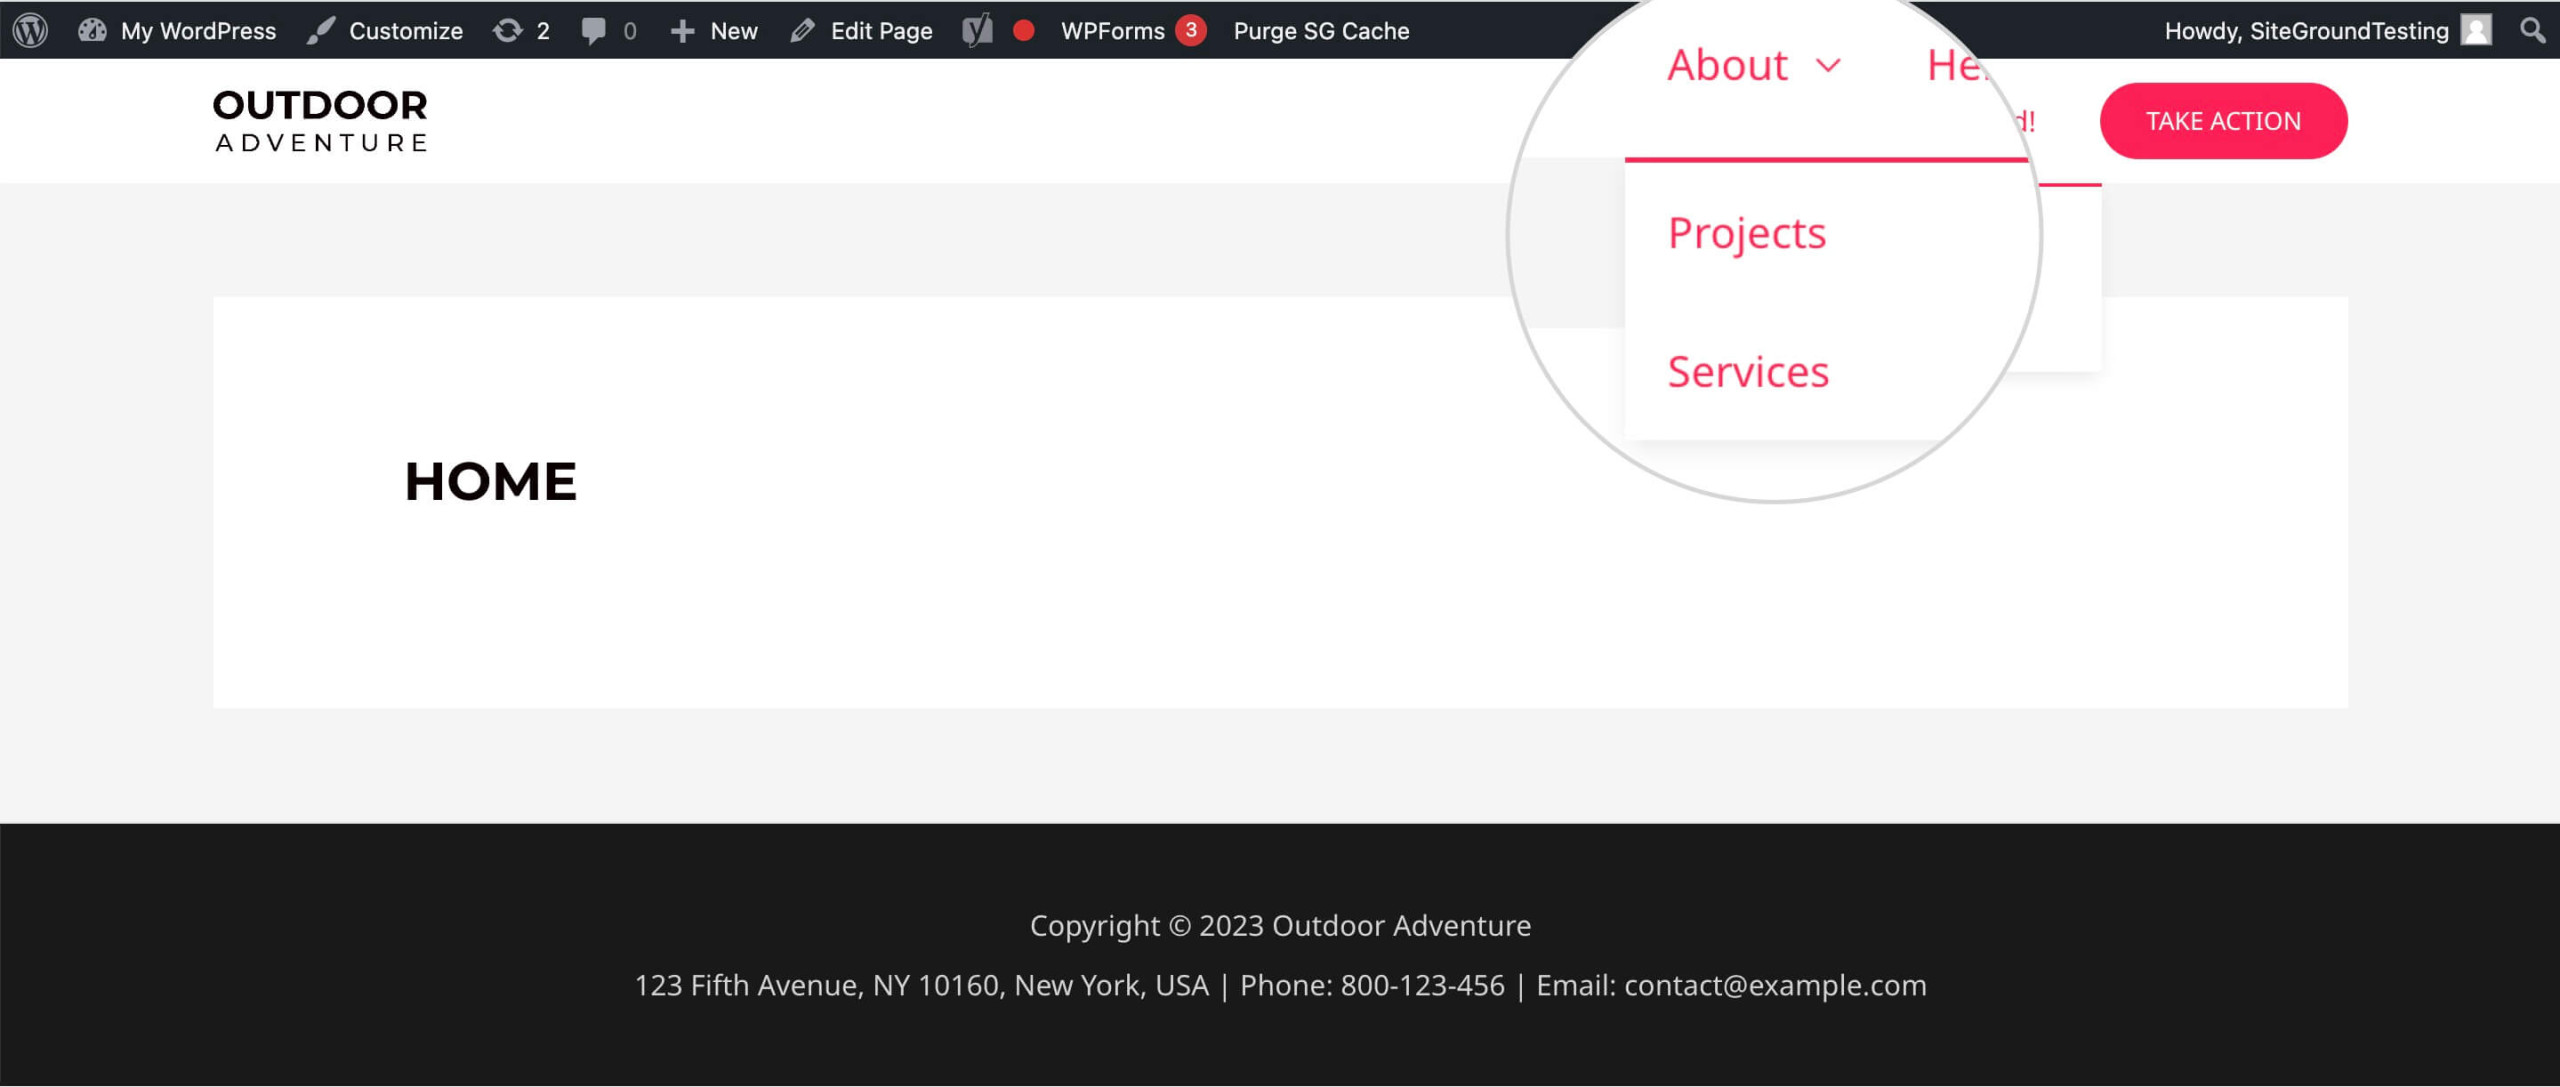
After saving your new menu, check your website to see how it looks. As you can see in the image below, the menu bar About is the parent menu item, with Project and Services as sub menus.
2. Using Navigation Block in Block Editor
The Block Editor is a WordPress built-in functionality. It simplifies the creation of dropdown menus. This tool lets you visually construct your menus and see the changes in a live preview.
Here is how you can use it.
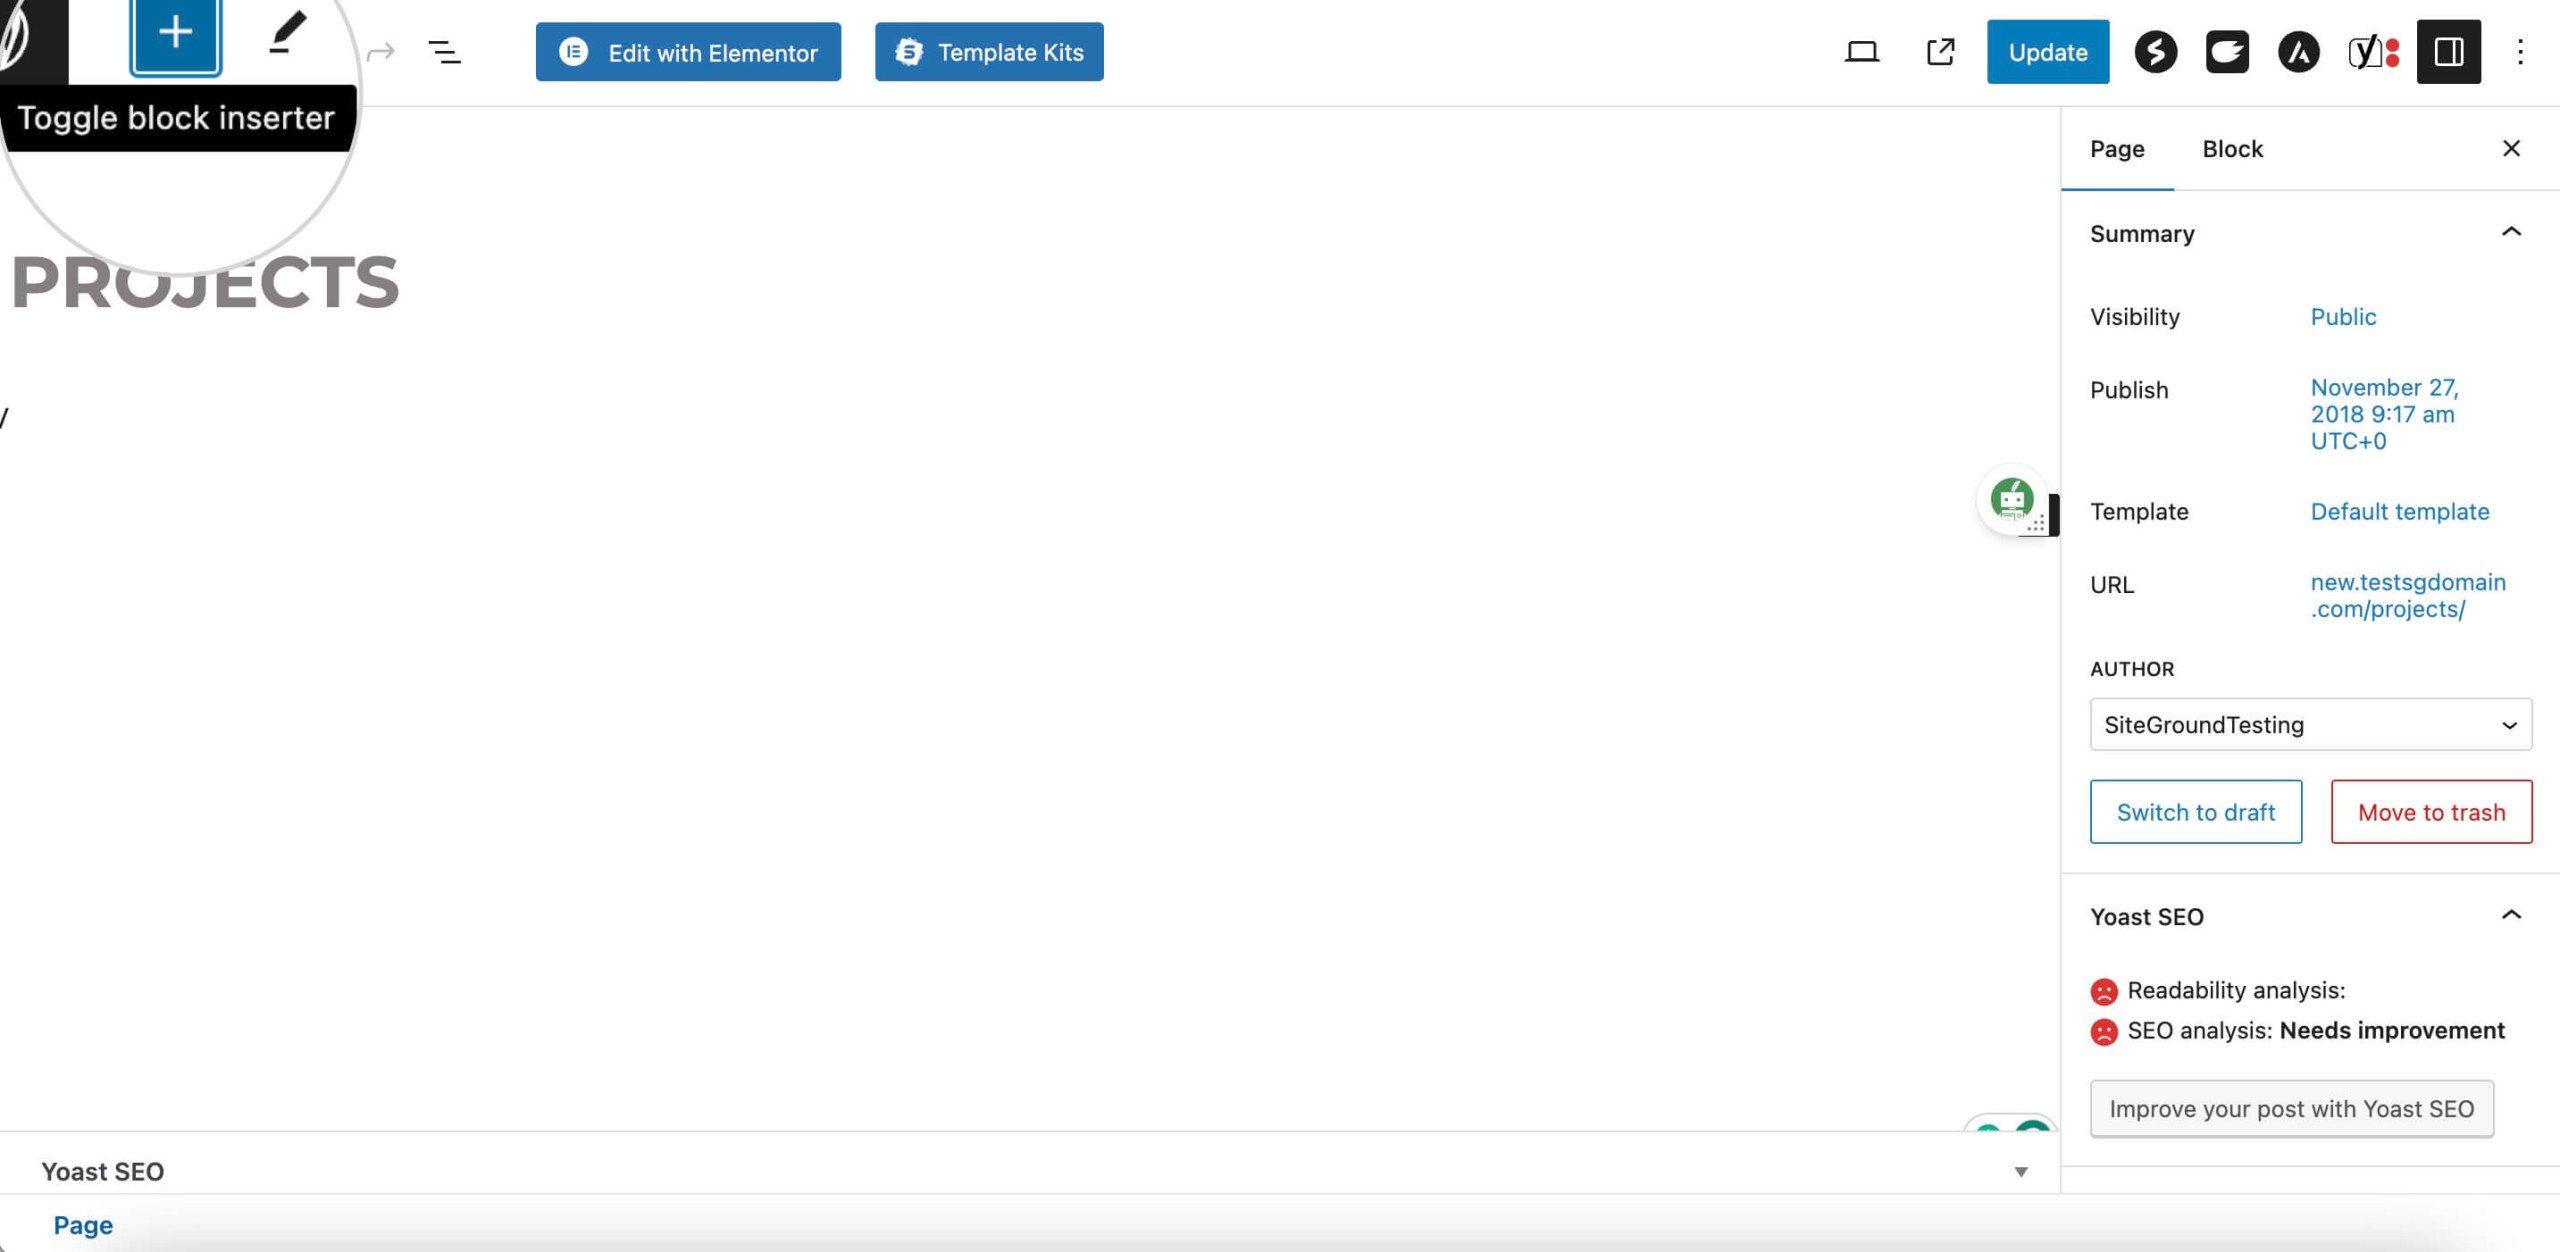
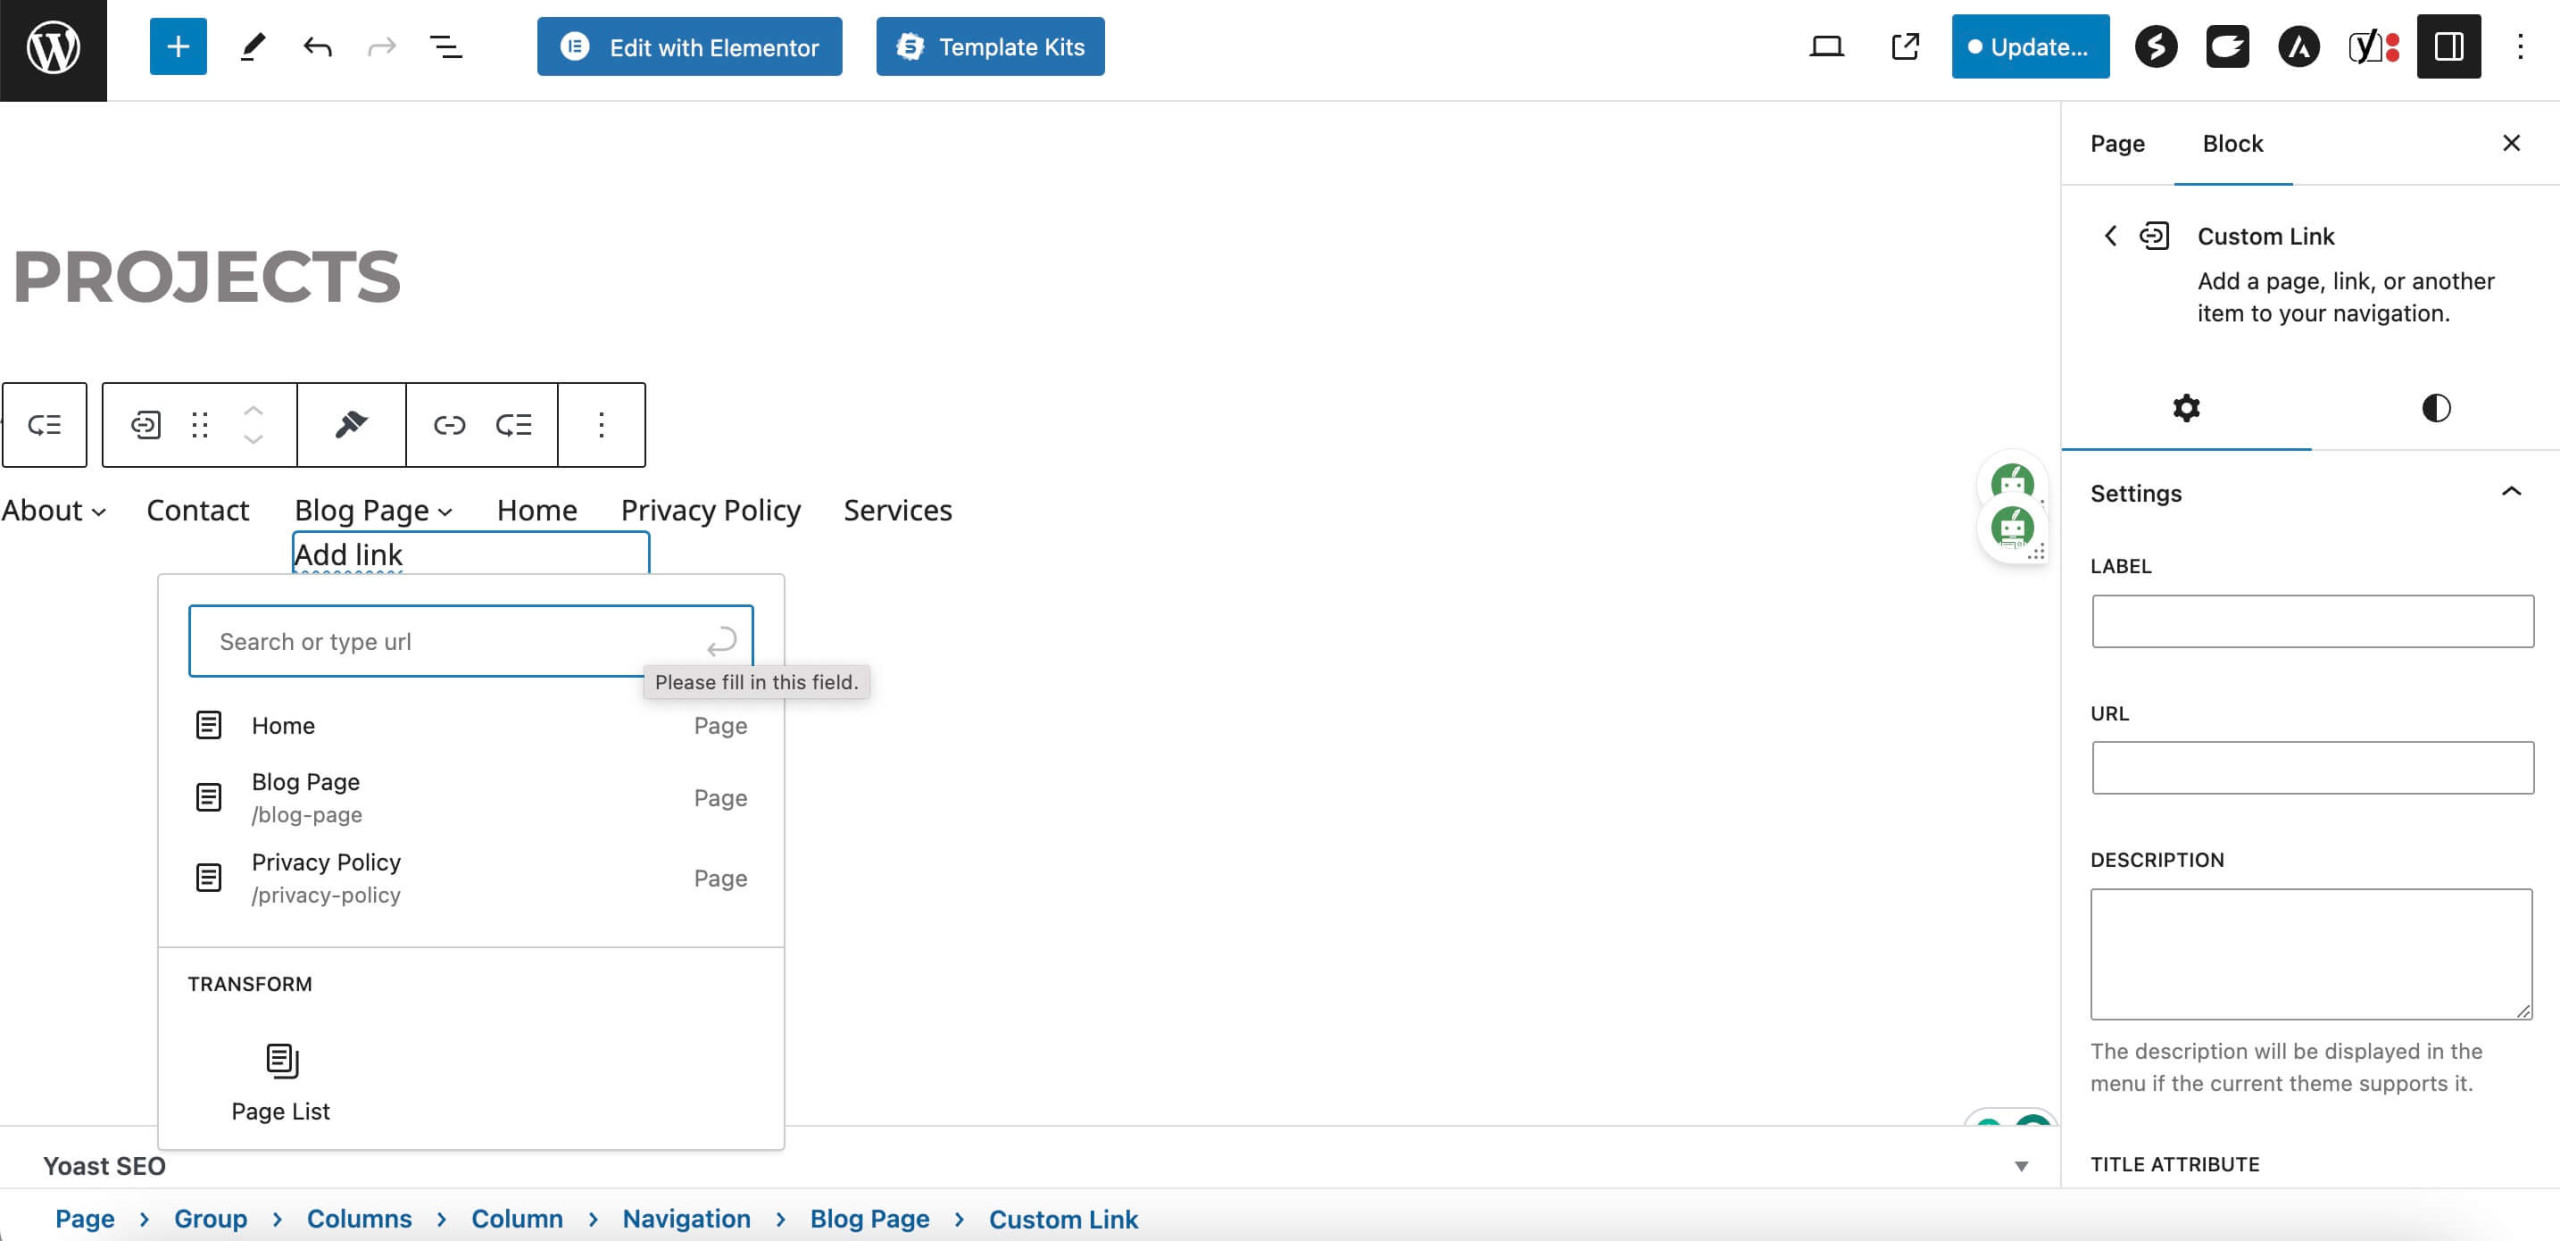
- Edit the page or post where you want to insert the drop down menu.
- Click the “+” icon to add a new block.
- Search for and select the “Navigation” block from the list of available blocks.
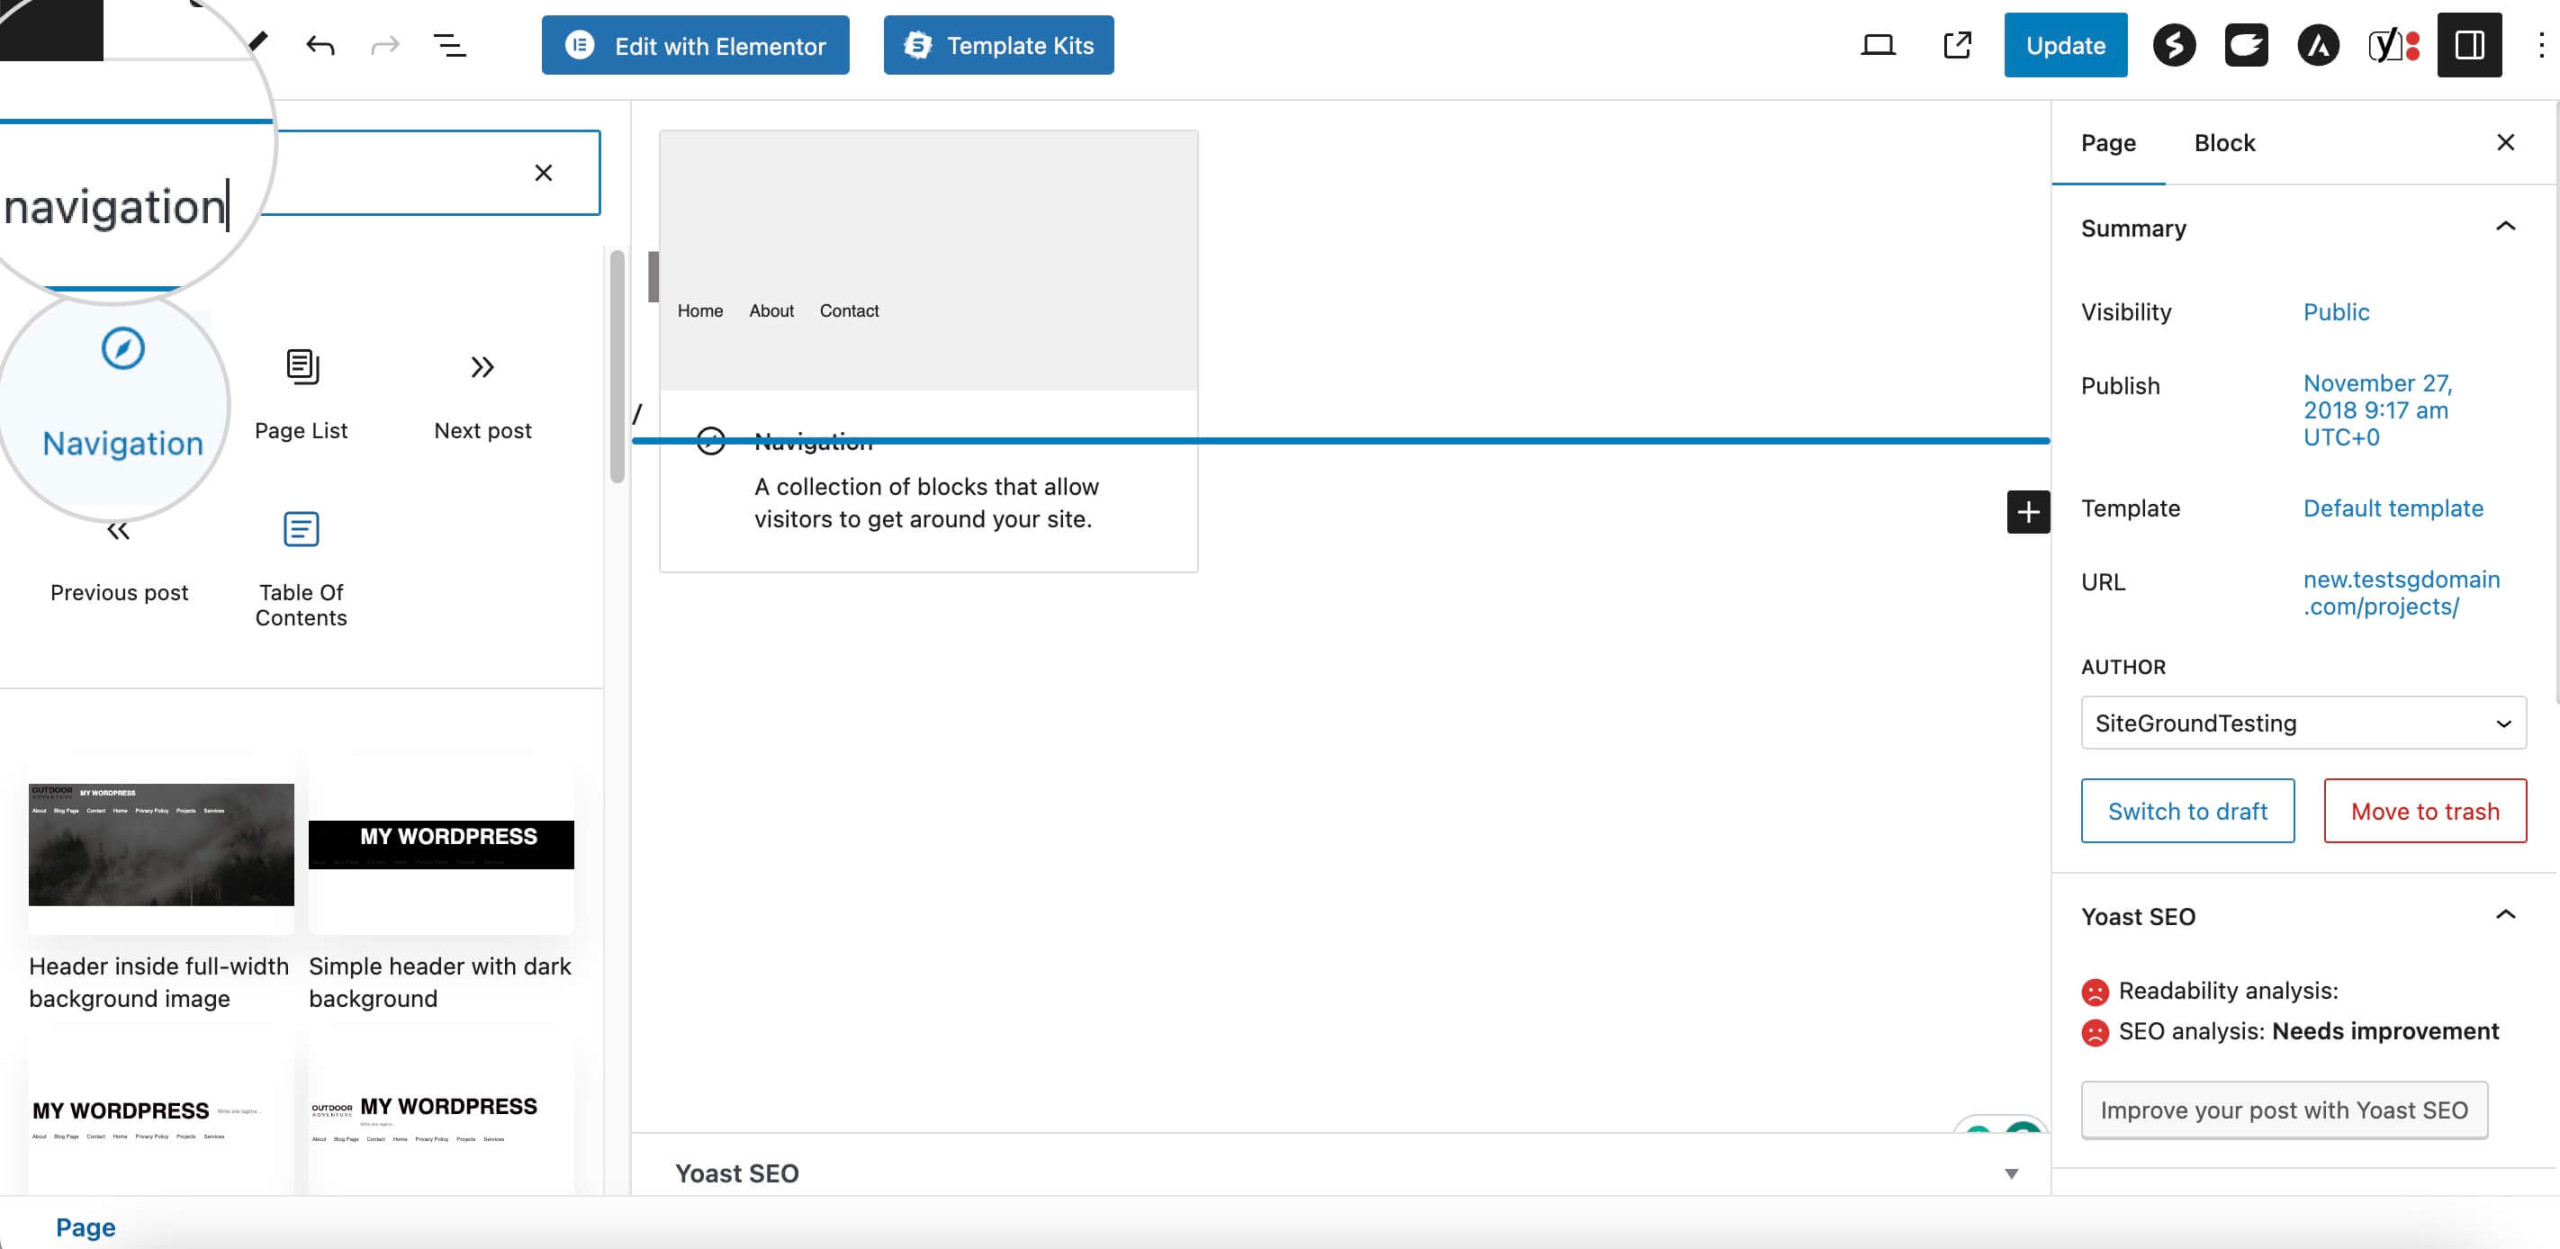
- Drag and drop the “Navigation” block into the desired location within your content.
- Arrange menu items by dragging and dropping each menu item in the desired order to build your menu structure.
- Click the “Add Submenu” button under a primary menu item to create a new WordPress dropdown menu within that menu item.
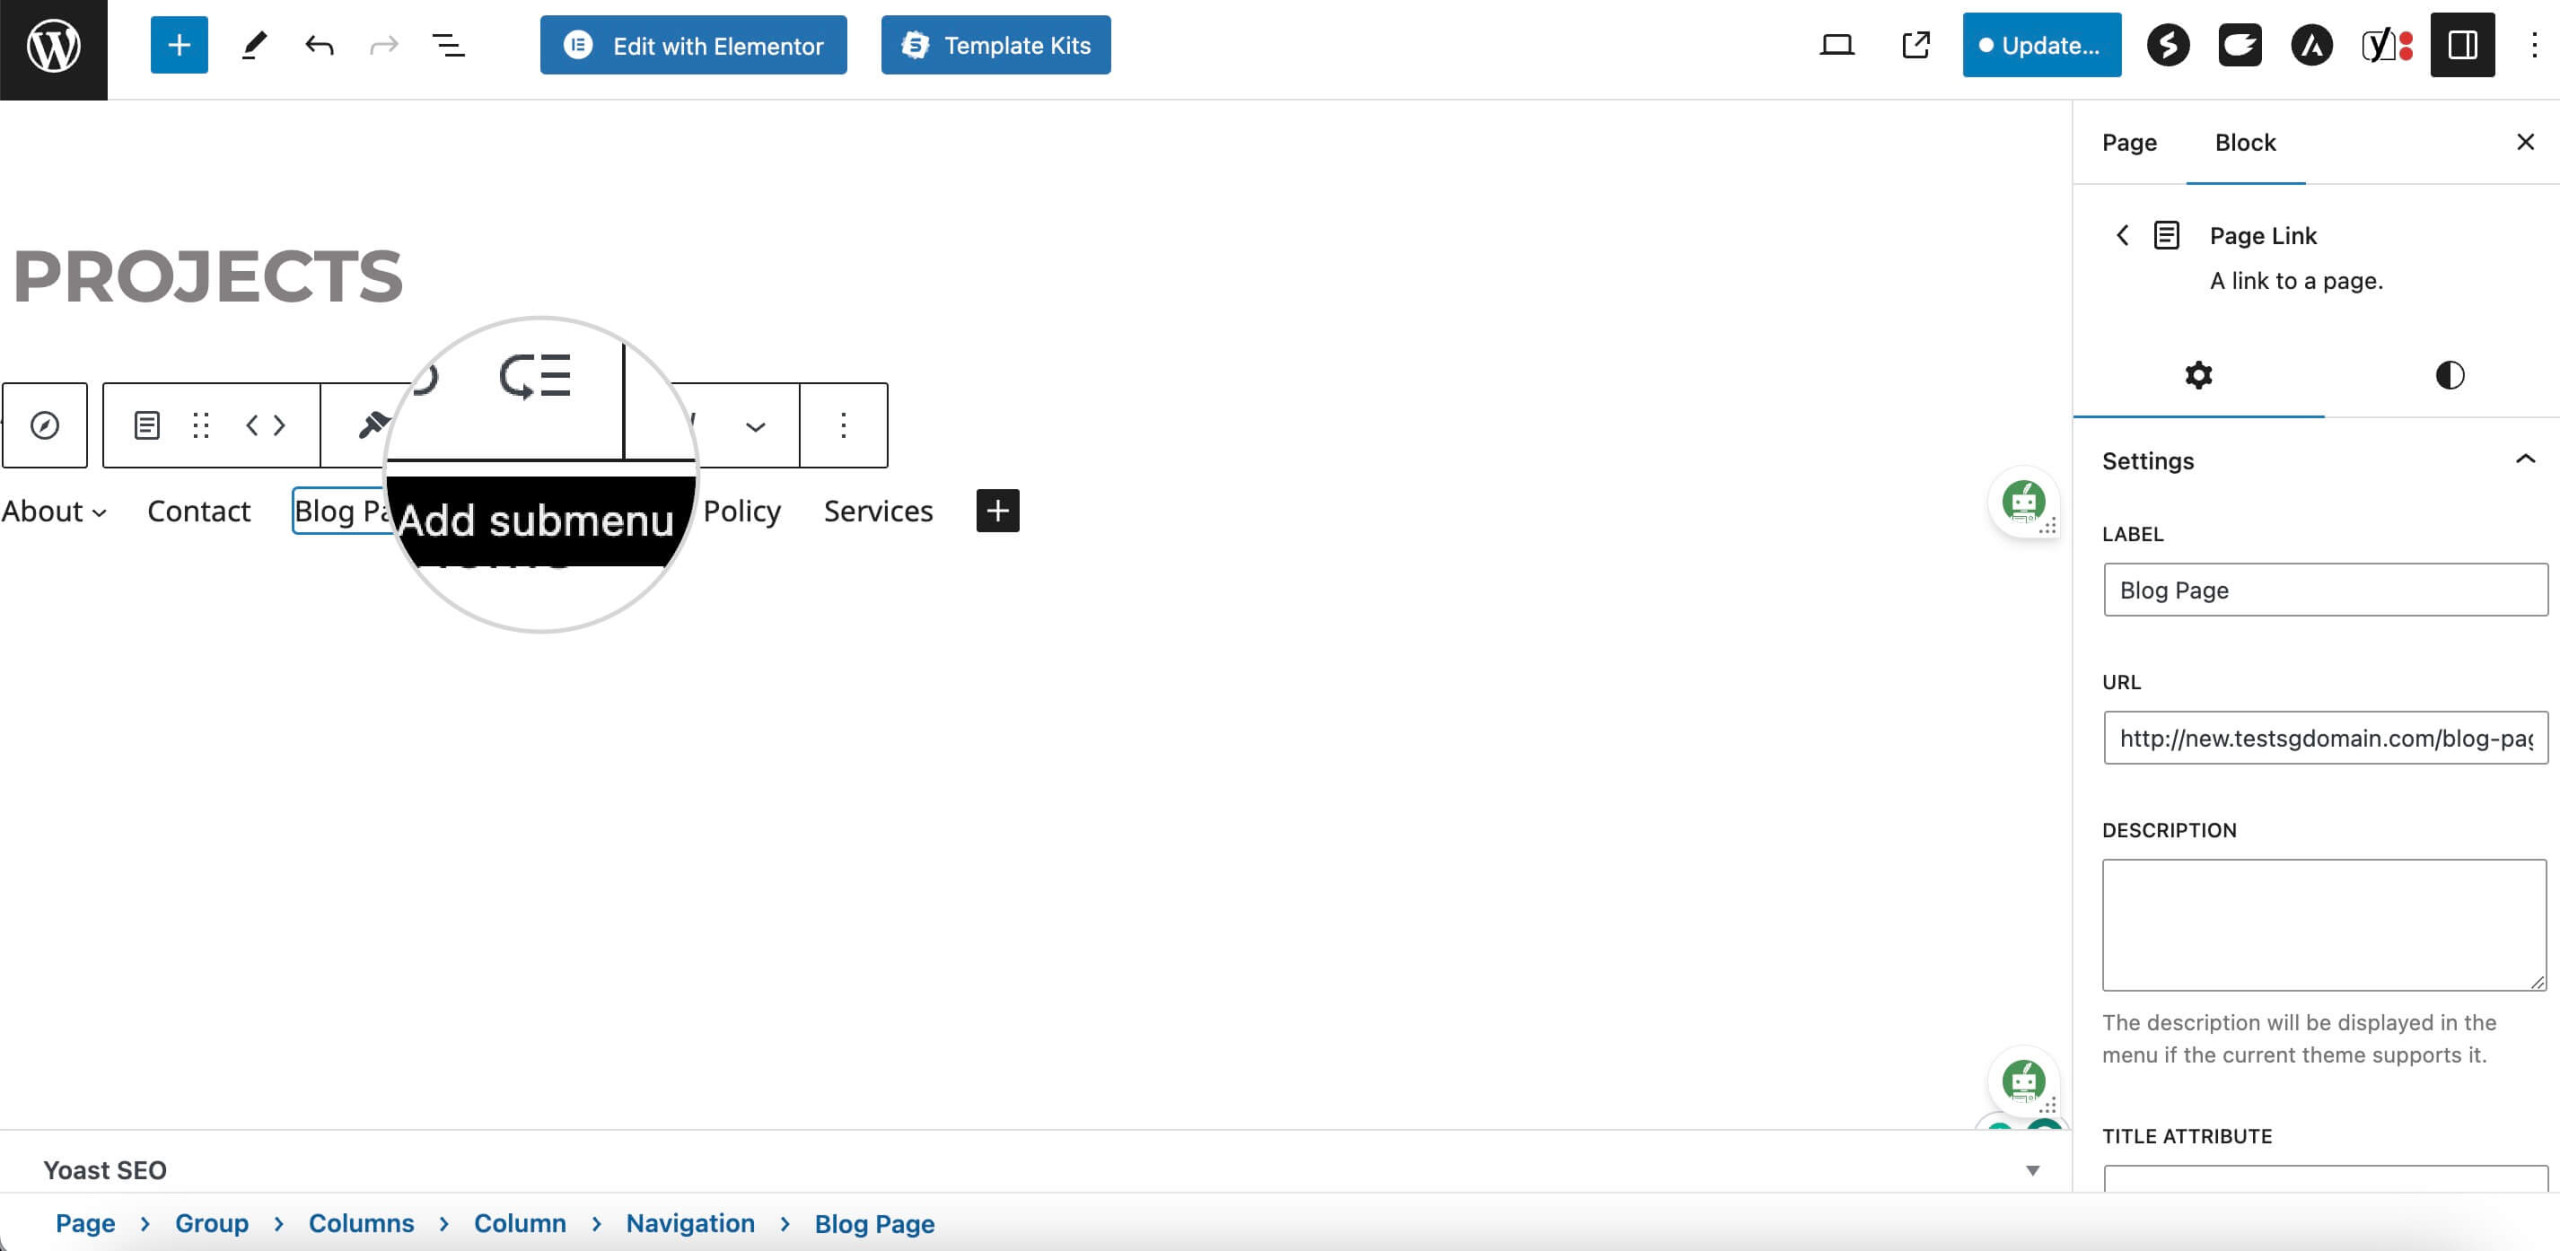
- Select the pages or links you want to include in the drop down menu.
- Adjust colors, spacing, and other settings in the block options to style your menu.
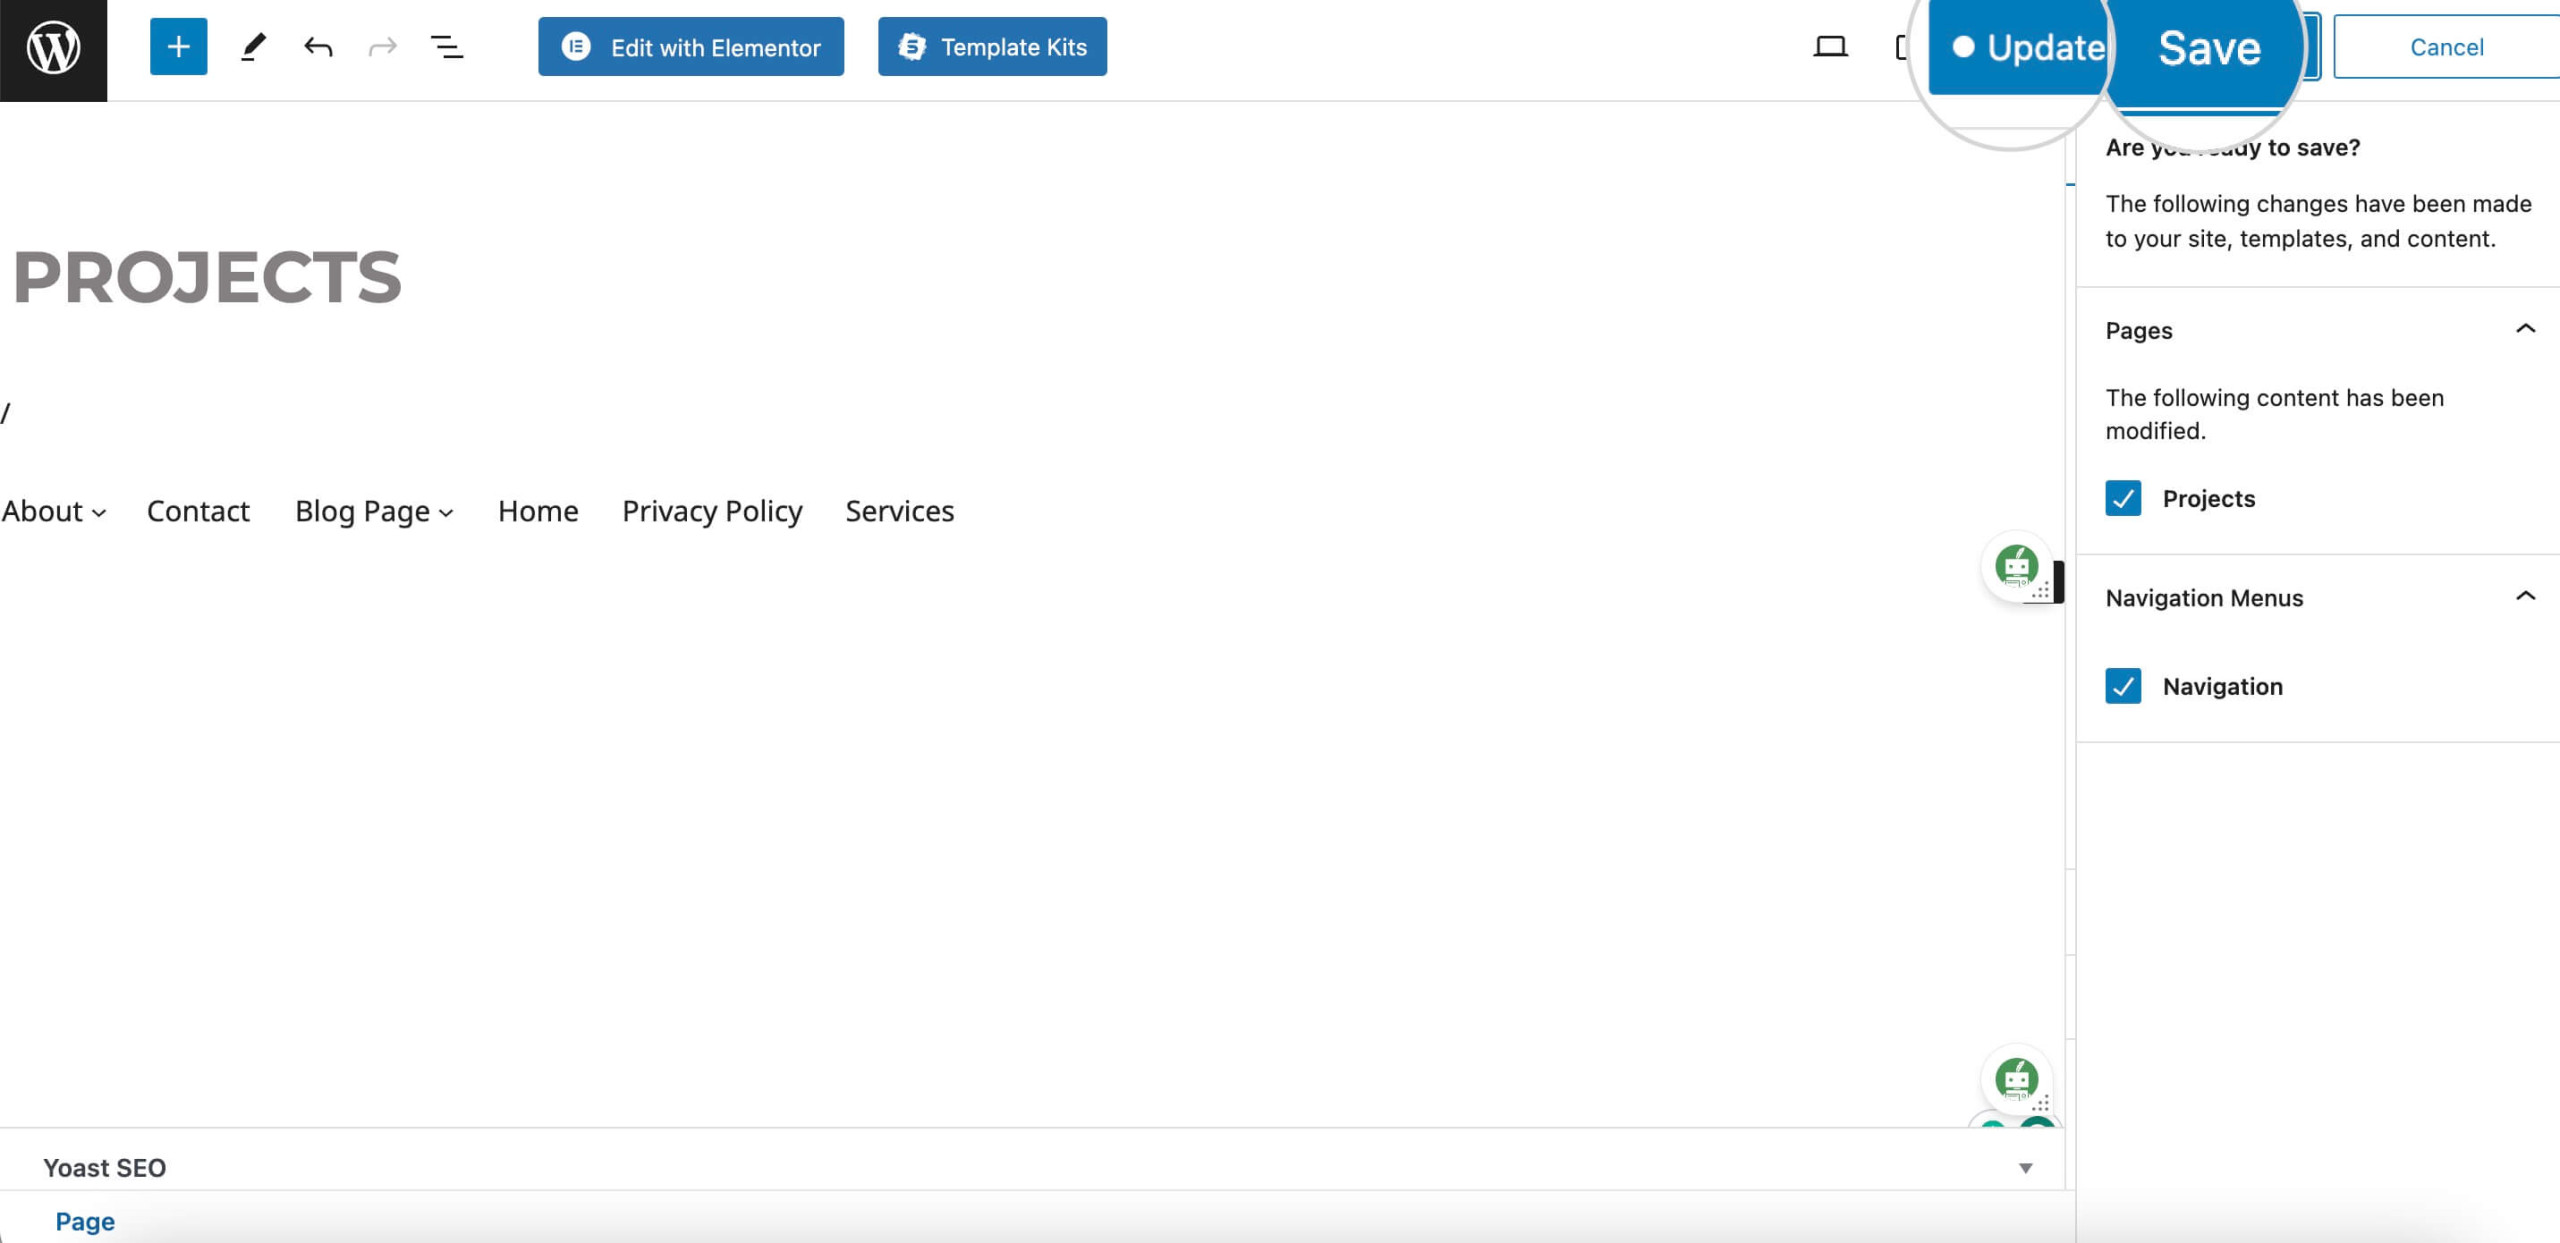
- Click “Update” > “Save” to apply your changes.
3. Custom CSS Manipulation
Creating a drop down menu using CSS involves defining the style and behavior of your menu items and their sub-items. This requires a combination of structures in your HTML and styling with CSS.
Here are the steps you can follow:
- Check your theme’s documentation or use your browser’s developer tools to inspect your menu’s HTML structure. That will reveal your theme’s specific classes or IDs for menu items and sub-menus.
- Adjust the CSS selectors in the code to match your theme’s specific CSS classes or IDs.
- Add custom CSS code in your style.css to create your menu.
Here is a basic example.
/* Style the parent menu items */

nav ul li {

background-color: #333; /* Main item background color */

color: white; /* Main item text color */

}

/* Initially hide the sub-menu */

nav ul li ul {

display: none;

position: absolute; /* Position the dropdown */

background-color: #444; /* Dropdown background color */

z-index: 100; /* Ensure the dropdown is above other content */

}

/* Reveal the sub-menu on hover over the parent item */

nav ul li:hover > ul {

display: block; /* Show dropdown */

}

/* Style individual dropdown items */

nav ul li ul li {

display: block; /* Dropdown items should be block level */

}- Target specific CSS classes or IDs to apply particular styles. Using them, you can customize properties like background color, color, display, position, etc. according to your design preferences.
- Test responsiveness to ensure the dropdown works well on different screen sizes.
4. Using WordPress Menu Plugins
Another method to create and design navigation menus is by using WordPress plugins. With a few clicks, you can access powerful features that simplify crafting dropdown menus
Here’s the process in a nutshell:
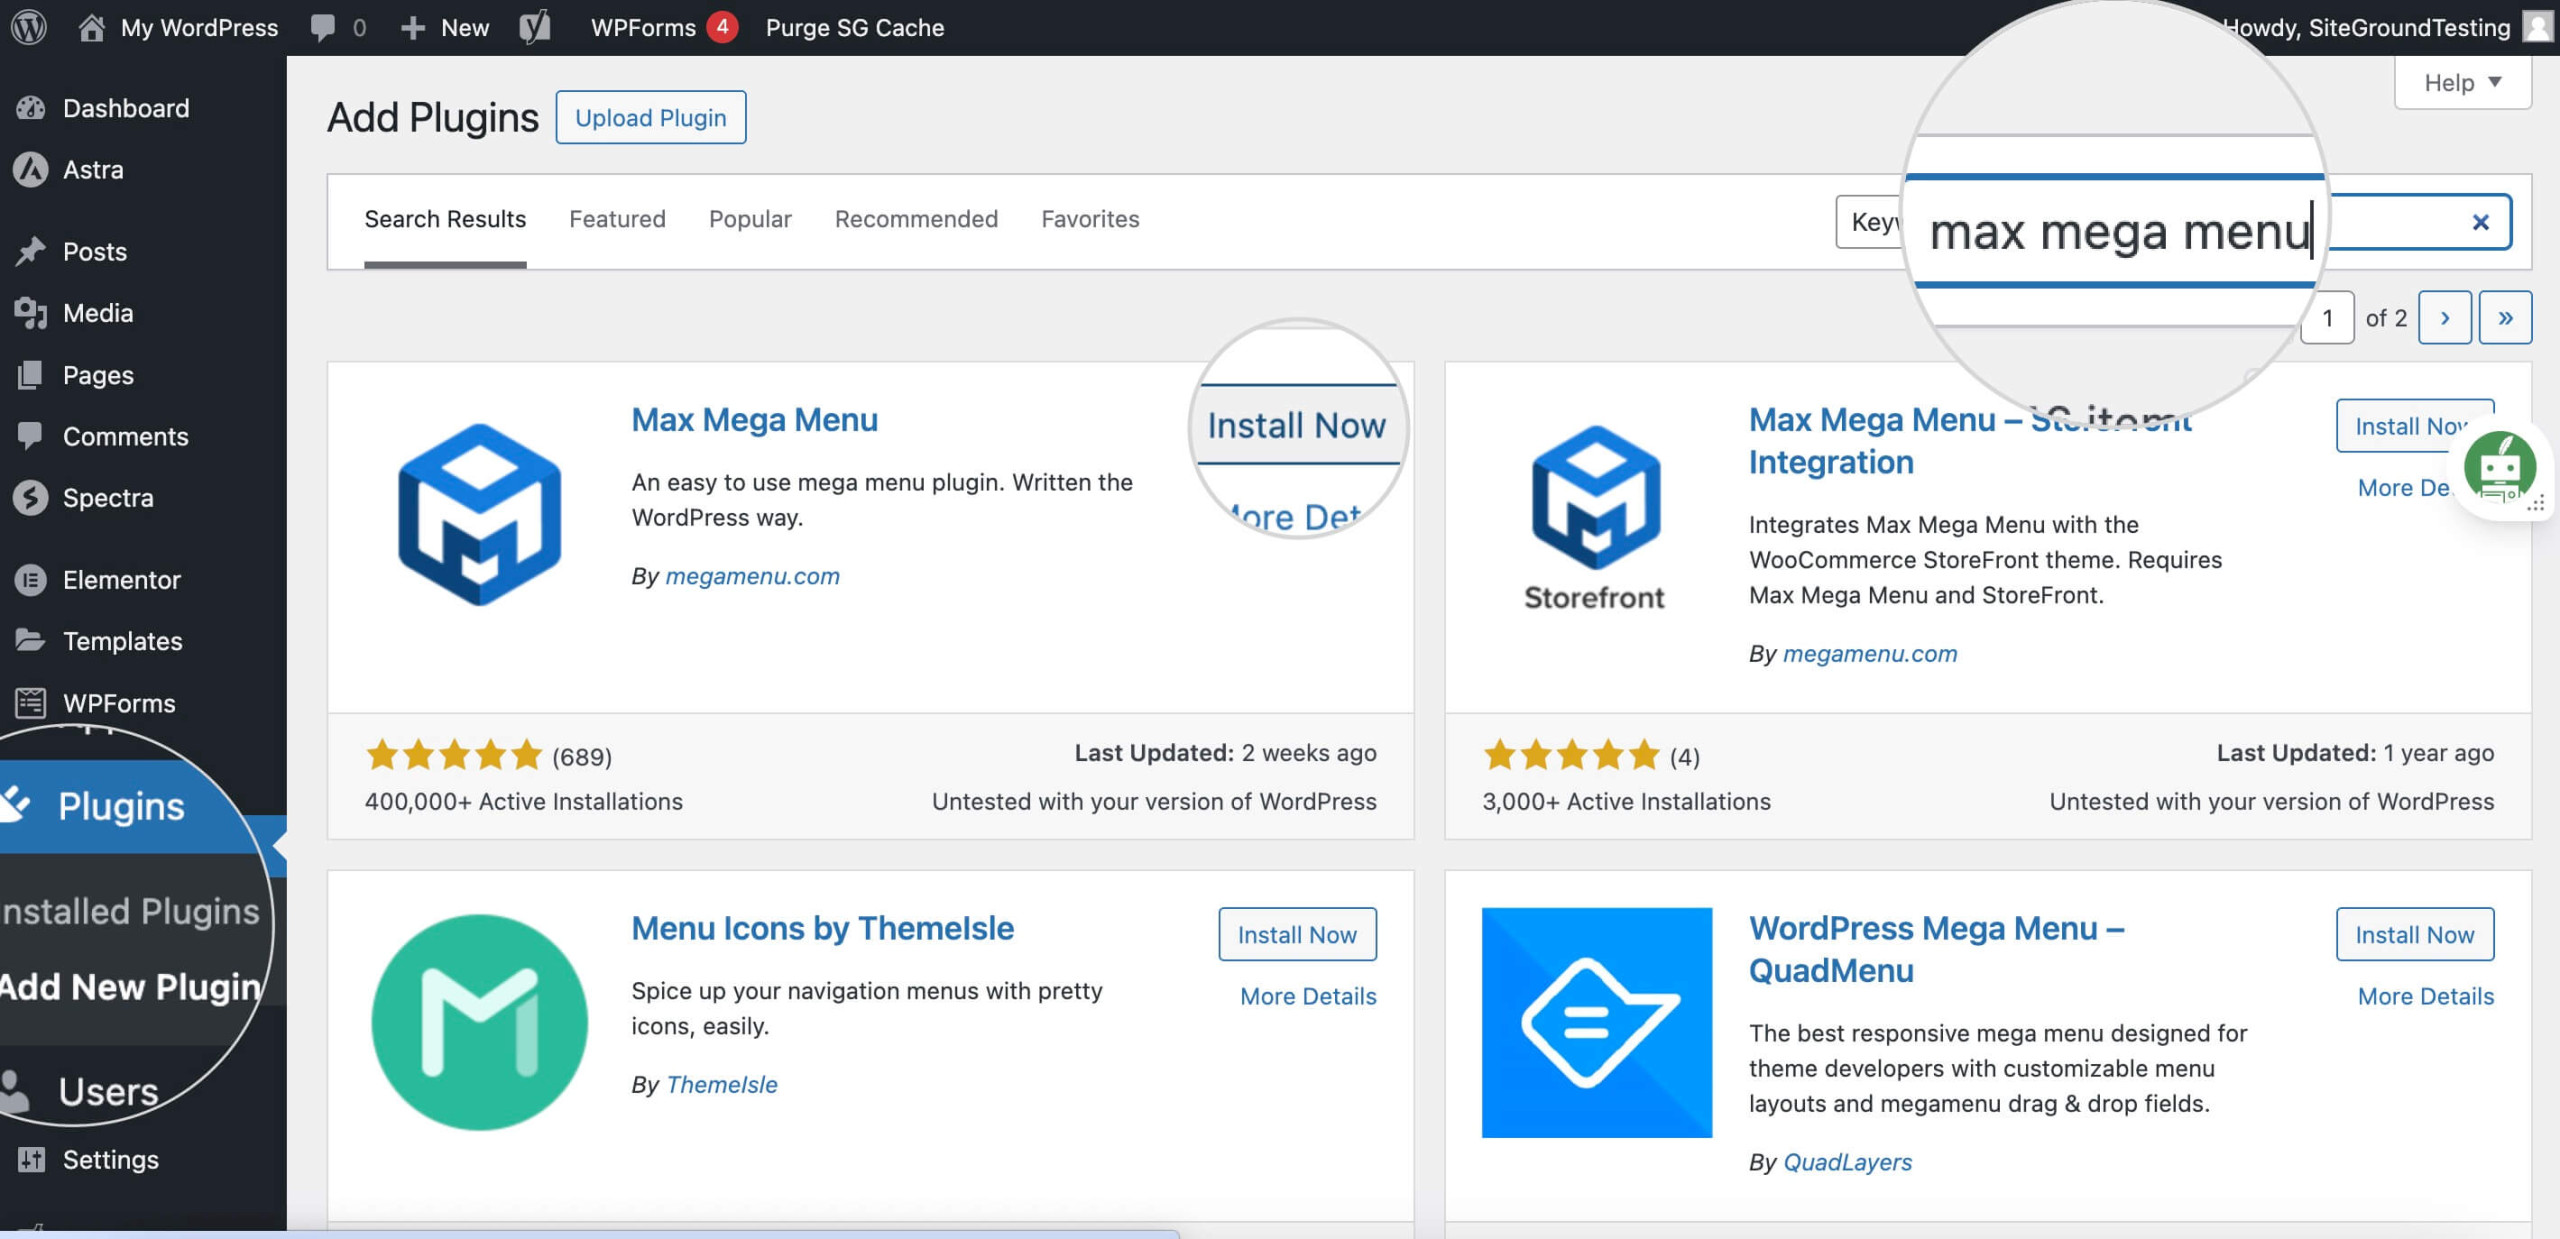
- Install a Menu Plugin. From the WordPress repository, you can install a plugin like ‘Max Mega Menu‘ and activate it.
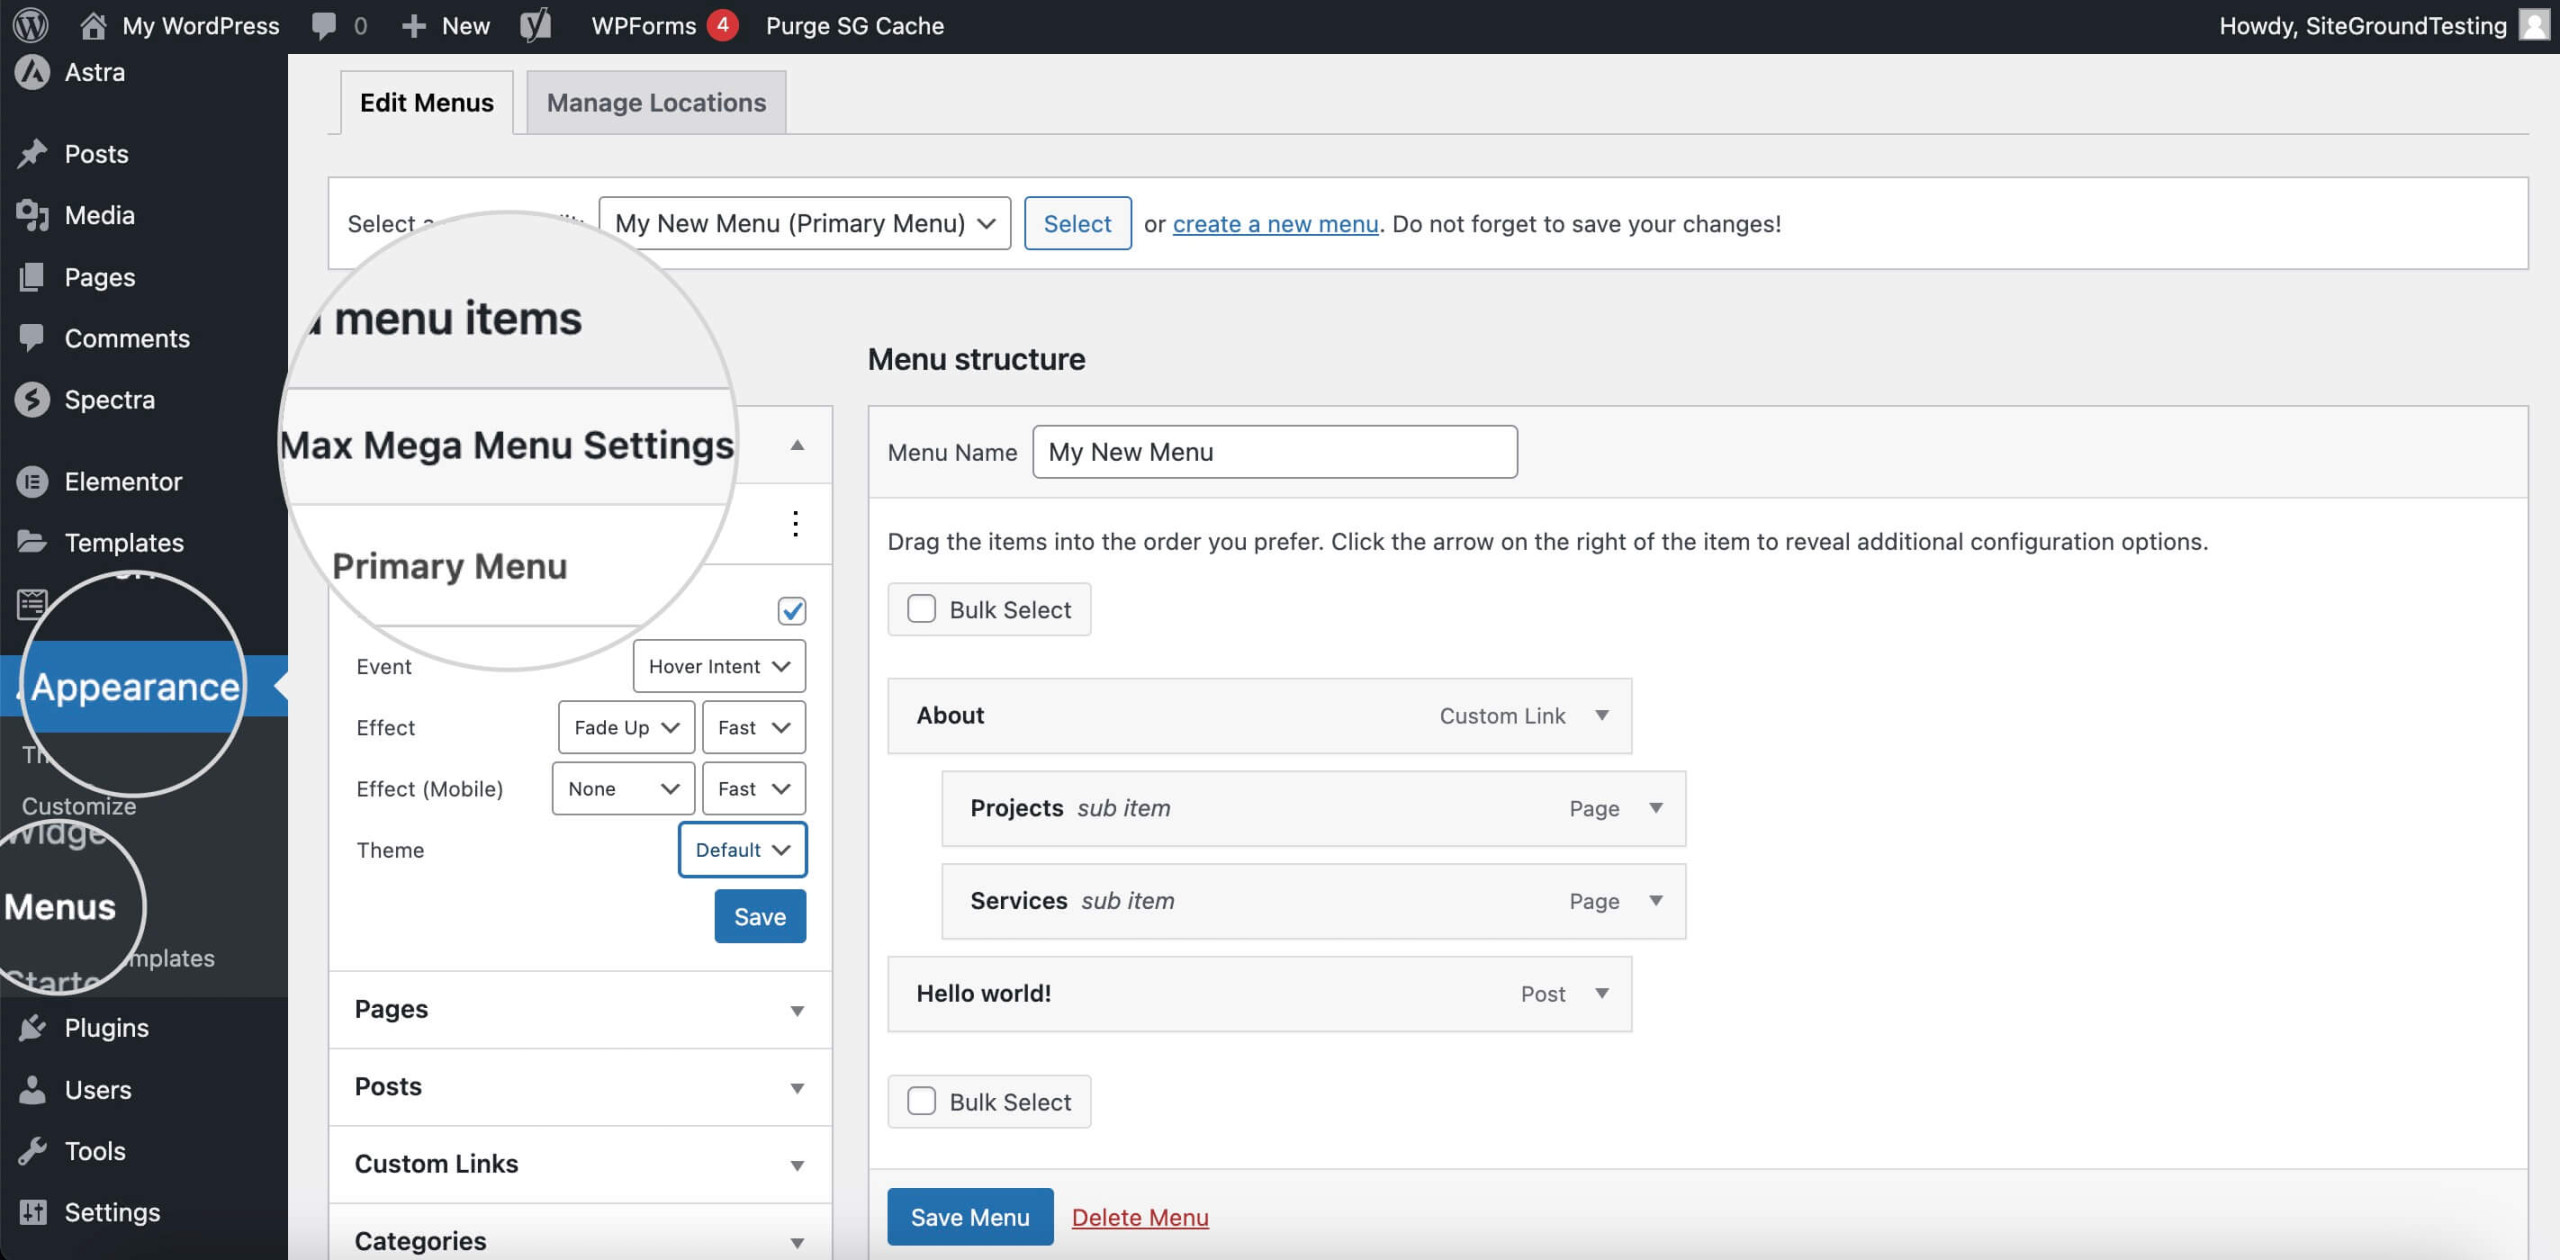
- Go to Appearance > Menus and locate the Max Mega Menu Settings section to apply effects. Then, use the drag-and-drop interface to build your menu.
- Save your changes and assign the menu to the desired theme location.
5. Custom PHP Development
To create a basic WordPress dropdown menu using PHP code, use the wp_nav_menu() function in the header.php file, as shown below.
- Register Menu Locations. In your theme’s functions.php file, you must register a menu location using register_nav_menus(). This tells WordPress where your menu will be placed in the theme.
function mytheme_register_nav_menu() {

register_nav_menus(array(

'primary' => __('Primary Menu', 'theme-slug'),

));

}

add_action('after_setup_theme', 'mytheme_register_nav_menu');- Implement the Menu Button. Place the wp_nav_menu() function in the header.php where the menu should appear.
wp_nav_menu(array('theme_location' => 'primary', 'container_class' => 'main-nav'));- Create Your Menu in WordPress Admin. Under Appearance > Menus, create your drop down menu, and assign it to the ‘Primary’ location you registered.
- Style the Menu with CSS. Add your custom code to your theme’s stylesheet to style the menu.
- Output the Menu in Your Site: Visit your site to check how WordPress outputs the main menu in your registered location.
- Ensure Dropdown Functionality. To support dropdown menus, your theme may need additional HTML, CSS, or JavaScript.
Structuring Your WordPress Dropdown Menu
A well-structured dropdown menu can vastly improve your site’s usability. Mastering the layout and ensuring it’s accessible and responsive is key to providing greater user satisfaction.
Planning Your WordPress Menu Layout
Begin by mapping out your menu to reflect the architecture of your site. Group related items together under appropriate headings. Also, you should keep the depth of your menus manageable so users can easily navigate your content.
Menu Hierarchy Best Practices
For optimal menu hierarchy, organize your items logically and group similar content together. Make sure the most important pages are upfront in the hierarchy. Strive for simplicity by limiting menu depth to two or three tiers to prevent user confusion. Use clear, descriptive labels for straightforward navigation. Most importantly, maintain consistency across your site to create a familiar and user-friendly experience.
Accessibility and Responsive Design
Ensure your drop-down menus are accessible to all users, including those with disabilities. Additionally, design your menus to be responsive. This ensures they work smoothly on both desktop and mobile.
Conclusion
In conclusion, creating an effective WordPress dropdown menu combines functionality with user-centric design. Whether you opt for the simplicity of the built-in menu editor, the dynamic capabilities of plugins, or the custom touch of CSS and PHP, the goal remains to provide a seamless navigation experience.
By keeping your menus structured, accessible, and responsive, visitors can easily explore your site. This is a win for both user satisfaction and SEO performance. A well-crafted menu guides users through your content and reflects your WordPress site’s professionalism.