How to manage your Staging copies?
To start managing your Staging copy, first, go to your Site Tools > WordPress > Staging. In it, you will see a list of all staging copies of your websites. Under Manage Staging Copies, choose the preferred staging copy and go to the kebab menu.
Once you click on it you will preview the following options:
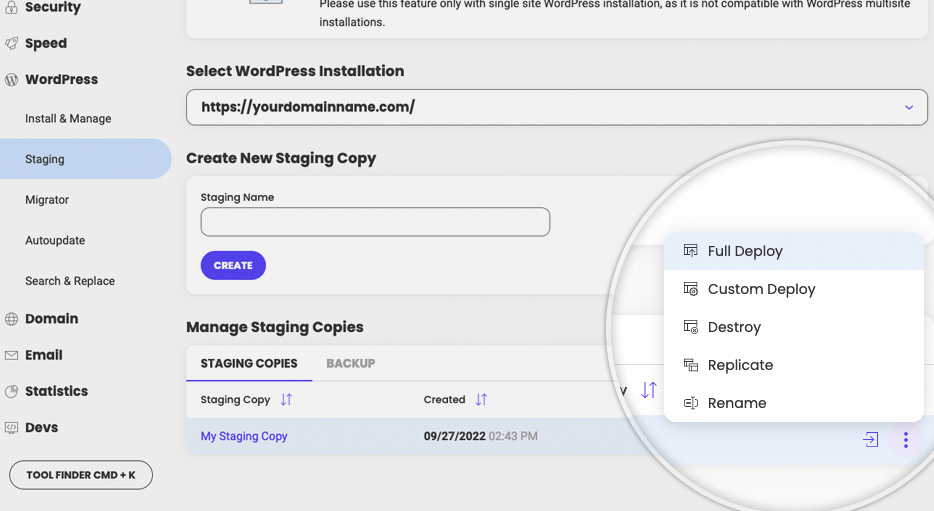
Here, you can do the following actions with your staging copy:
- Full/Custom Deploy – once you are done making changes to your staging copy and you’re happy with the result, you can proceed with deploying the changes and replace your live site with the staging copy. For more information on that matter, you can refer to our Full and Custom Deploy Tutorial;
- Destroy – press this button if you want to delete your staging copy;
- Replicate – this will clone your current staging copy. That’s useful when you want to test something without having to make all the changes you’ve made to the staging copy since you’ve created it;
- Log in to Admin Panel – shortcut to the admin panel of your staging WordPress application;
- Rename – this gives you the option to rename your staging copy.