SiteGround Email Marketing Integration with Gravity Forms
Table of Contents
SiteGround Email Marketing users can now integrate it with Gravity Forms, a favored contact form plugin by the WordPress community. With just a few clicks, you can leverage this integration to collect new subscribers and streamline your contact acquisition process.
In this guide, you’ll learn how SiteGround Email Marketing integrates with Gravity Forms to boost your lead generation and conversion rates, so read on.
How to activate the integration?
Our SiteGround Lead Generation connects with Gravity Forms automatically once the following criteria are met:
- The SiteGround Email Marketing (lead generation) plugin must be up-to-date.
- Active Gravity Forms plugin.
- Your SiteGround Email Marketing plugin must be properly connected to your active SiteGround Email Marketing service.
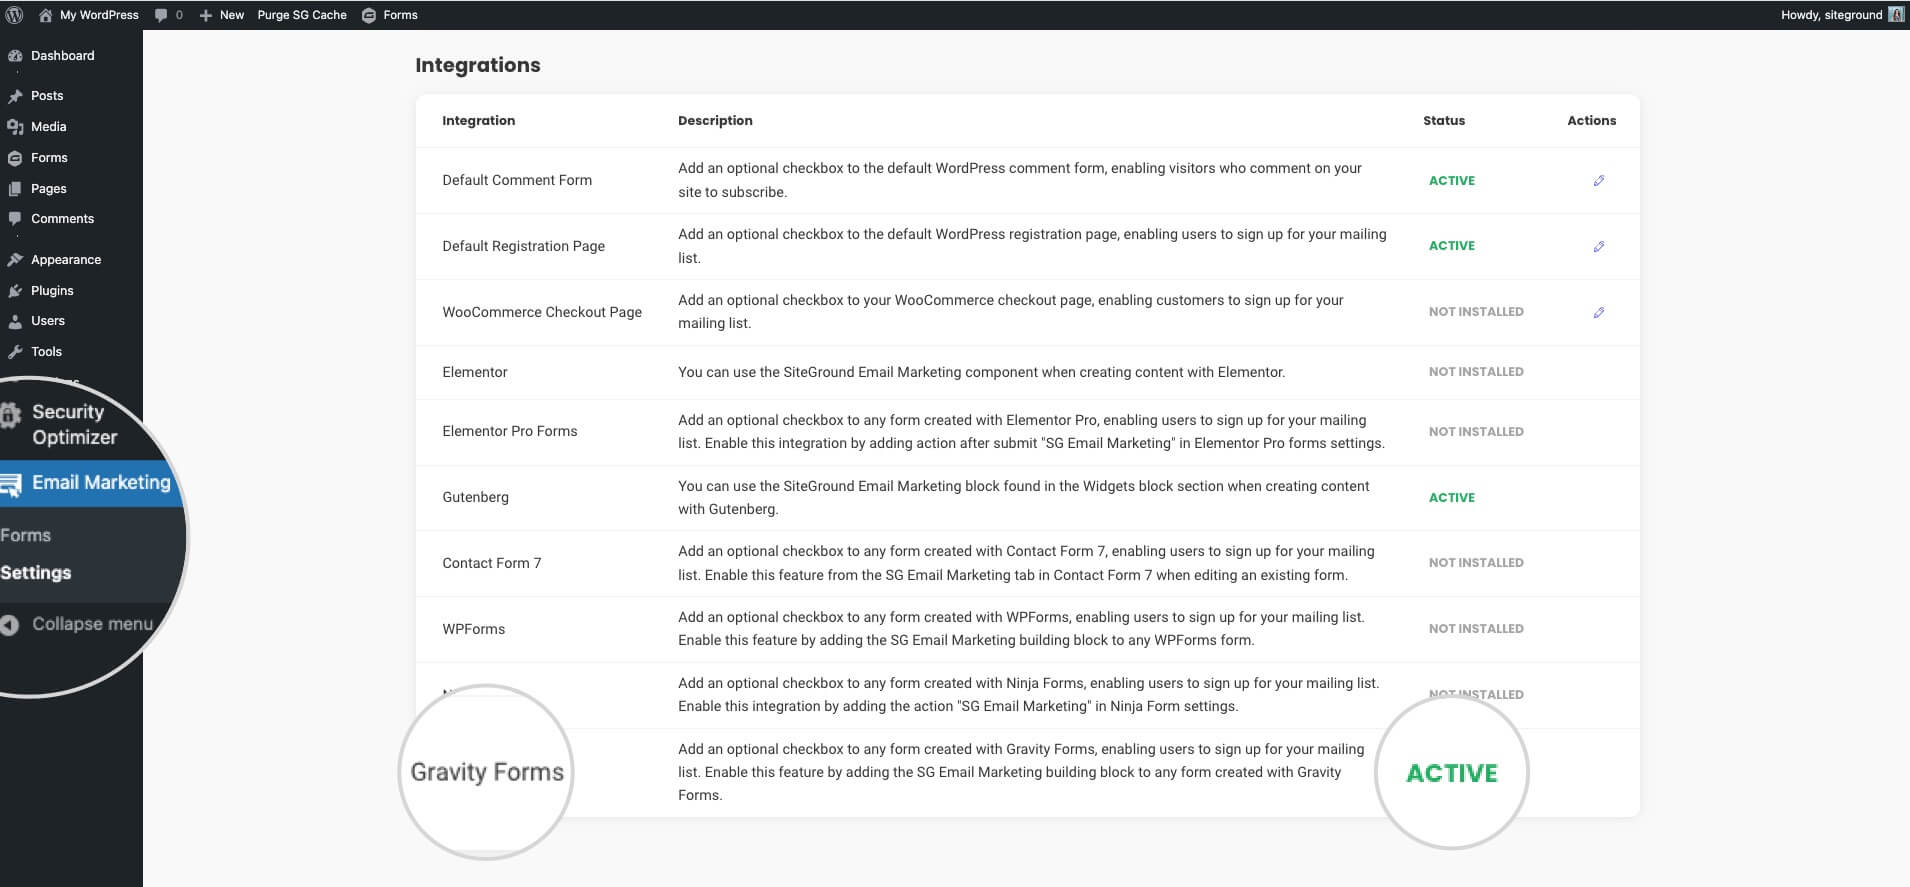
If you have all the above checked, you can confirm your SiteGround Email Marketing and Gravity Form integration is Active in Email Marketing > Settings > Integrations.
How to start collecting subscribers from Gravity Forms?
Now that you have confirmed the integration is Active in your WordPress Dashboard, you are ready to start collecting leads for your marketing campaigns using Gravity Forms. Follow these steps to add the SiteGround Email Marketing feature to your WordPress forms.
- Login to your WordPress Admin Dashboard
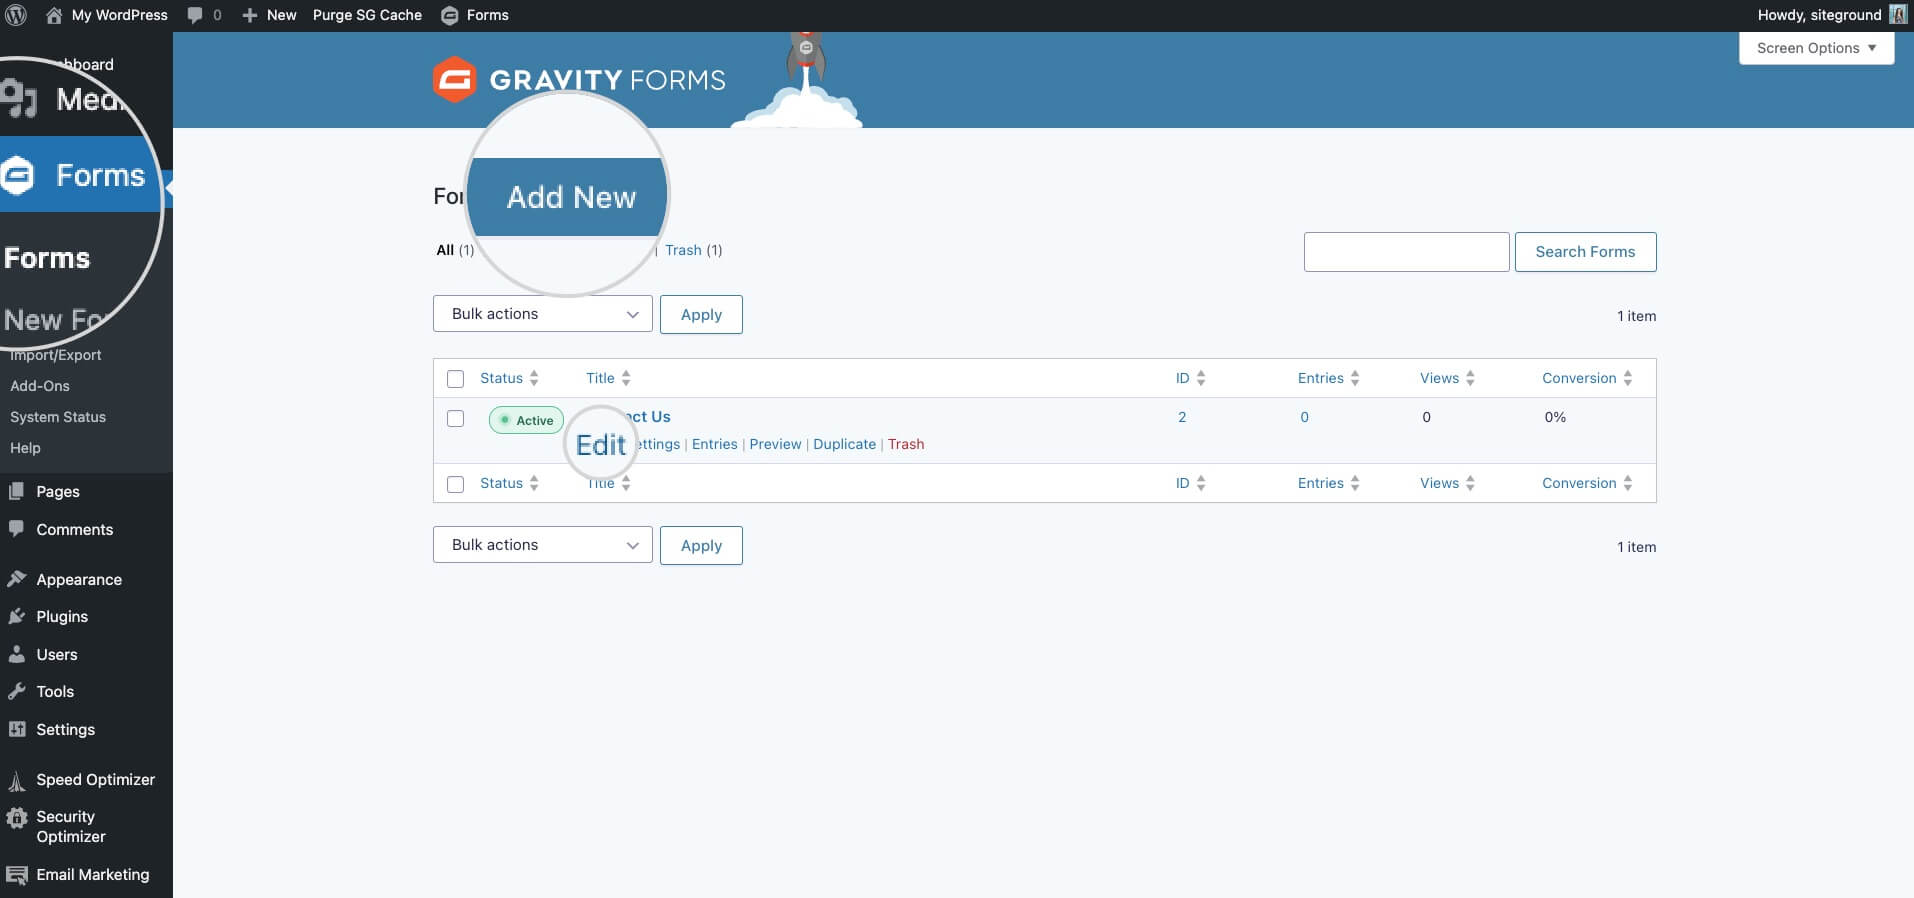
- Navigate to Gravity Forms > Forms and Edit an existing one or Add New form with the respective buttons.
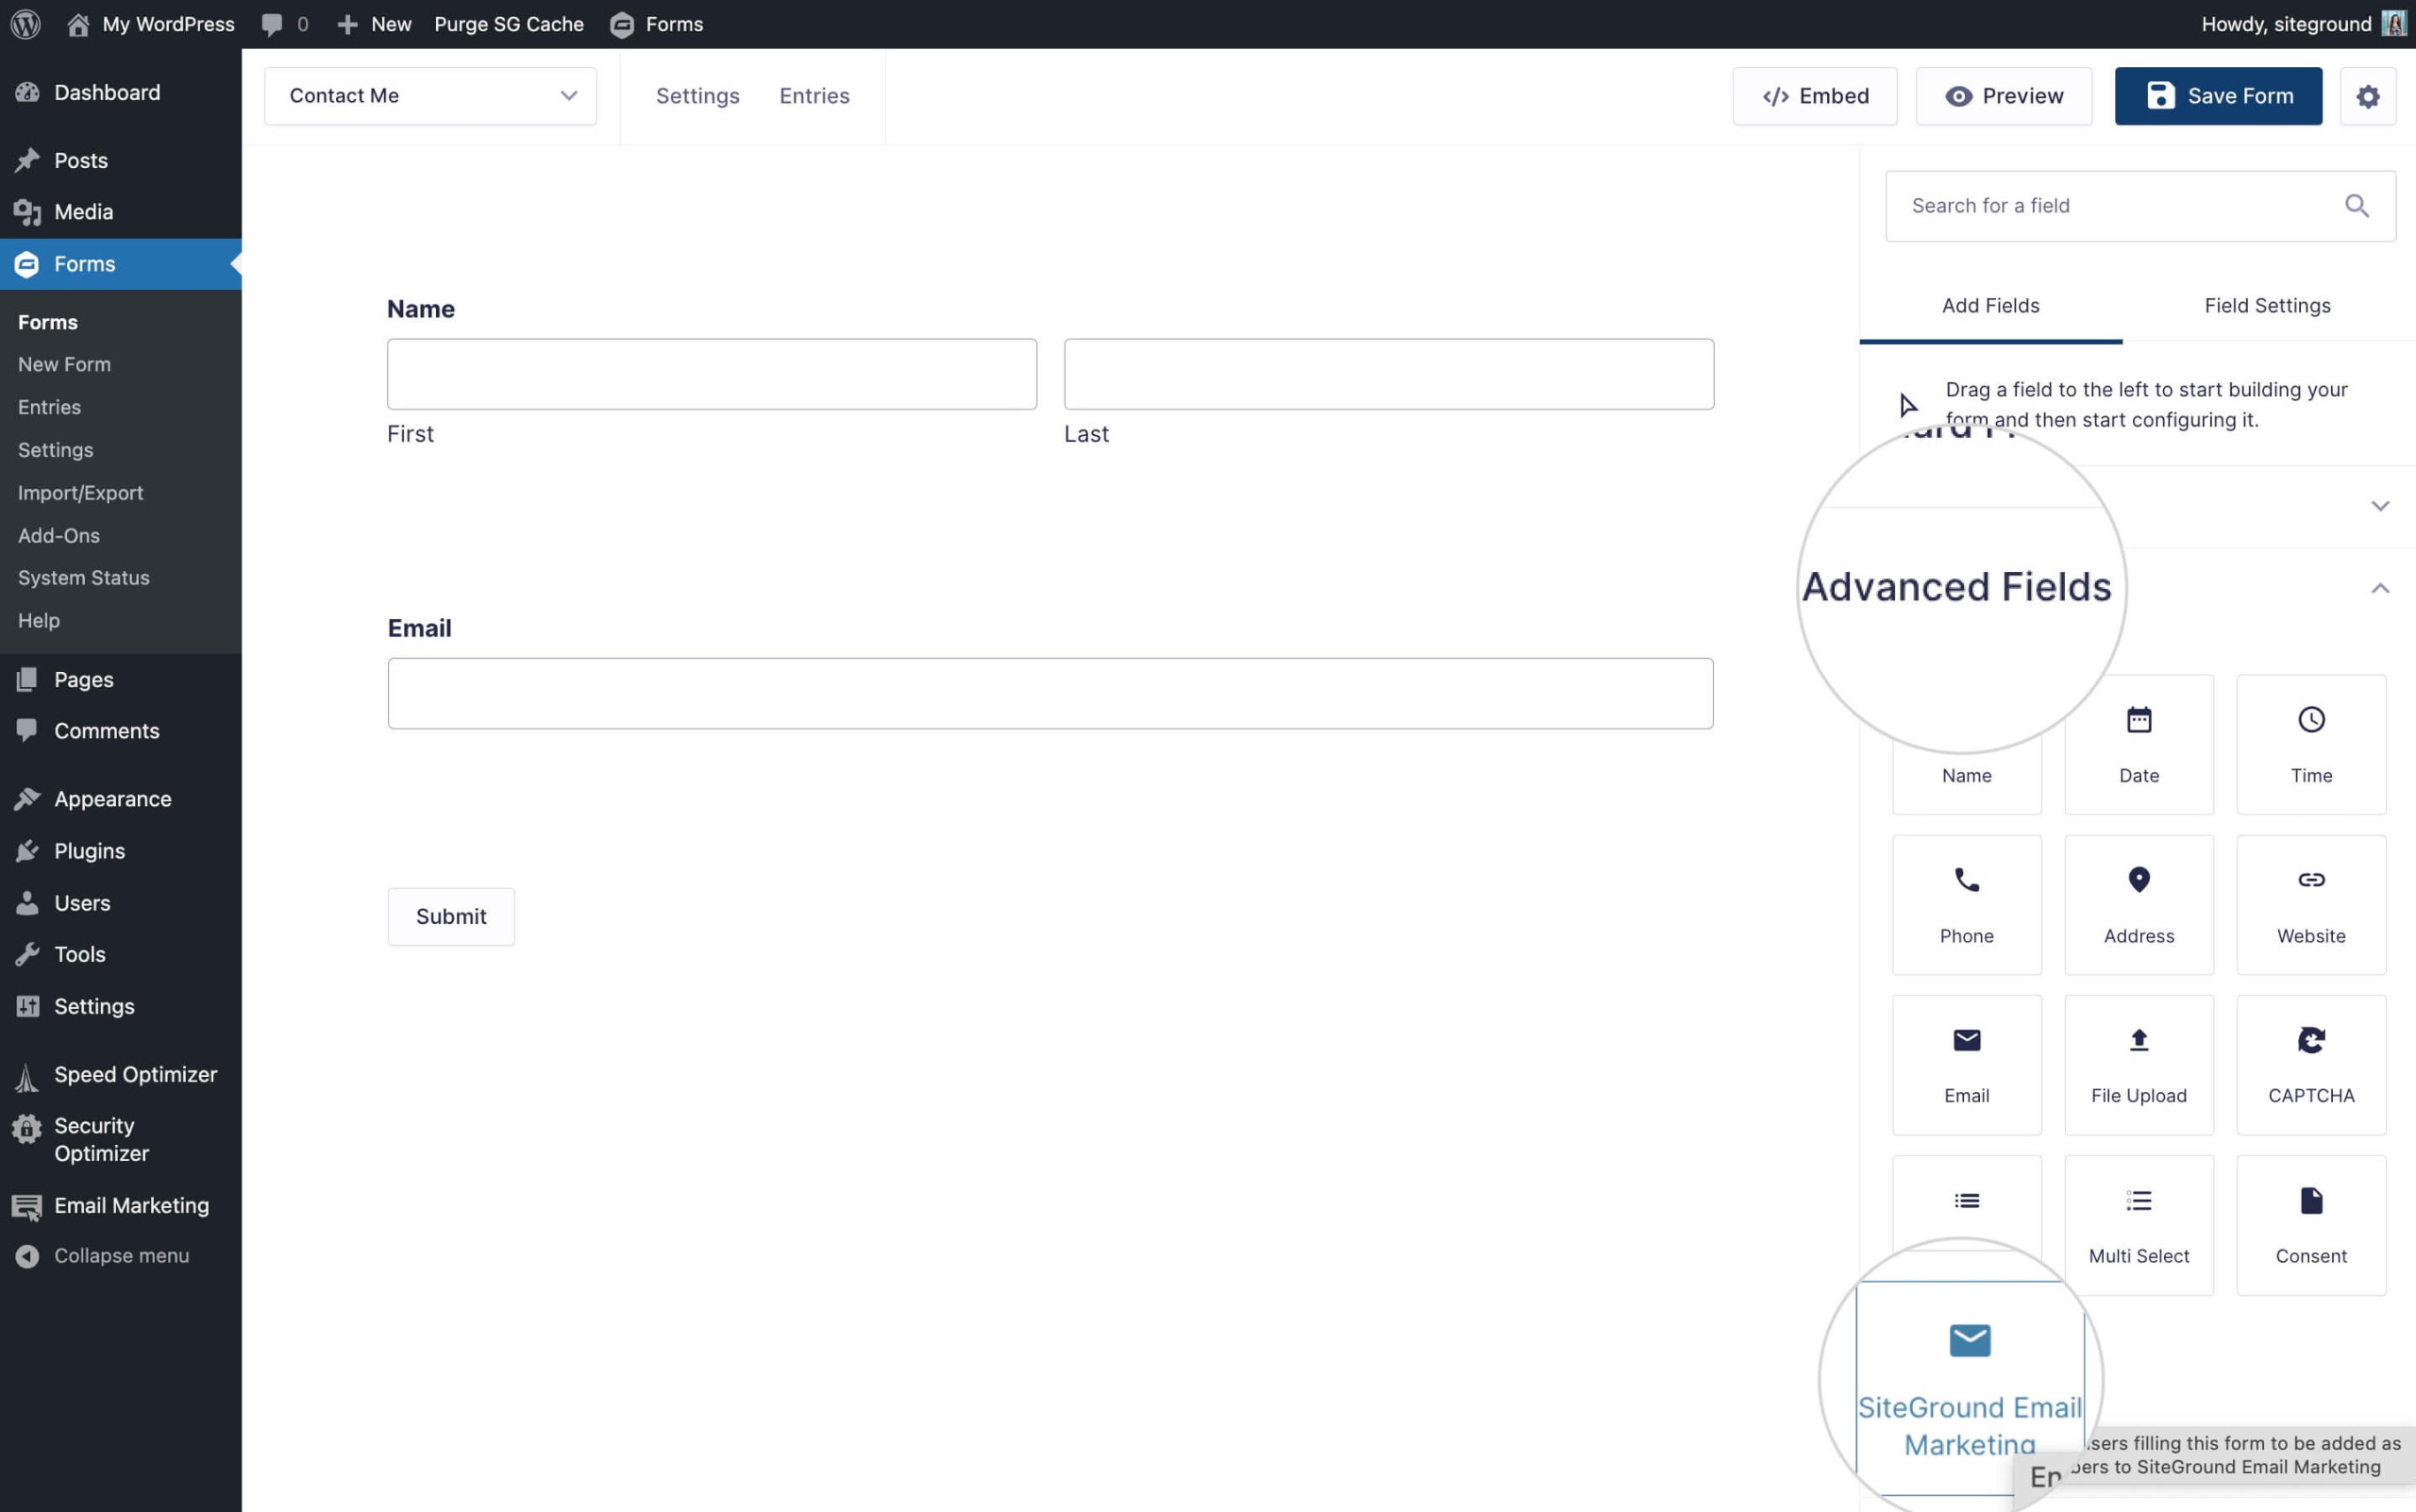
- When you are inside the form builder, go to the right sidebar under Add Fields > Advanced fields, and click on the SiteGround Email Marketing icon.
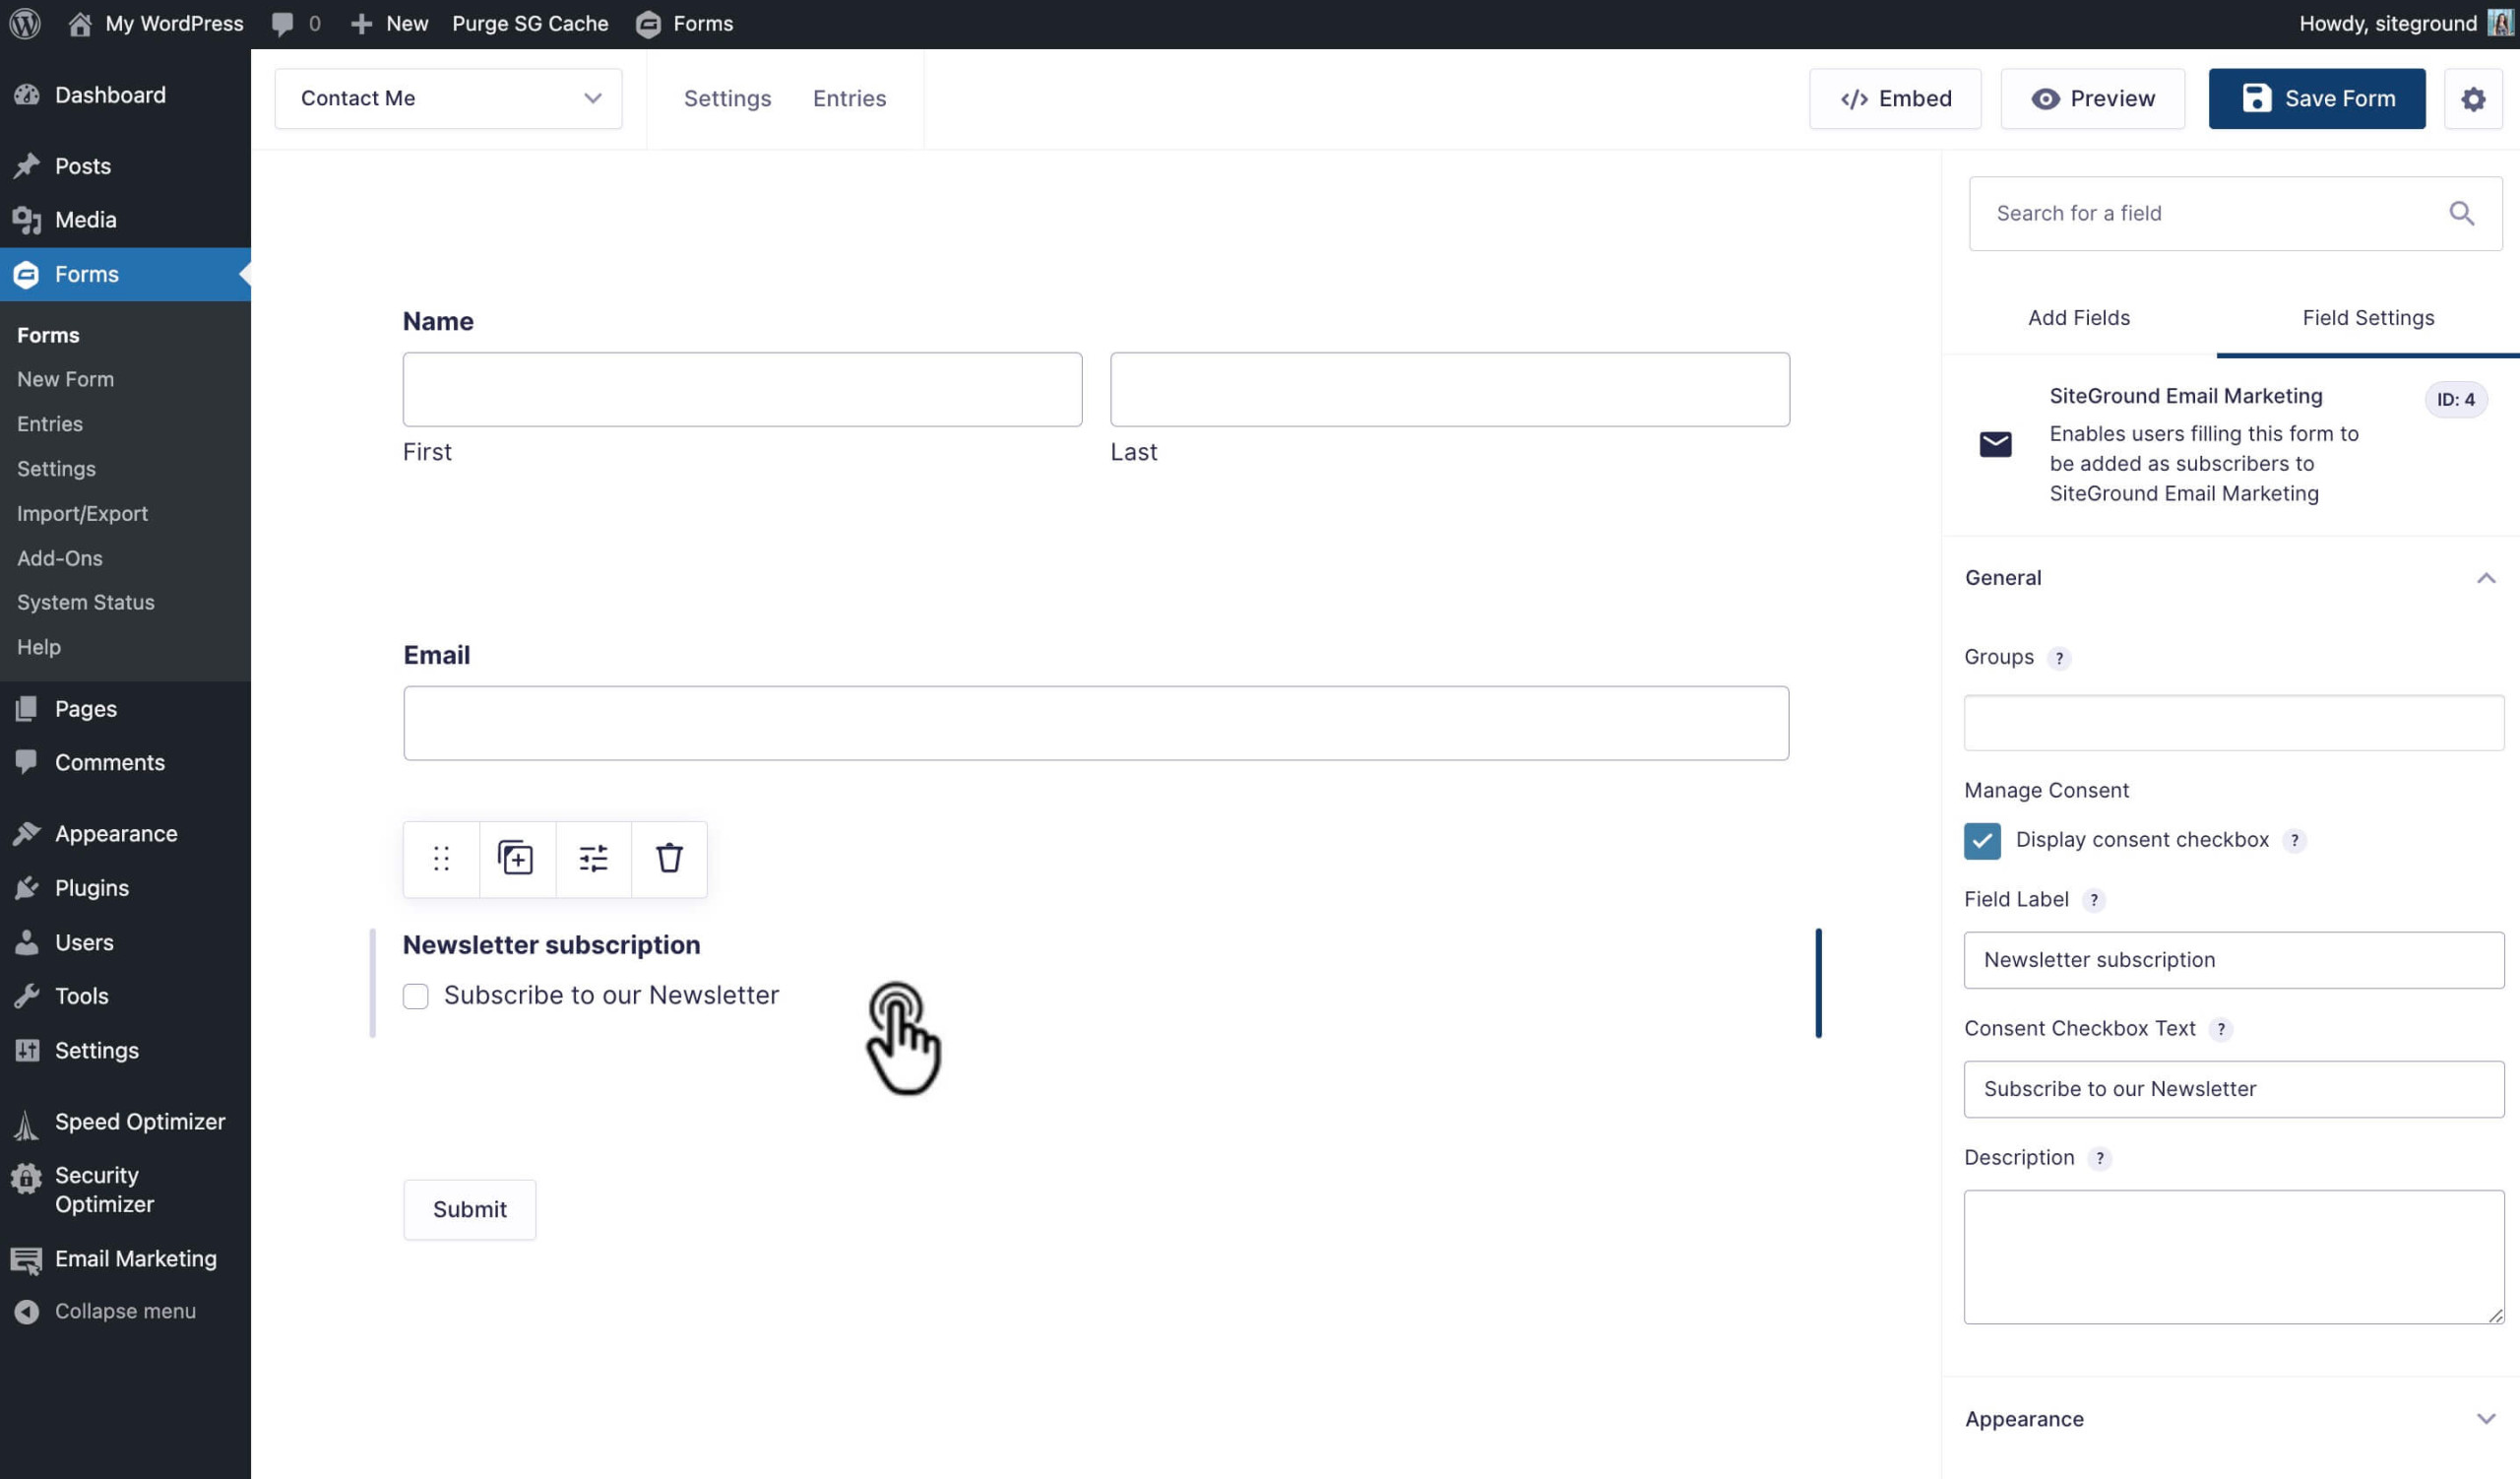
- Now that adding subscribers through your form to SiteGround Email Marketing is enabled, a Consent checkbox will be added to your Gravity form fields.
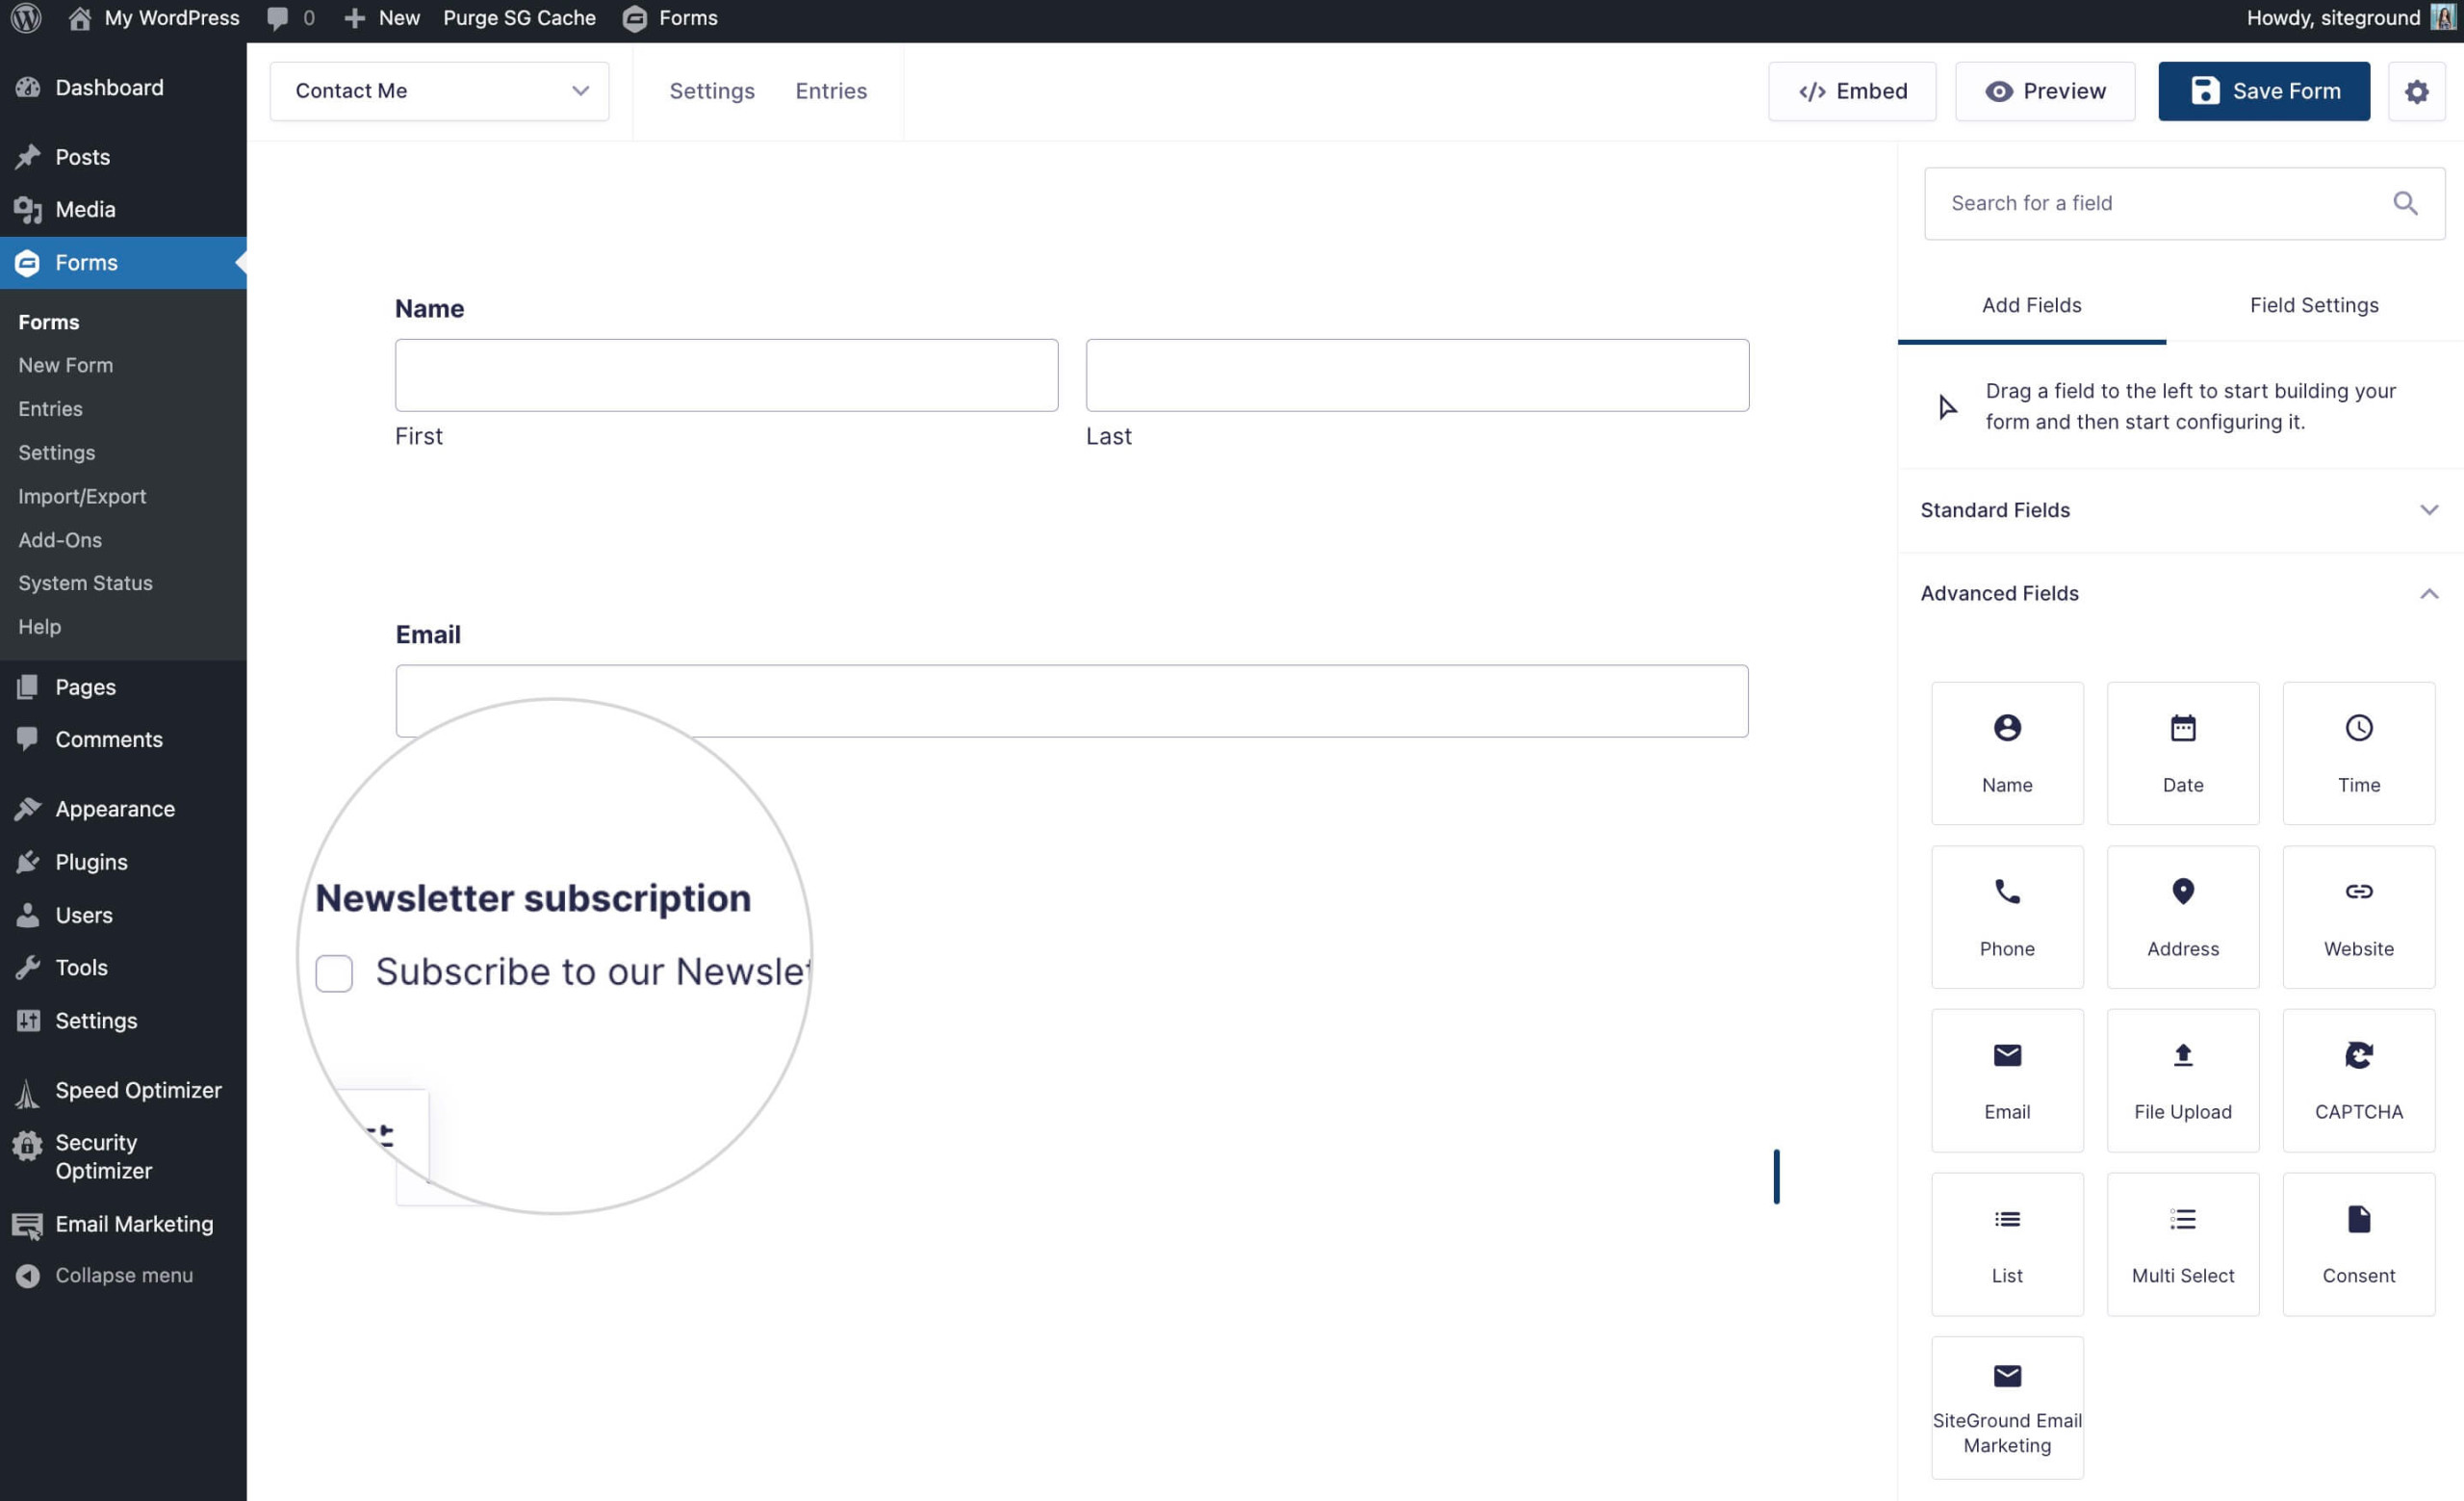
- Clicking on the Newsletter checkbox block in the form builder will load the Field Settings for it in the right sidebar.
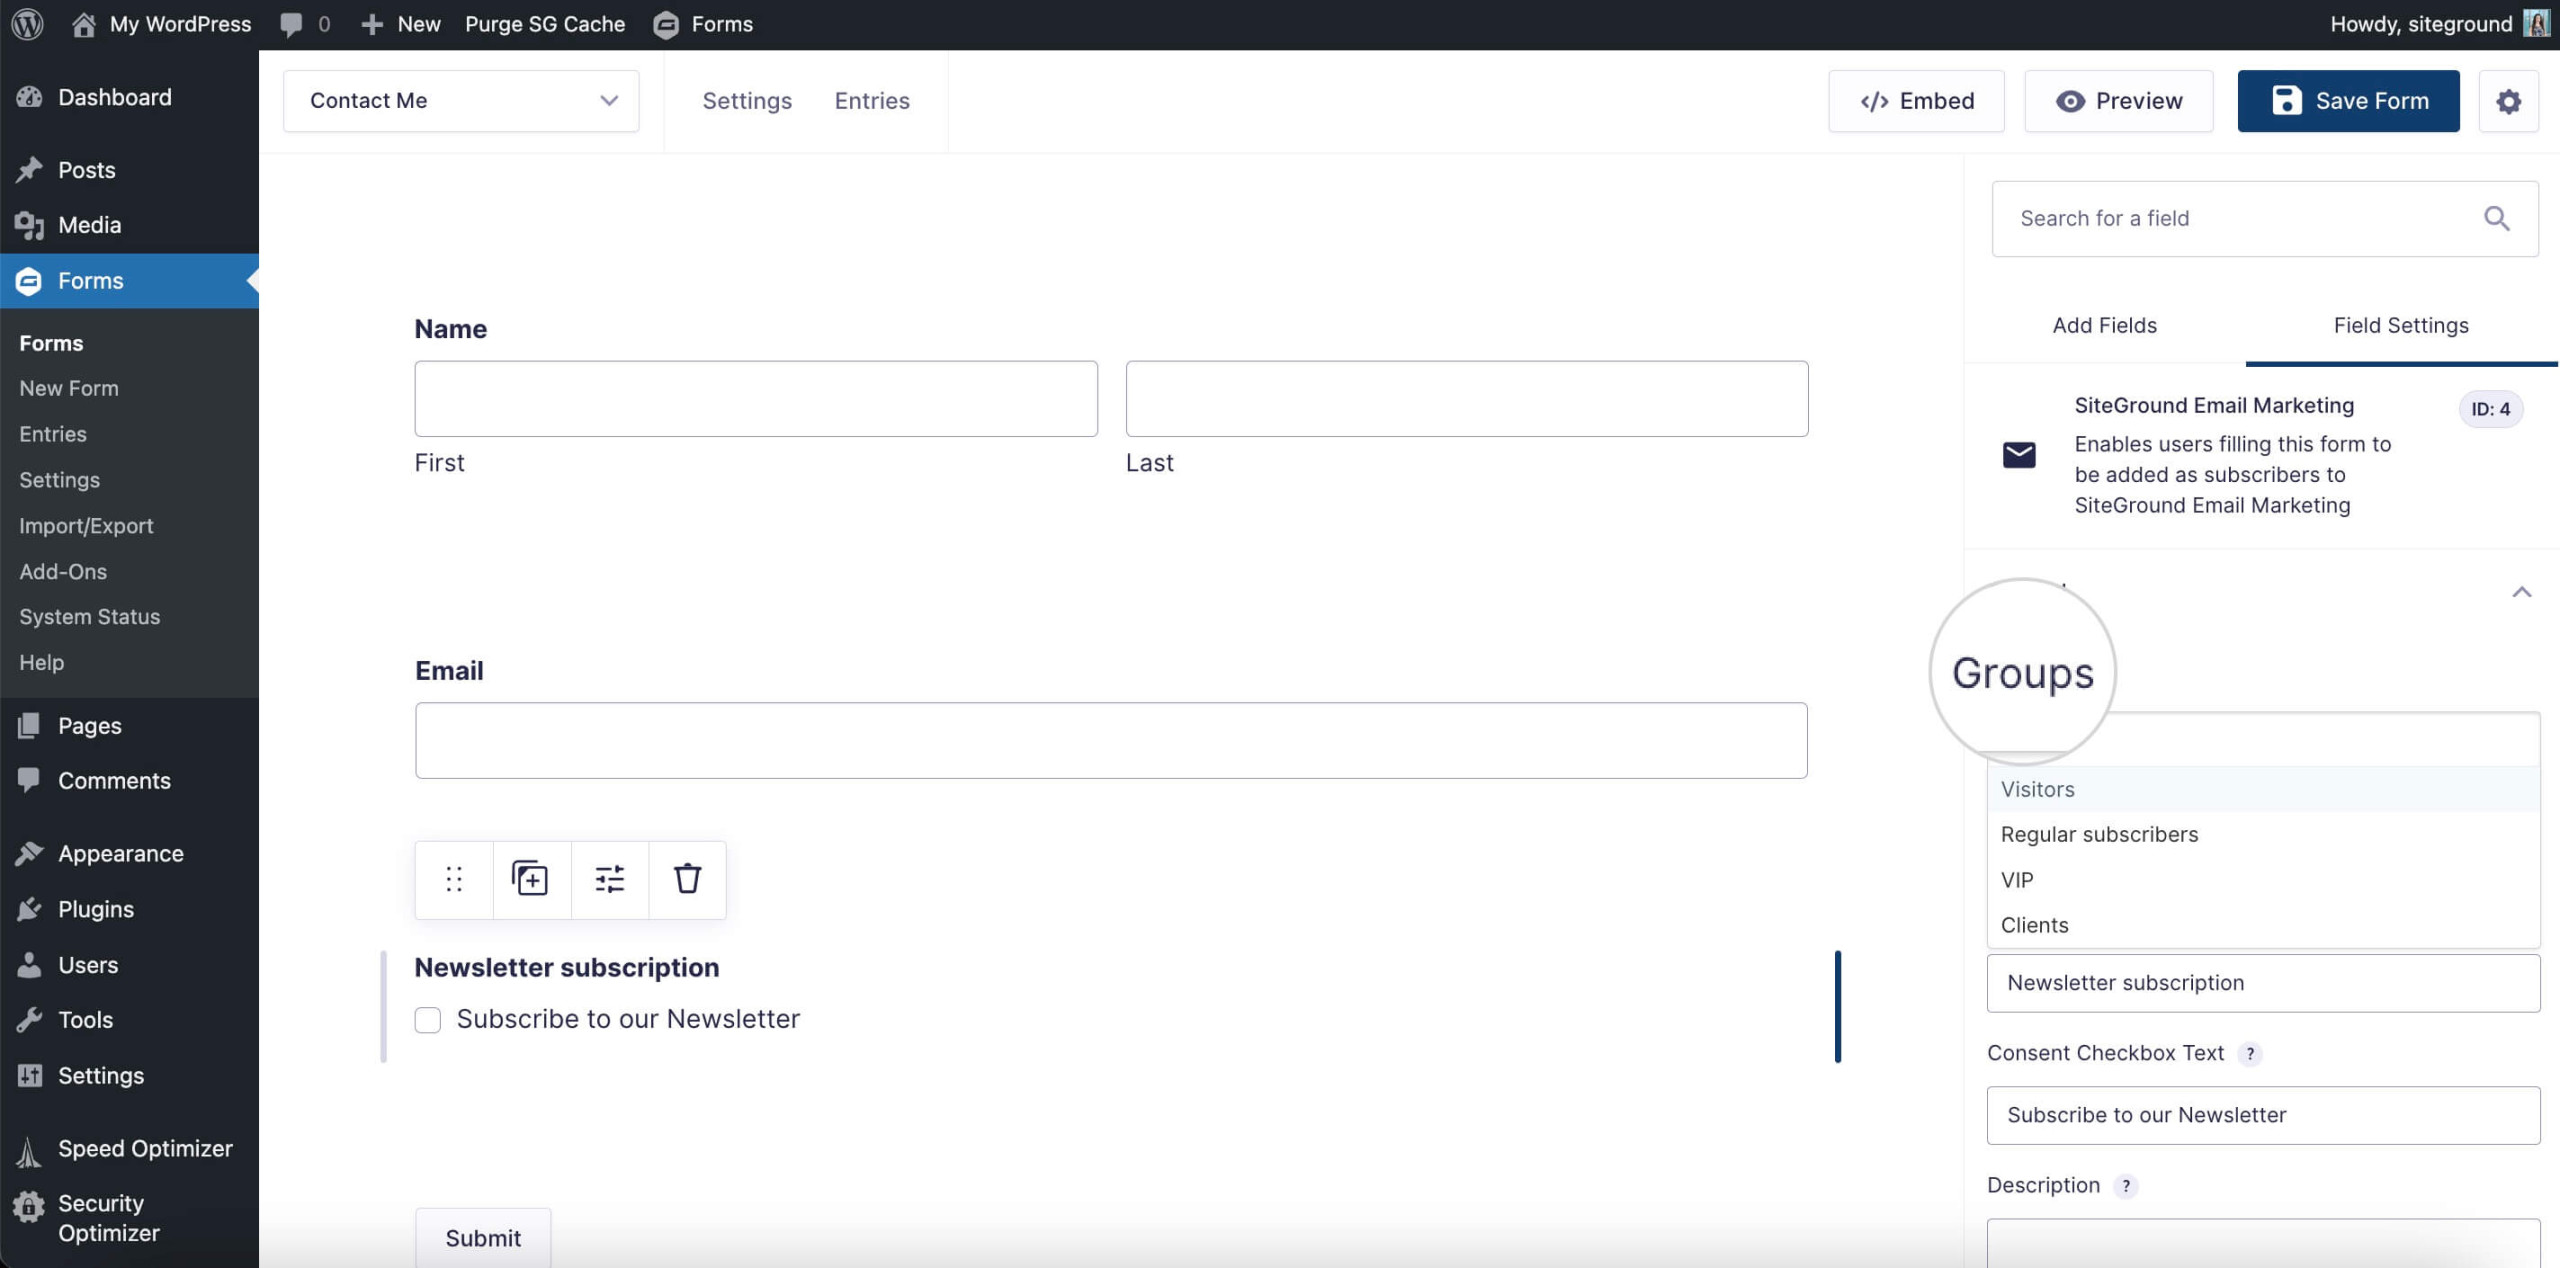
- From the Field Settings tab, you can select the Groups to which you want your leads added. You can choose Groups from the dropdown menu under the respective section.
- Next, you can choose to display or not the Consent checkbox under Manage Consent by checking the box next to it.
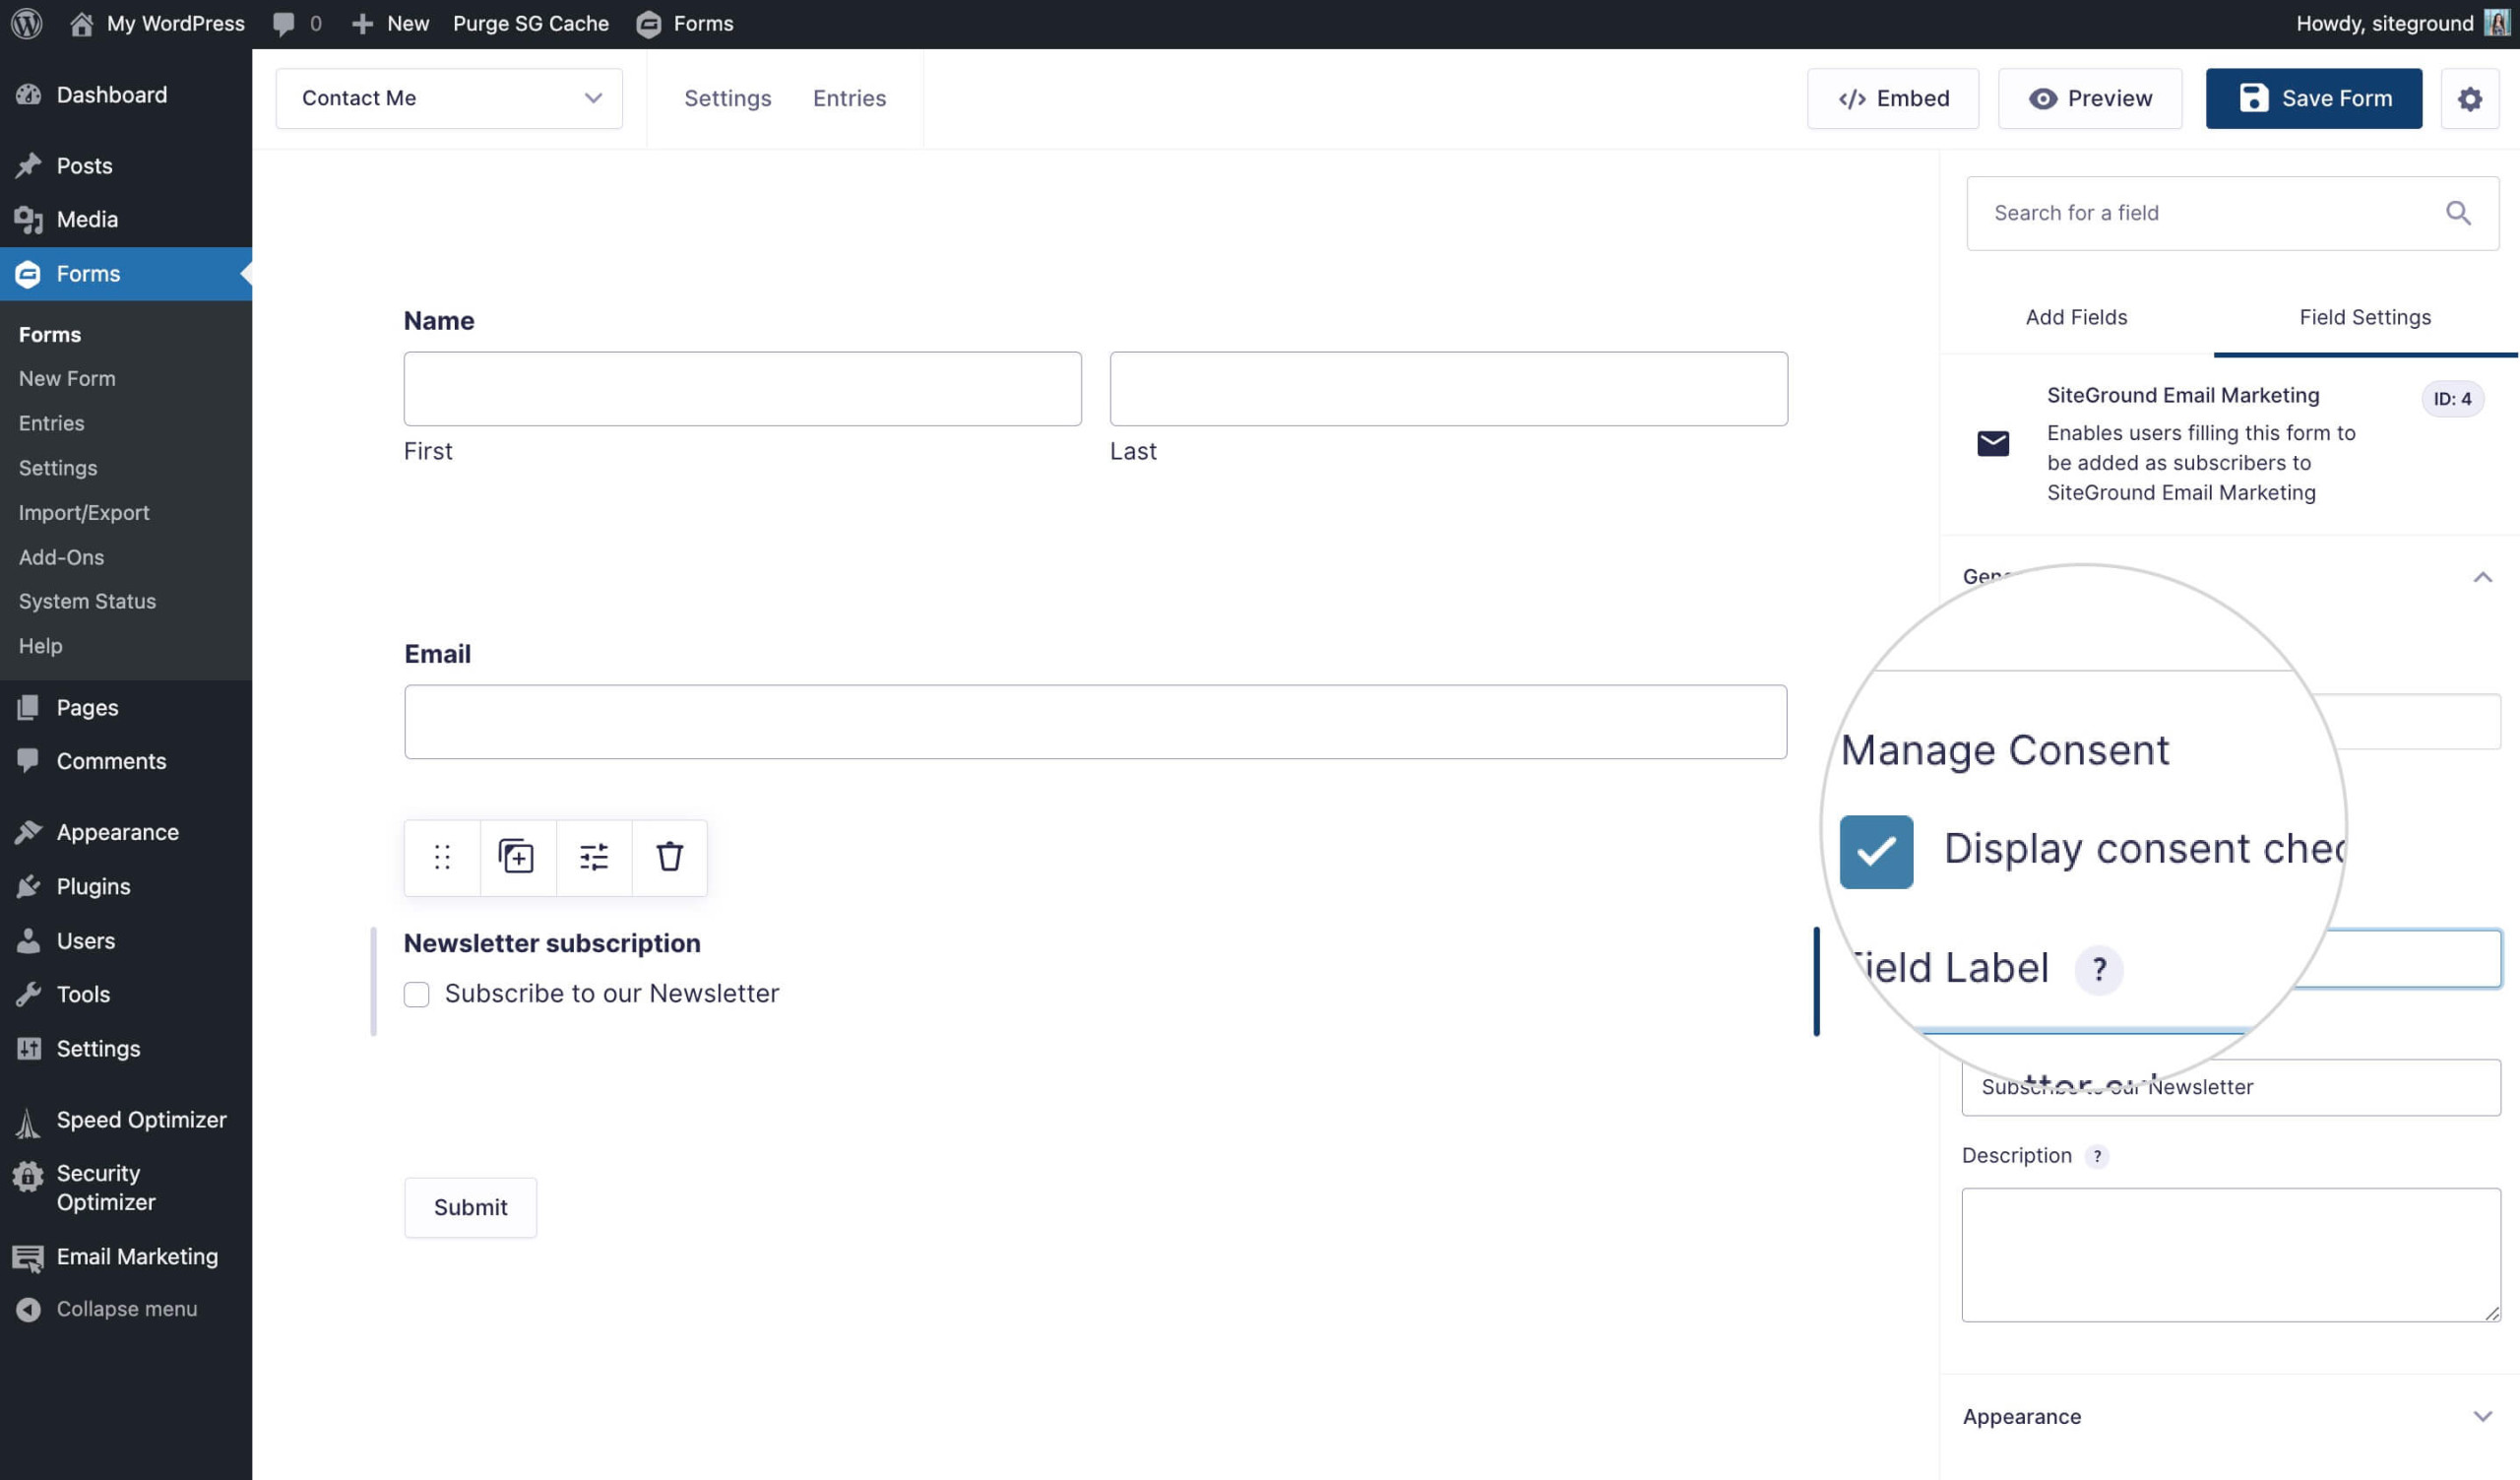
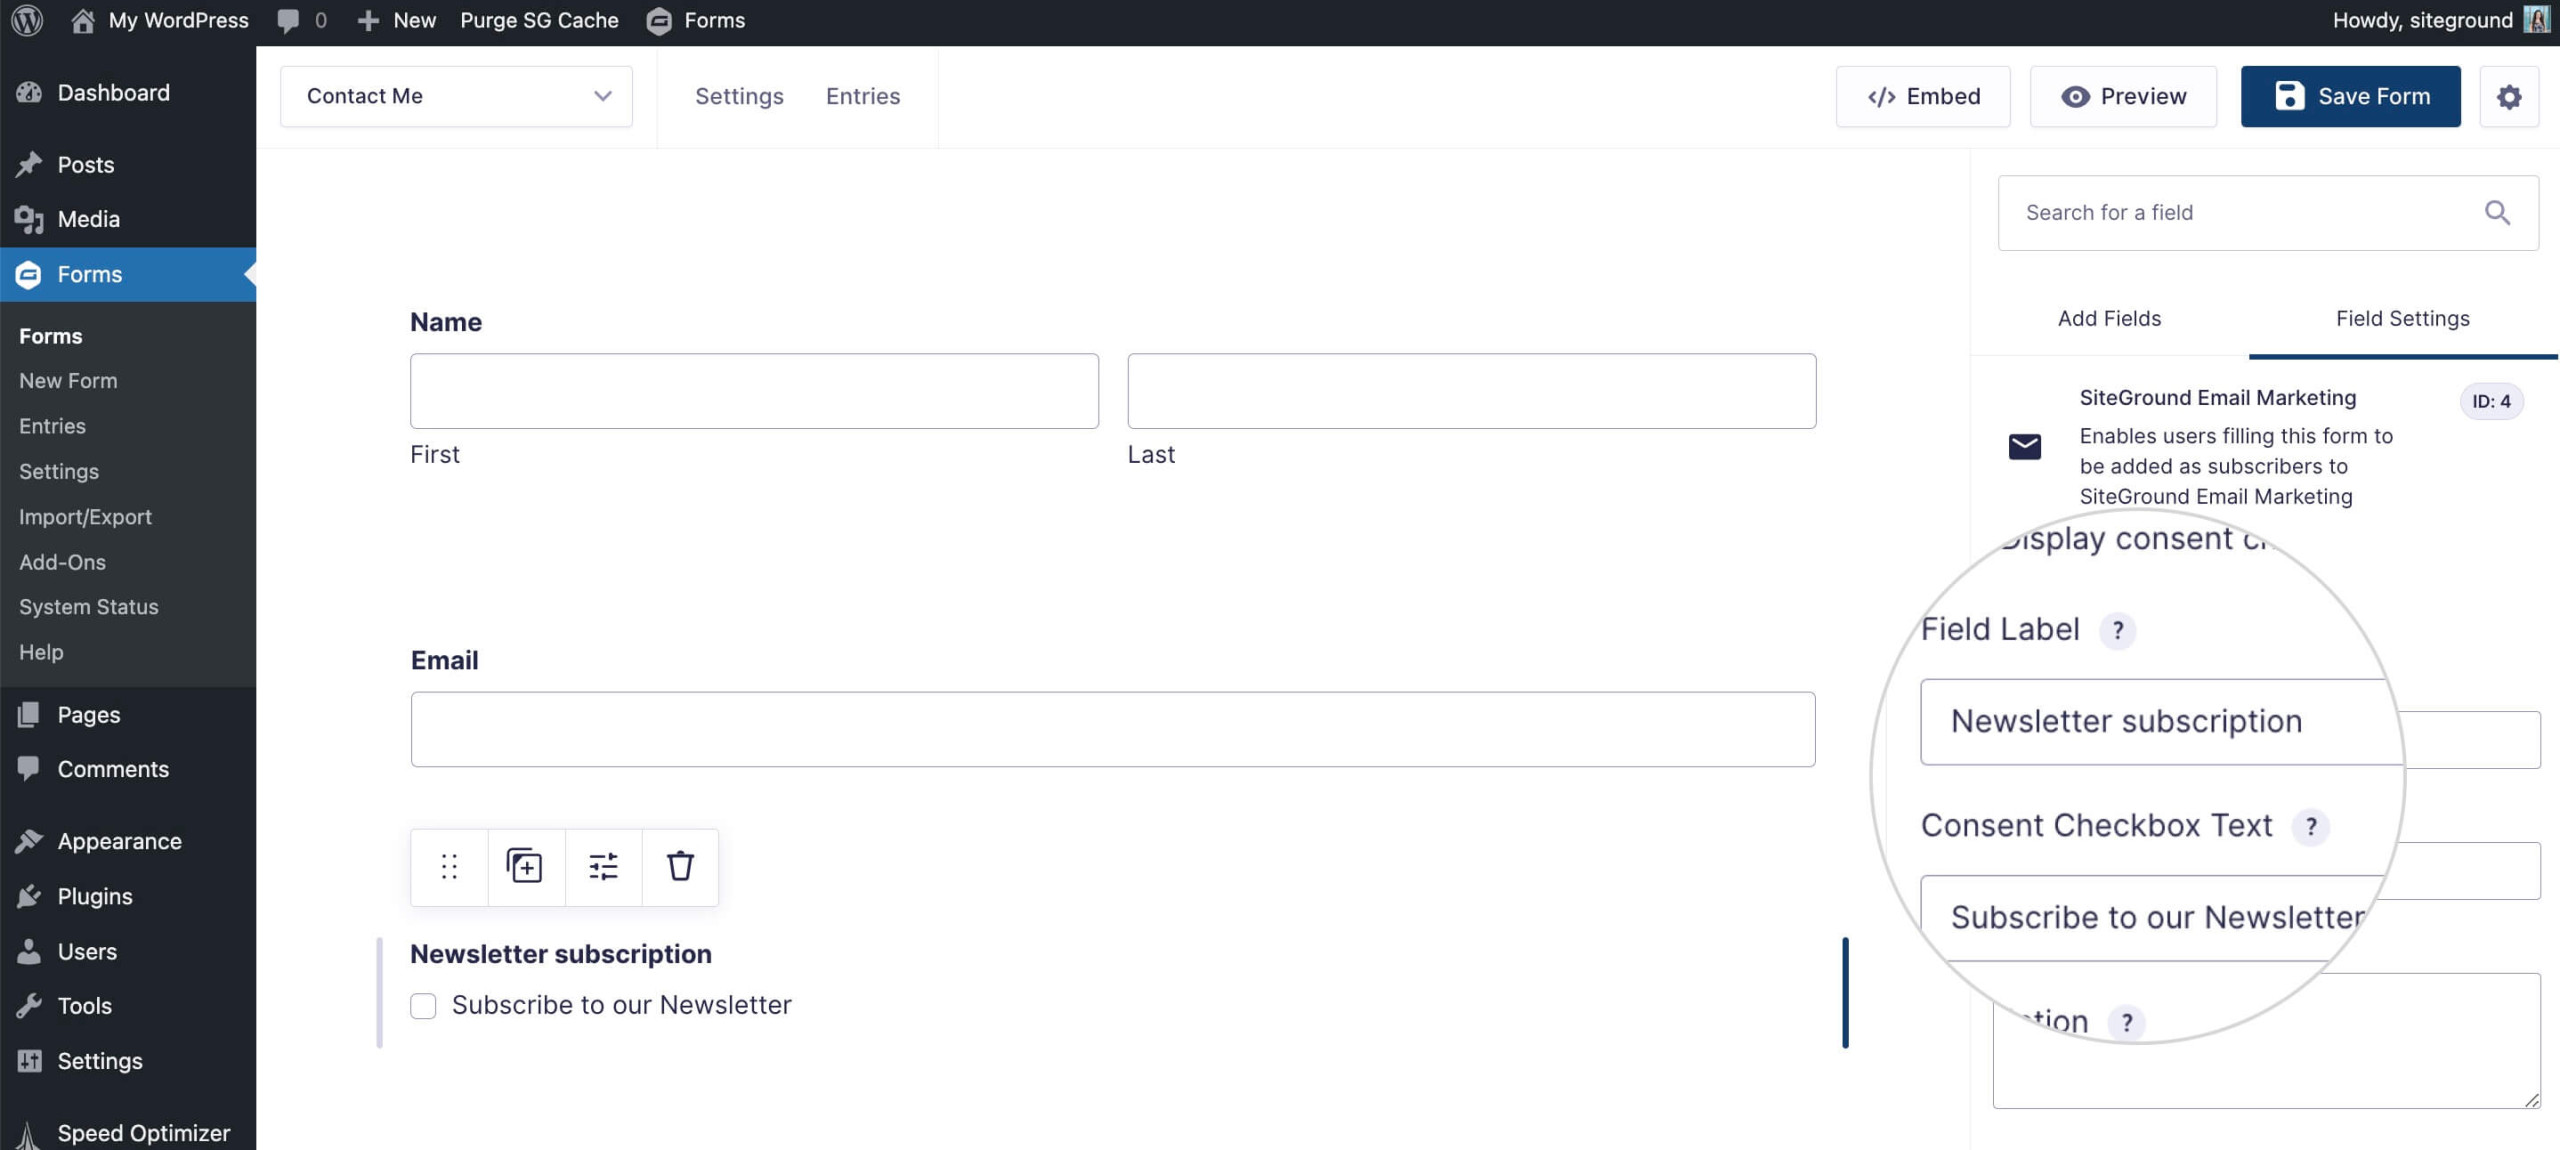
- Additionally, you can change the Field label (title) of the Consent block and change the checkbox’ text.
Which Gravity Form fields are used by SiteGround Email Marketing?
The SiteGround Email Marketing integration with Gravity Forms handles subscriber data such as First Name, Last Name, and Email. By default, Gravity Forms has the First and Last name fields, though the fields are not required. The same applies to the Email field – it is present in the form, but the form is not set to require it from the subscriber.
All that means that subscribers may skip filling any of the fields upon submission, unless they are required to do so.
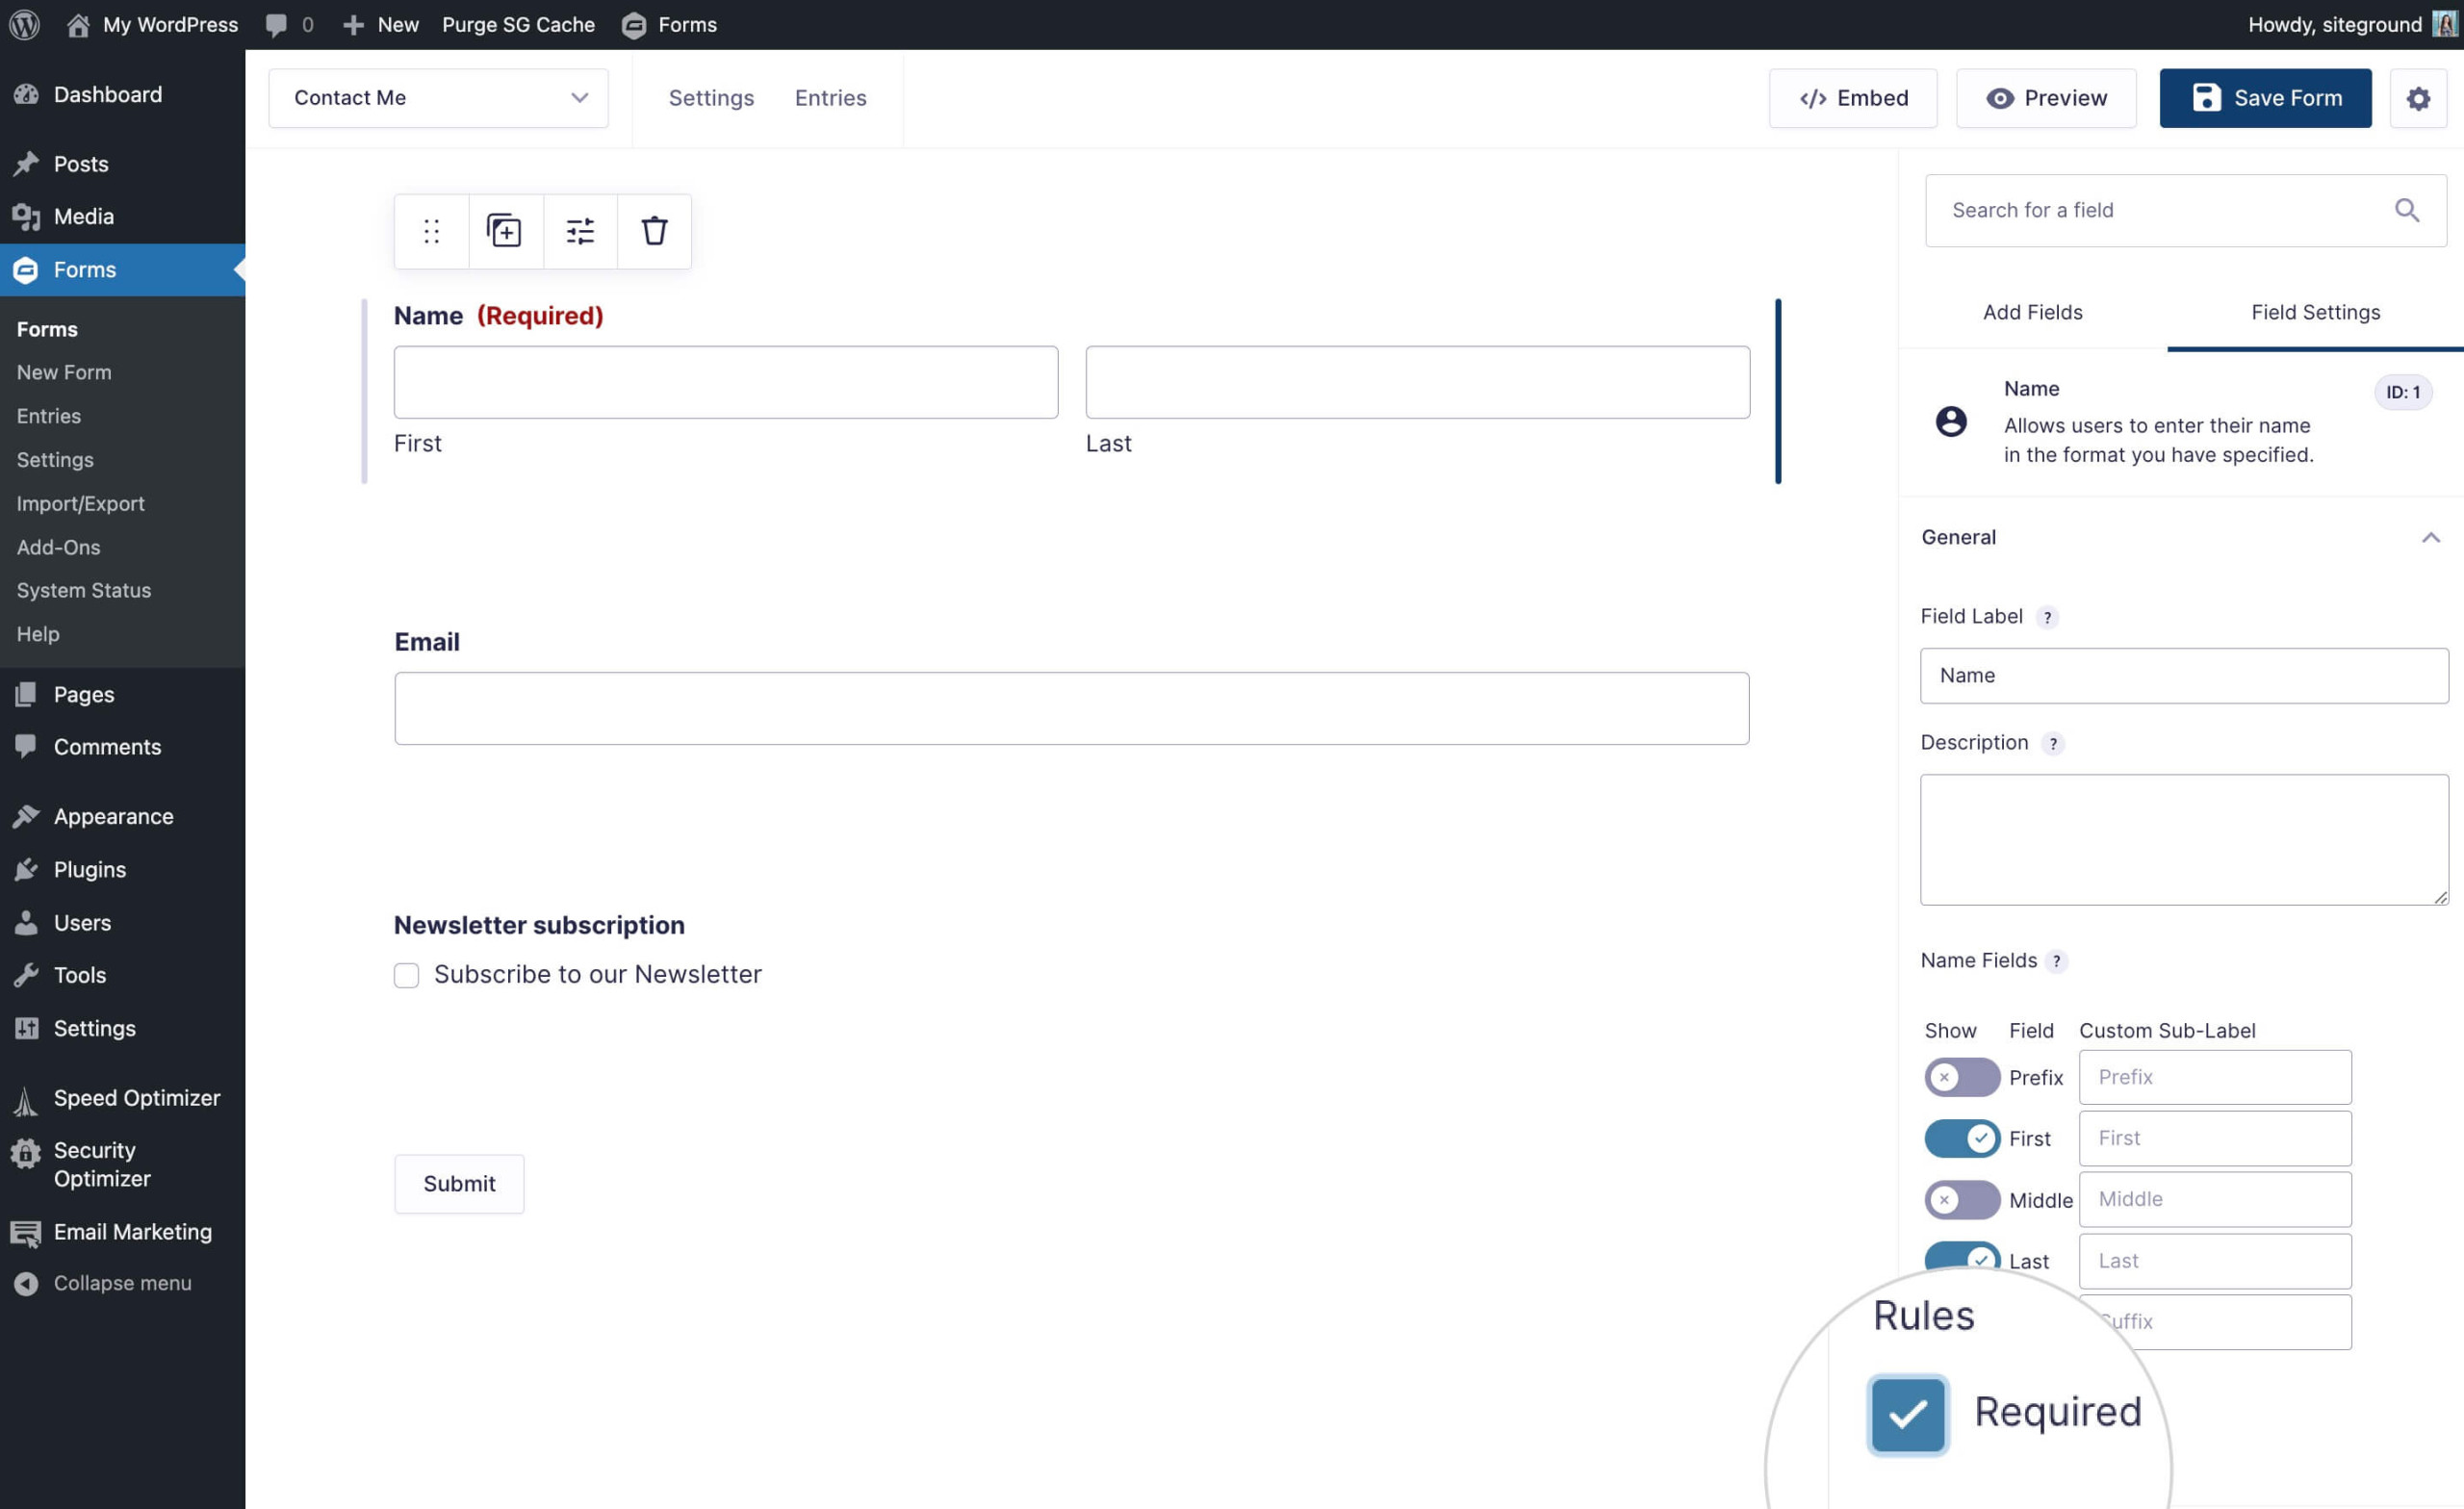
To make the First and Last name required fields, click on the Name block in the builder to reveal the option in the right-hand side settings bar. Scroll down to find the respective Rule and check the box next to Required.
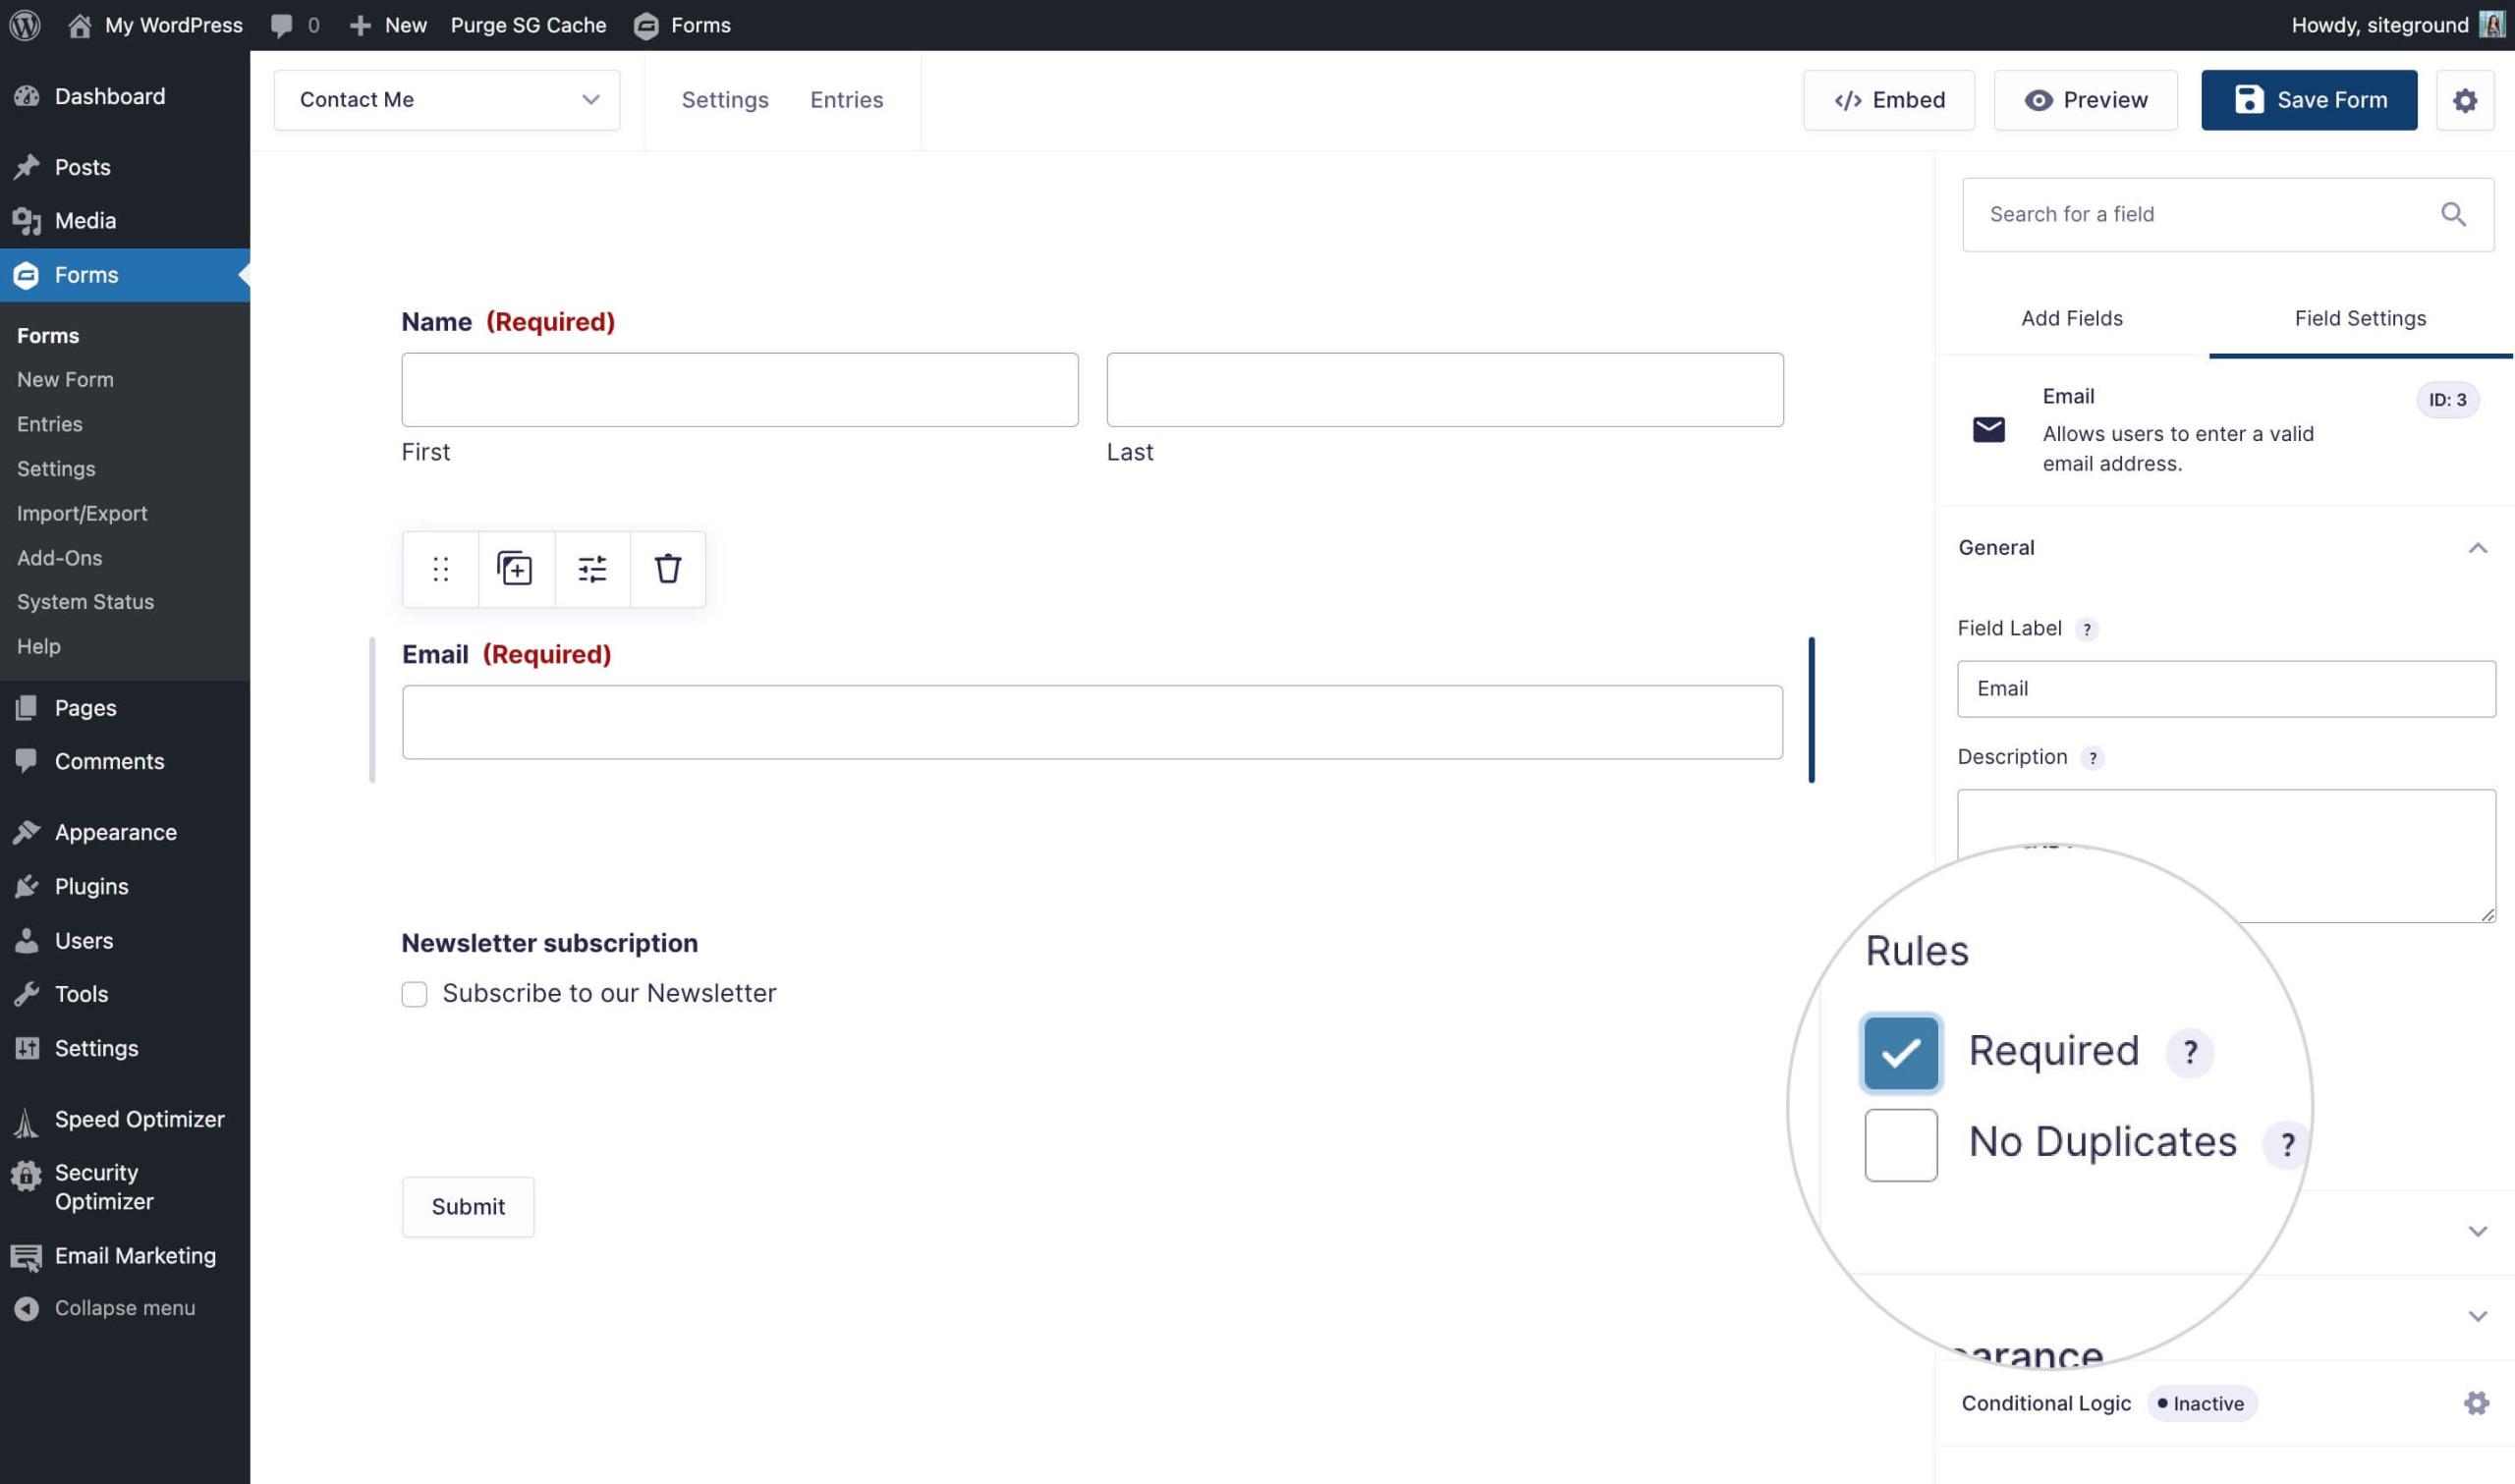
Similarly, make the Email field Required by checking the box next to it in the sidebar.
Make sure the First Name, Last Name, and Email fields are marked as required to guarantee the accurate recording of subscriber details in SiteGround Email Marketing. This will prevent form submissions with incomplete data and maintain the quality of your contact list.