Create an Email Campaign with SiteGround Email Marketing
Table of Contents
Are you ready to build an email campaign? Good! You must design an email that you’ll send to your audience. Where to start? Read this guide to find out.
-
Step 1.Create a New Campaign
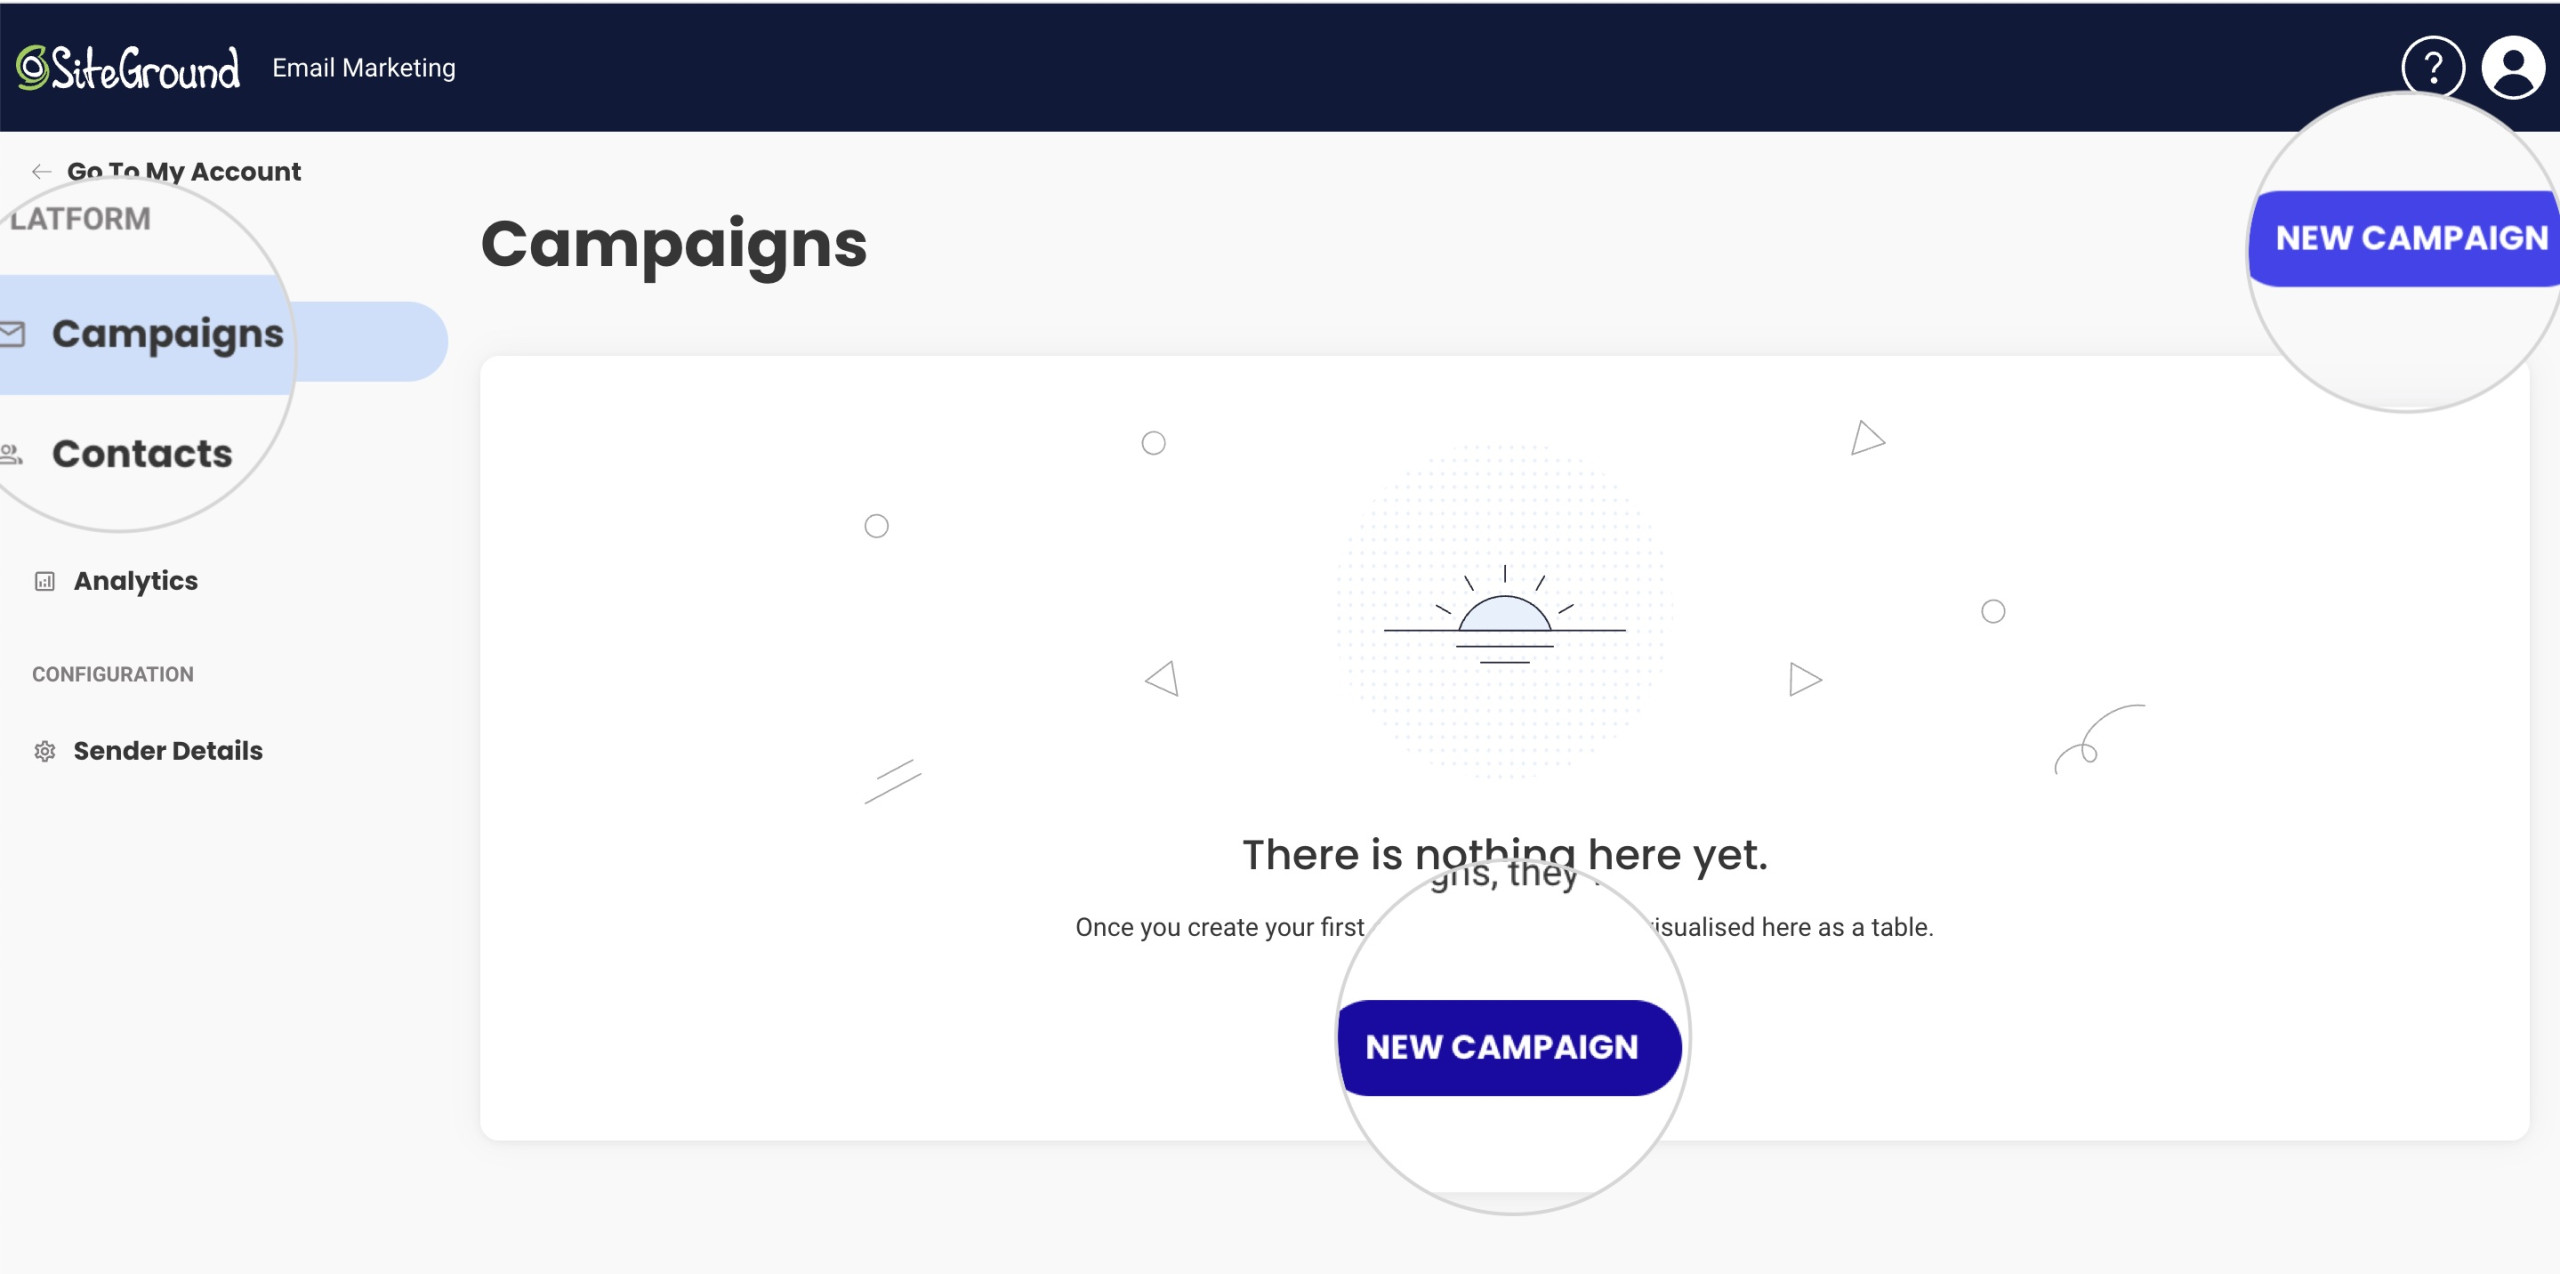
You can create email campaigns in the Email Marketing dashboard. Log into your Client Area > Services > Email Marketing. Open the Campaigns section, and click the NEW CAMPAIGN button. If this is your first campaign, you’ll see a NEW CAMPAIGN button at the center of the page. If you have existing campaigns, use the button at the top right corner.
-
Step 2.Name Your New Campaign
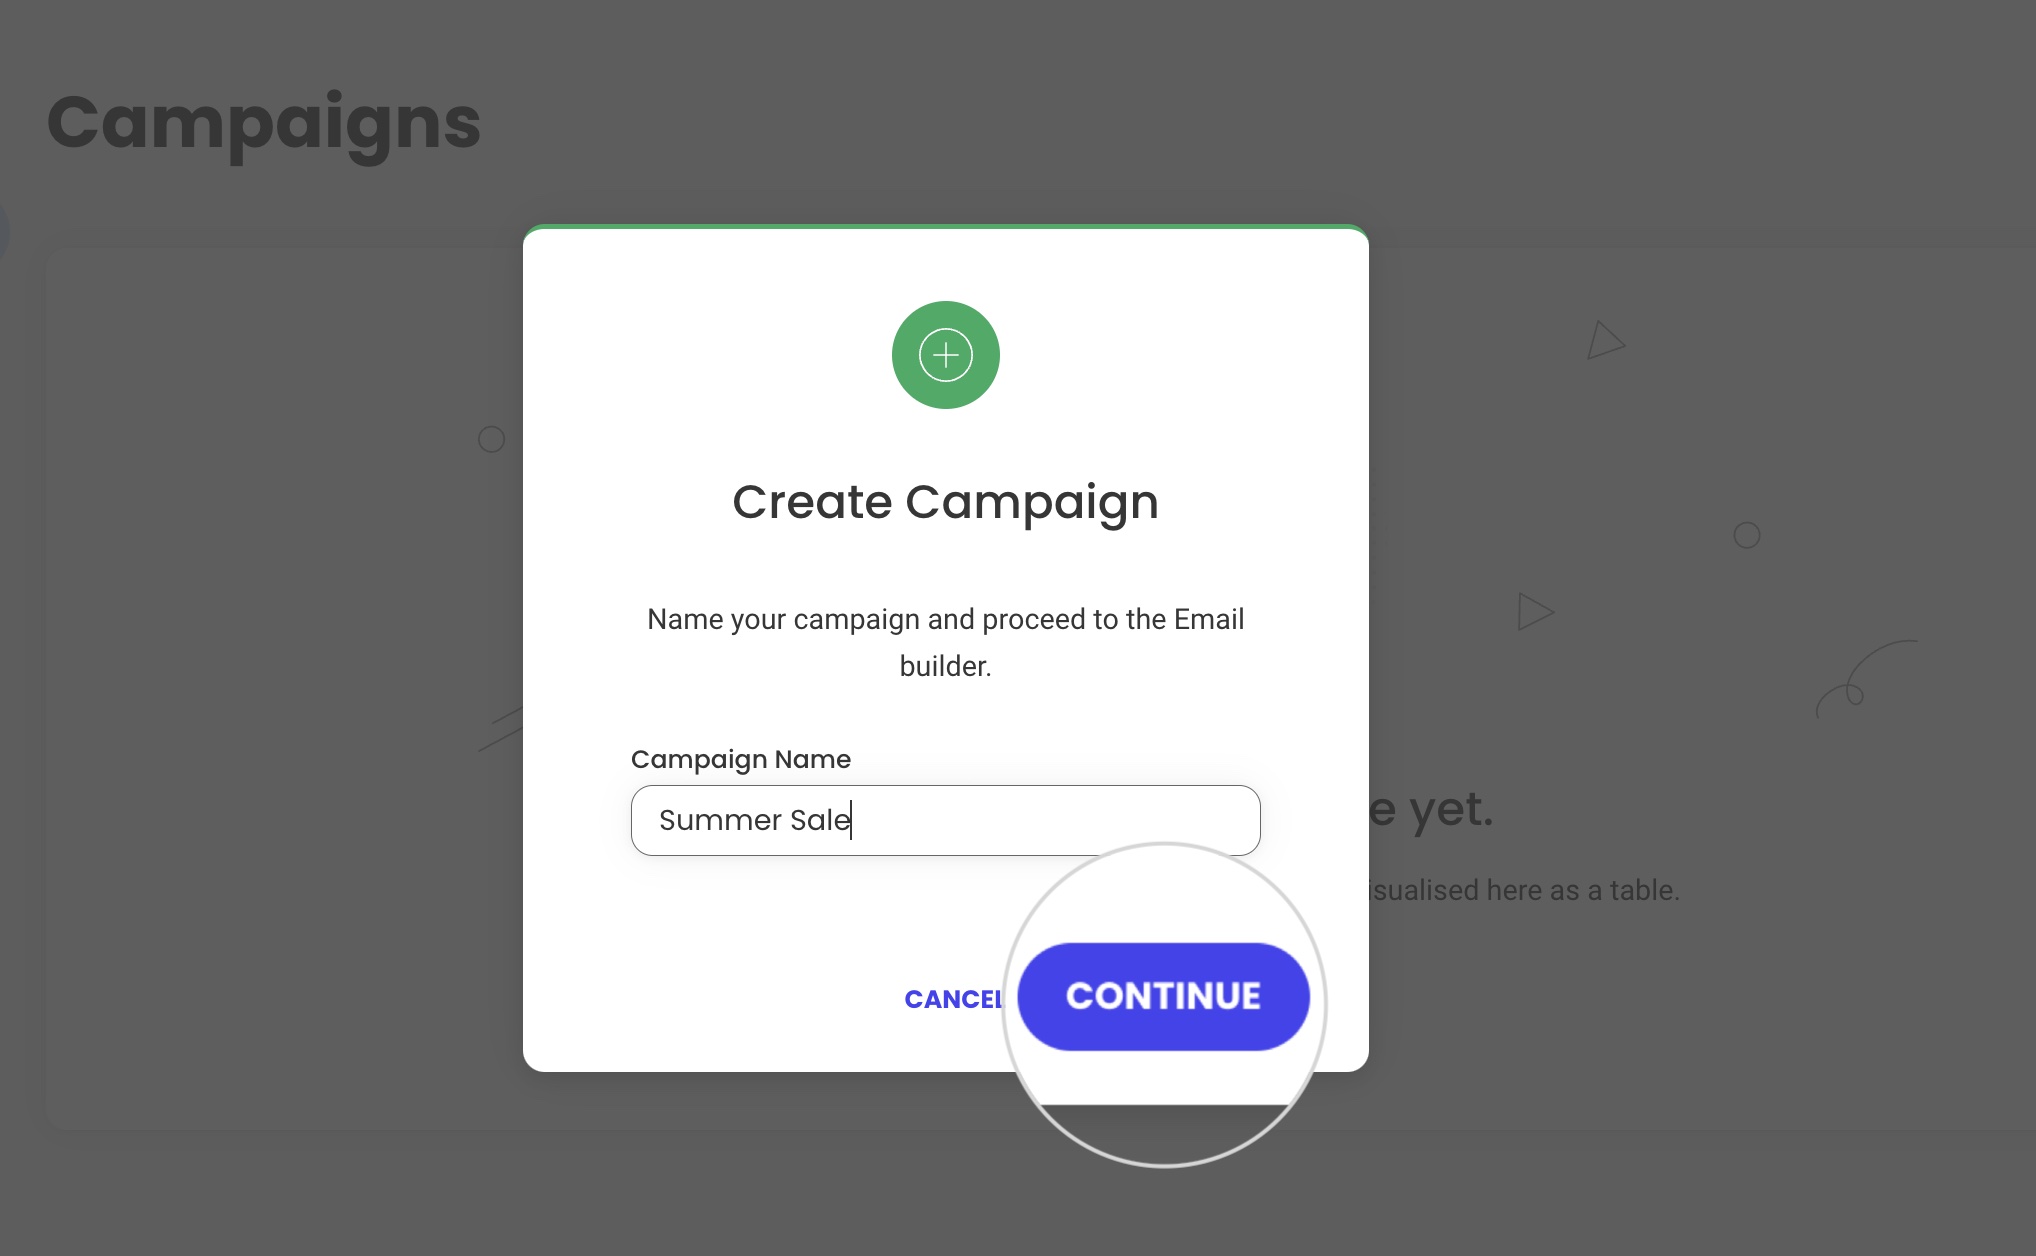
After clicking the NEW CAMPAIGN button, a new window will prompt you to name the campaign. Hit the Continue button to confirm the name and open the Email Builder.
-
Step 3.Choose an Email Layout
The first time you open a campaign, the Email Builder will prompt you to choose a Basic Layout. When you are on top of a layout, a Select button will appear. Click on it to apply the layout to your email.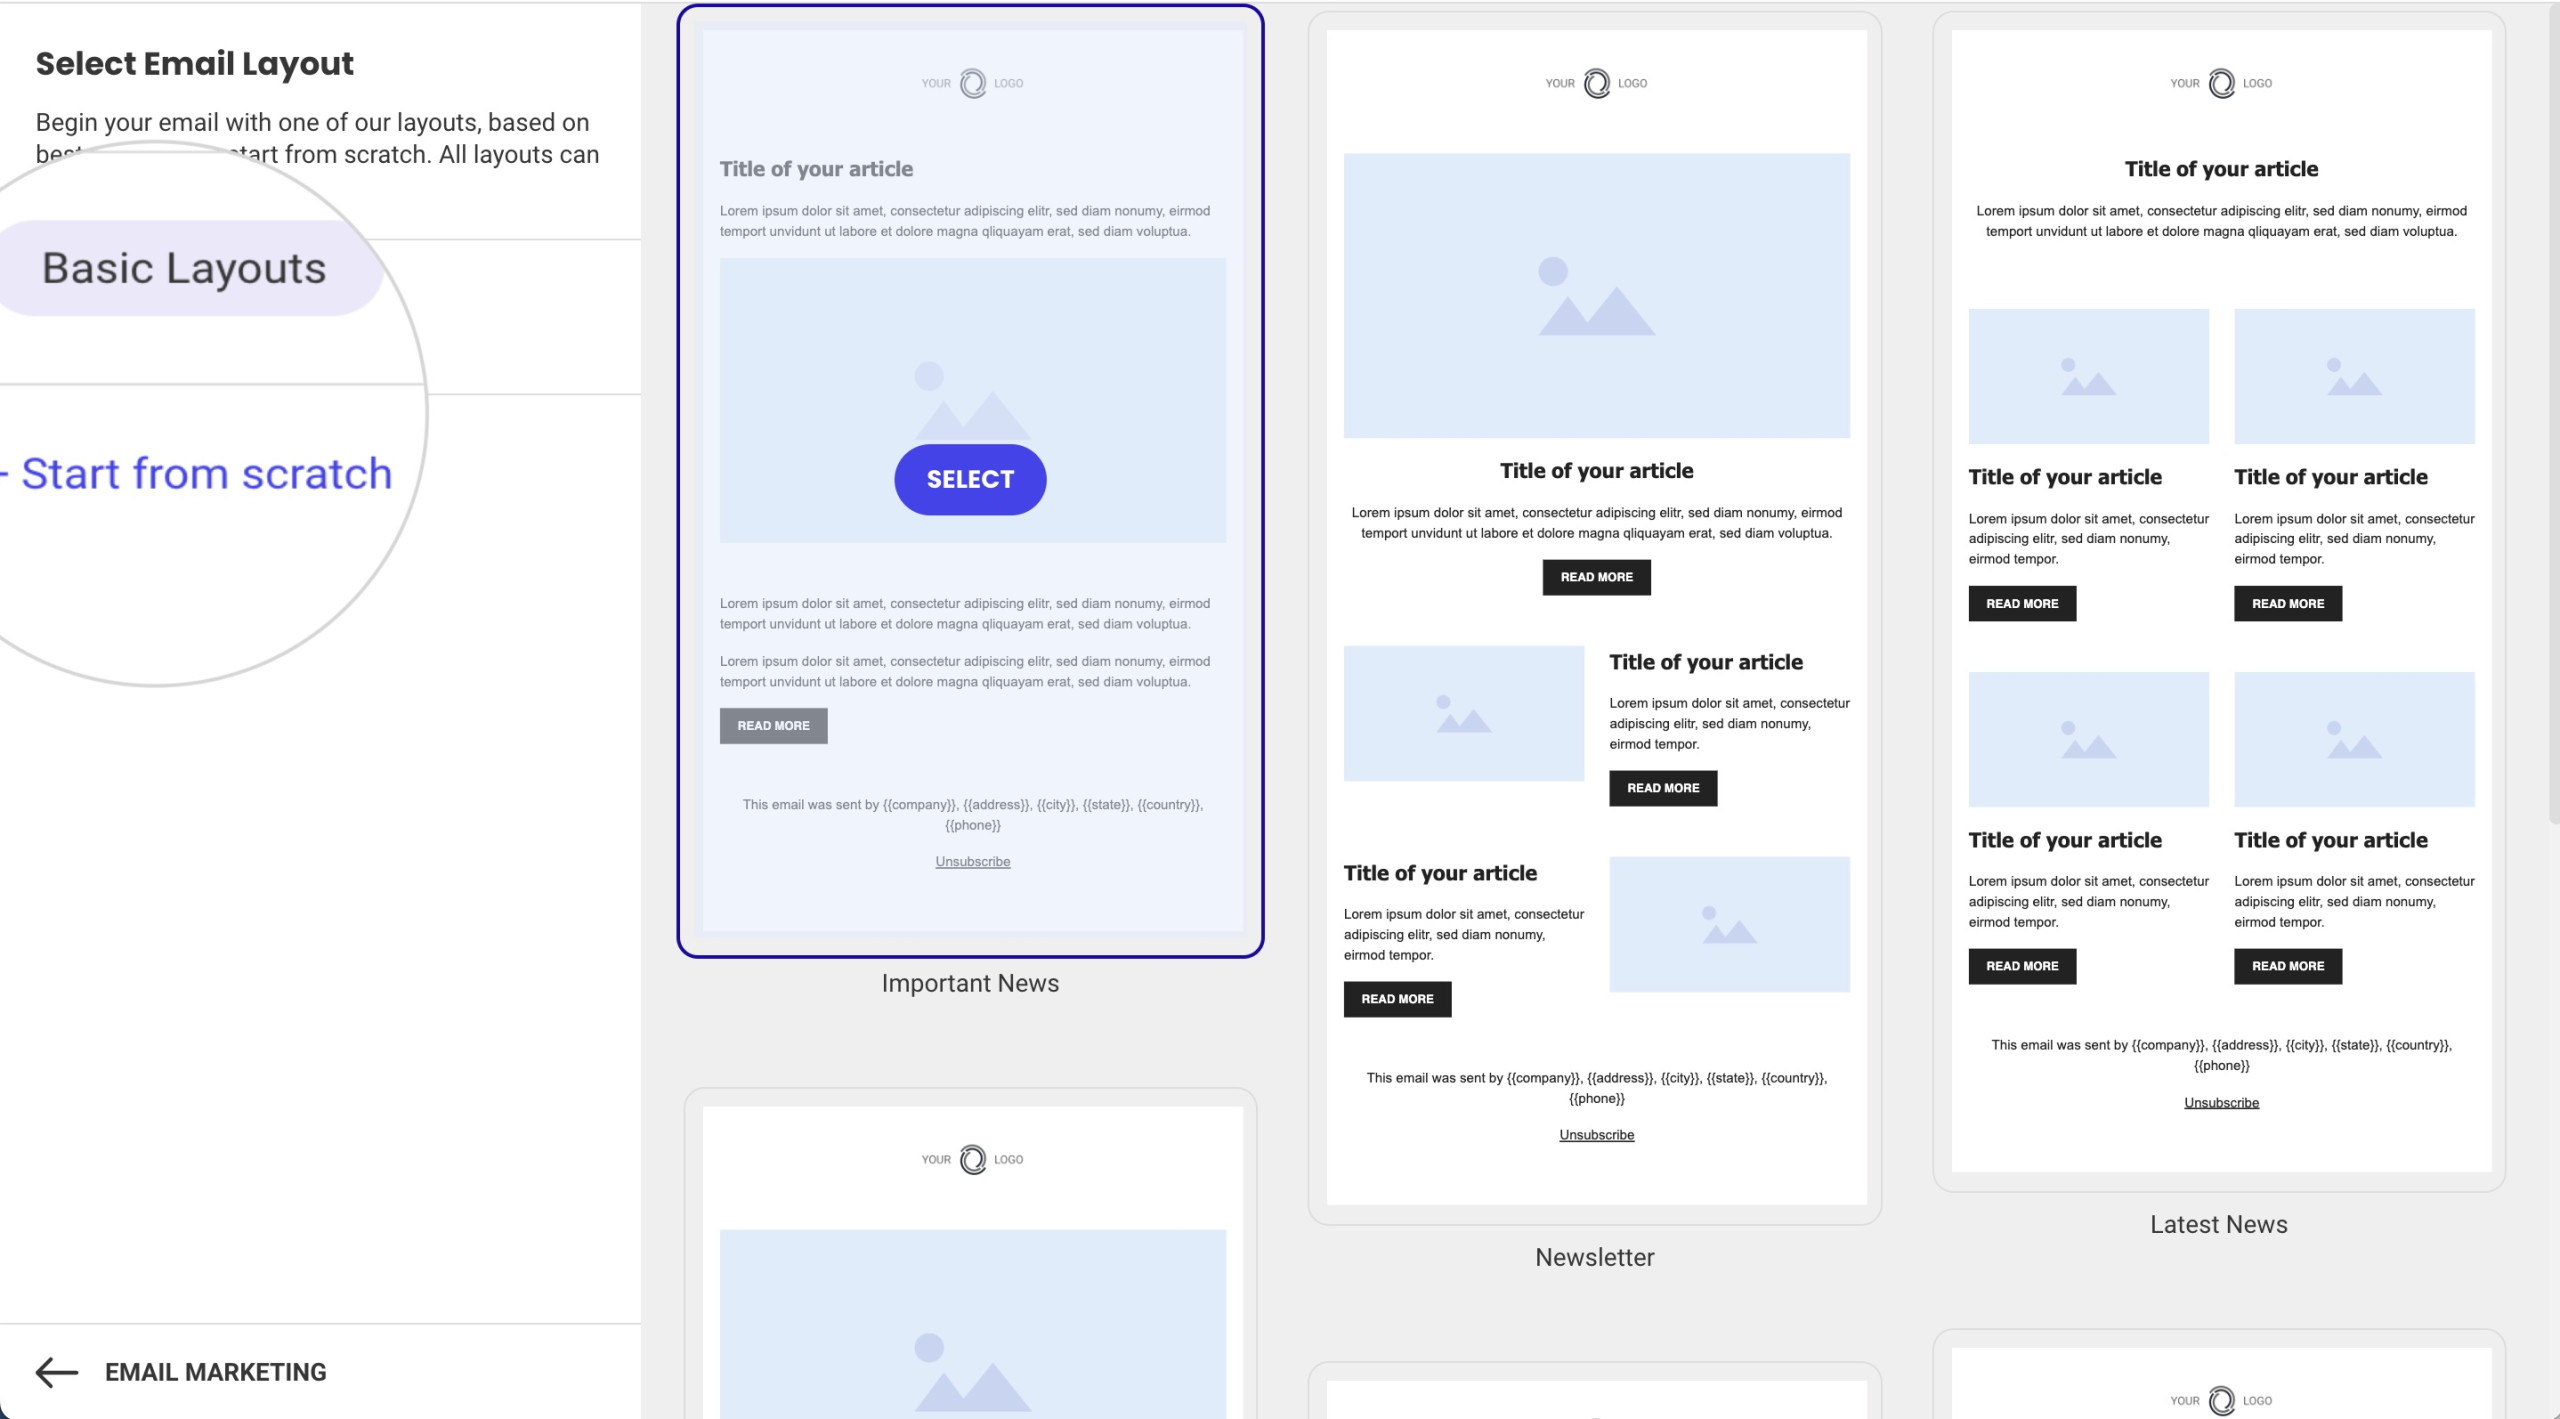
If you prefer to compose your layout from the ground up, select Start from scratch from the menu on the left.
-
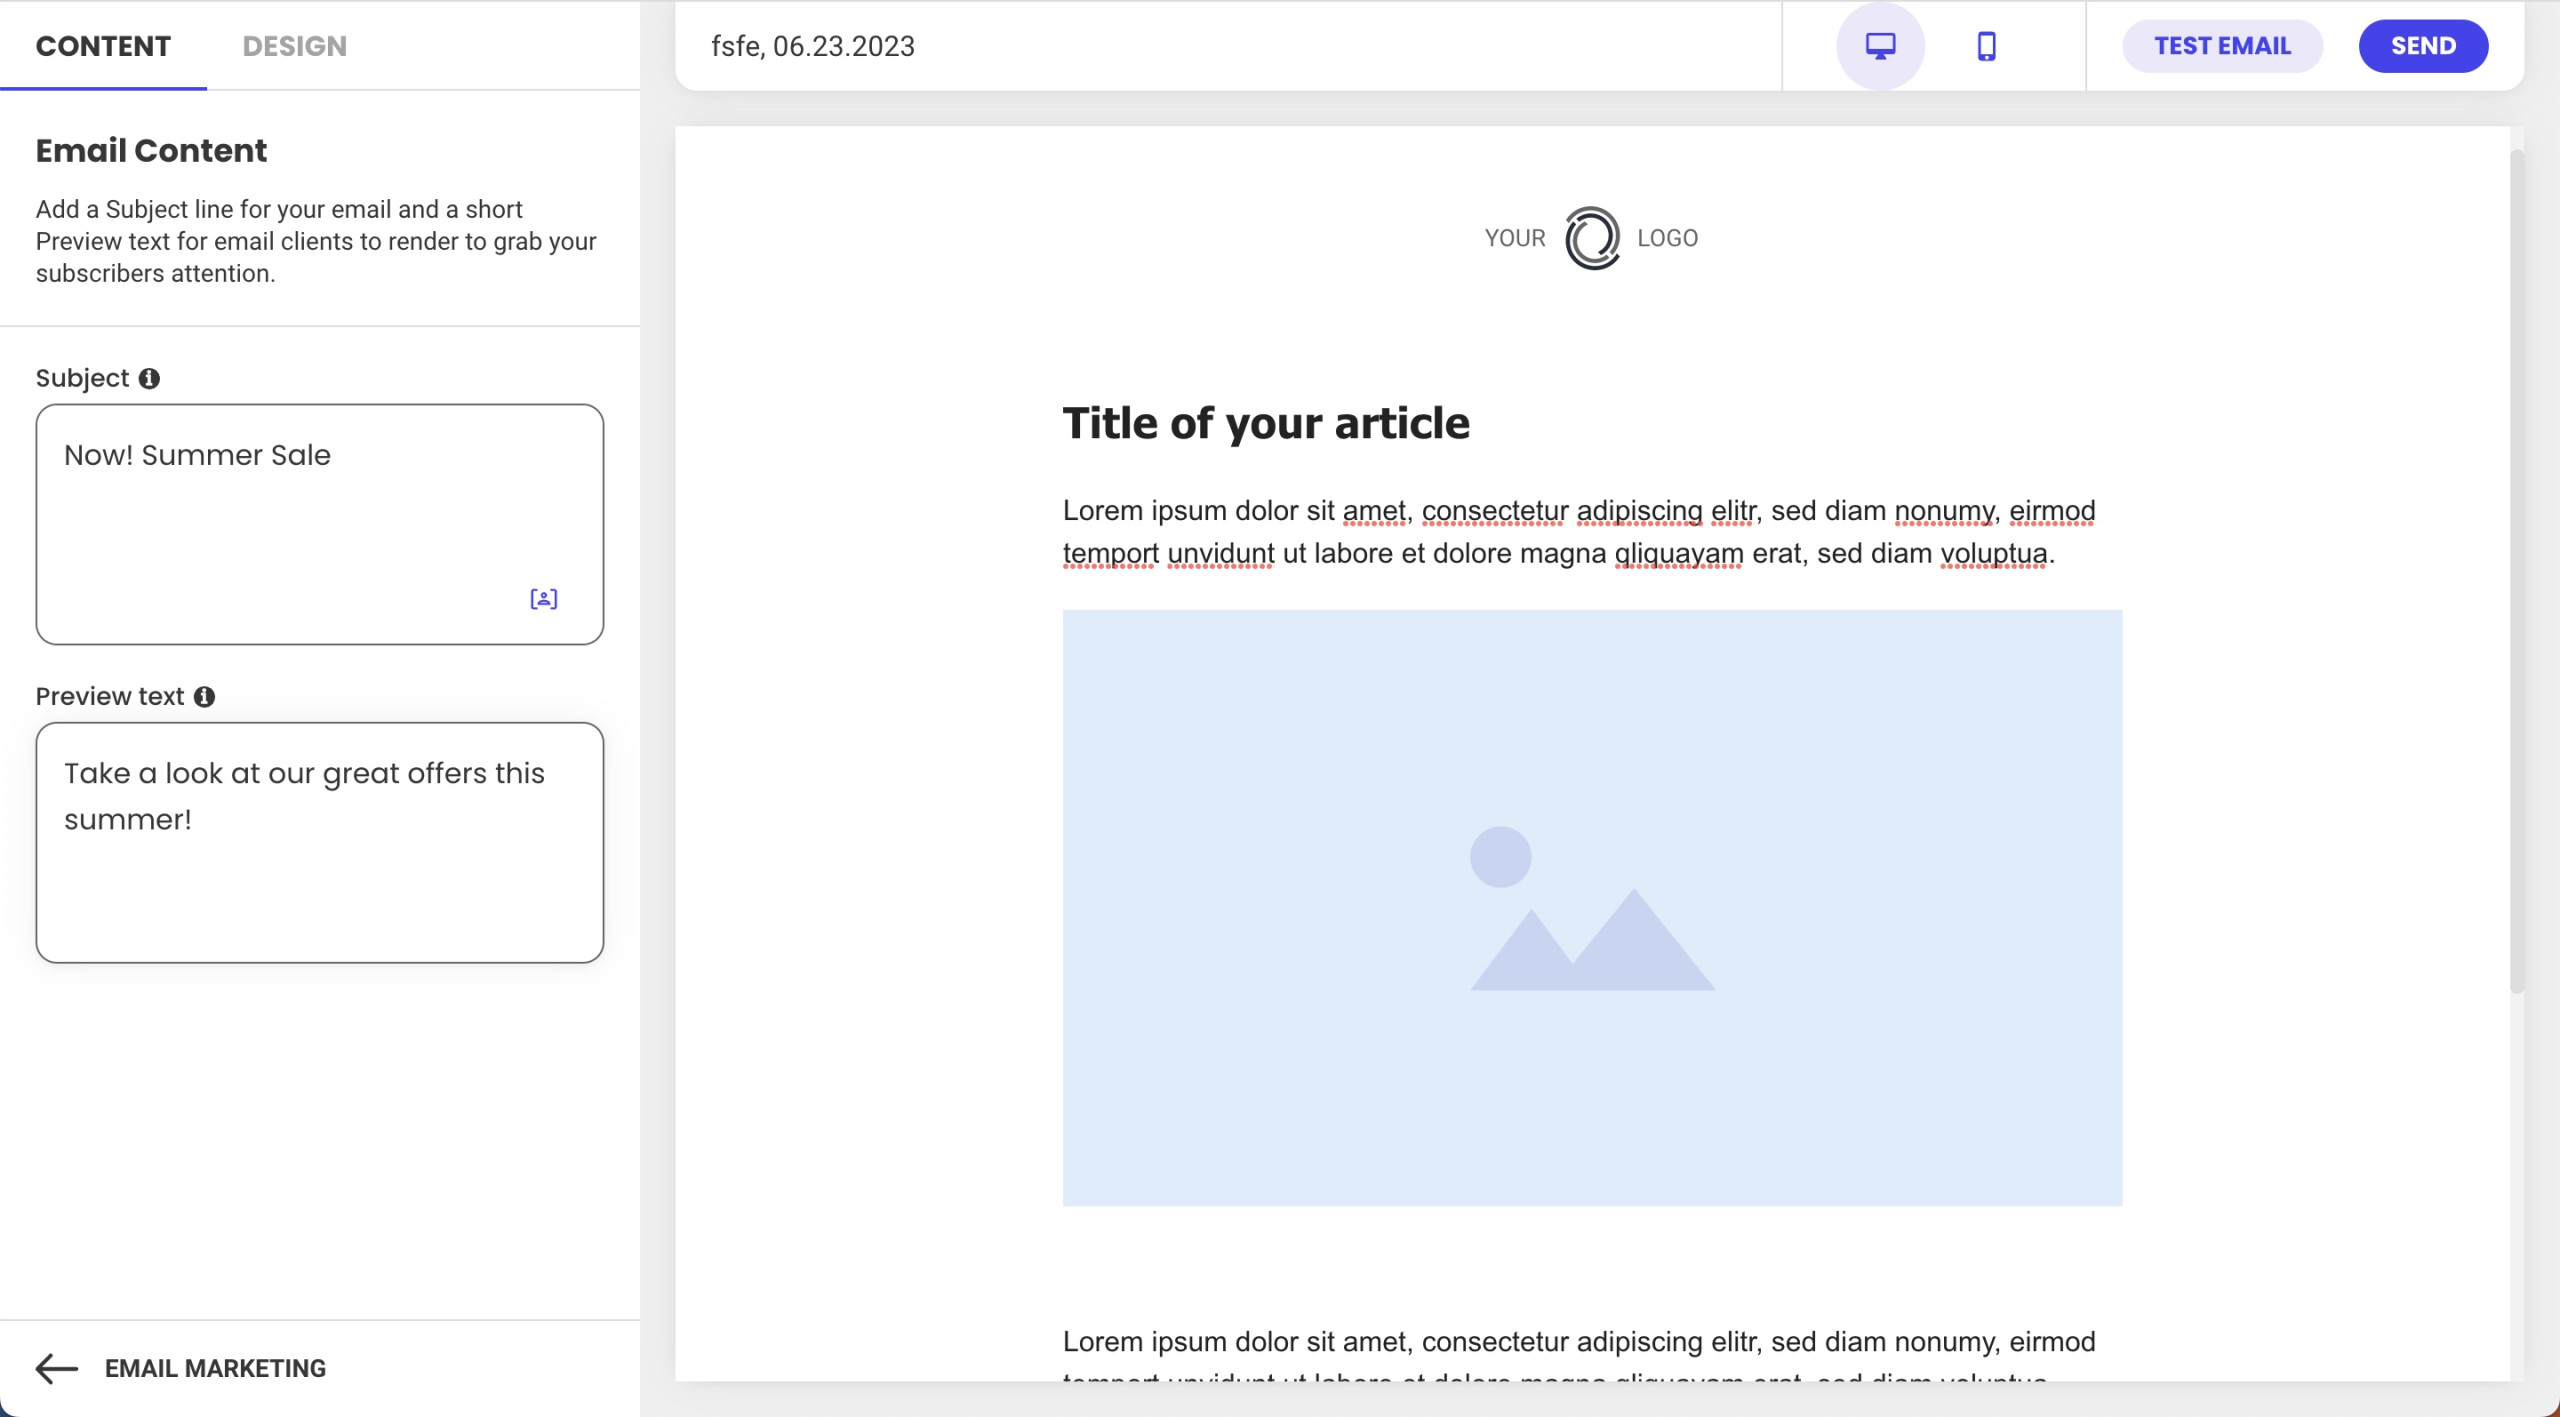
Step 4.Add Subject Line and Preview Text
Once you choose a template, the left-side menu will switch to the Content section. You will be prompted to write the Subject and Preview text for your campaign email that recipients will see in their inboxes.
-
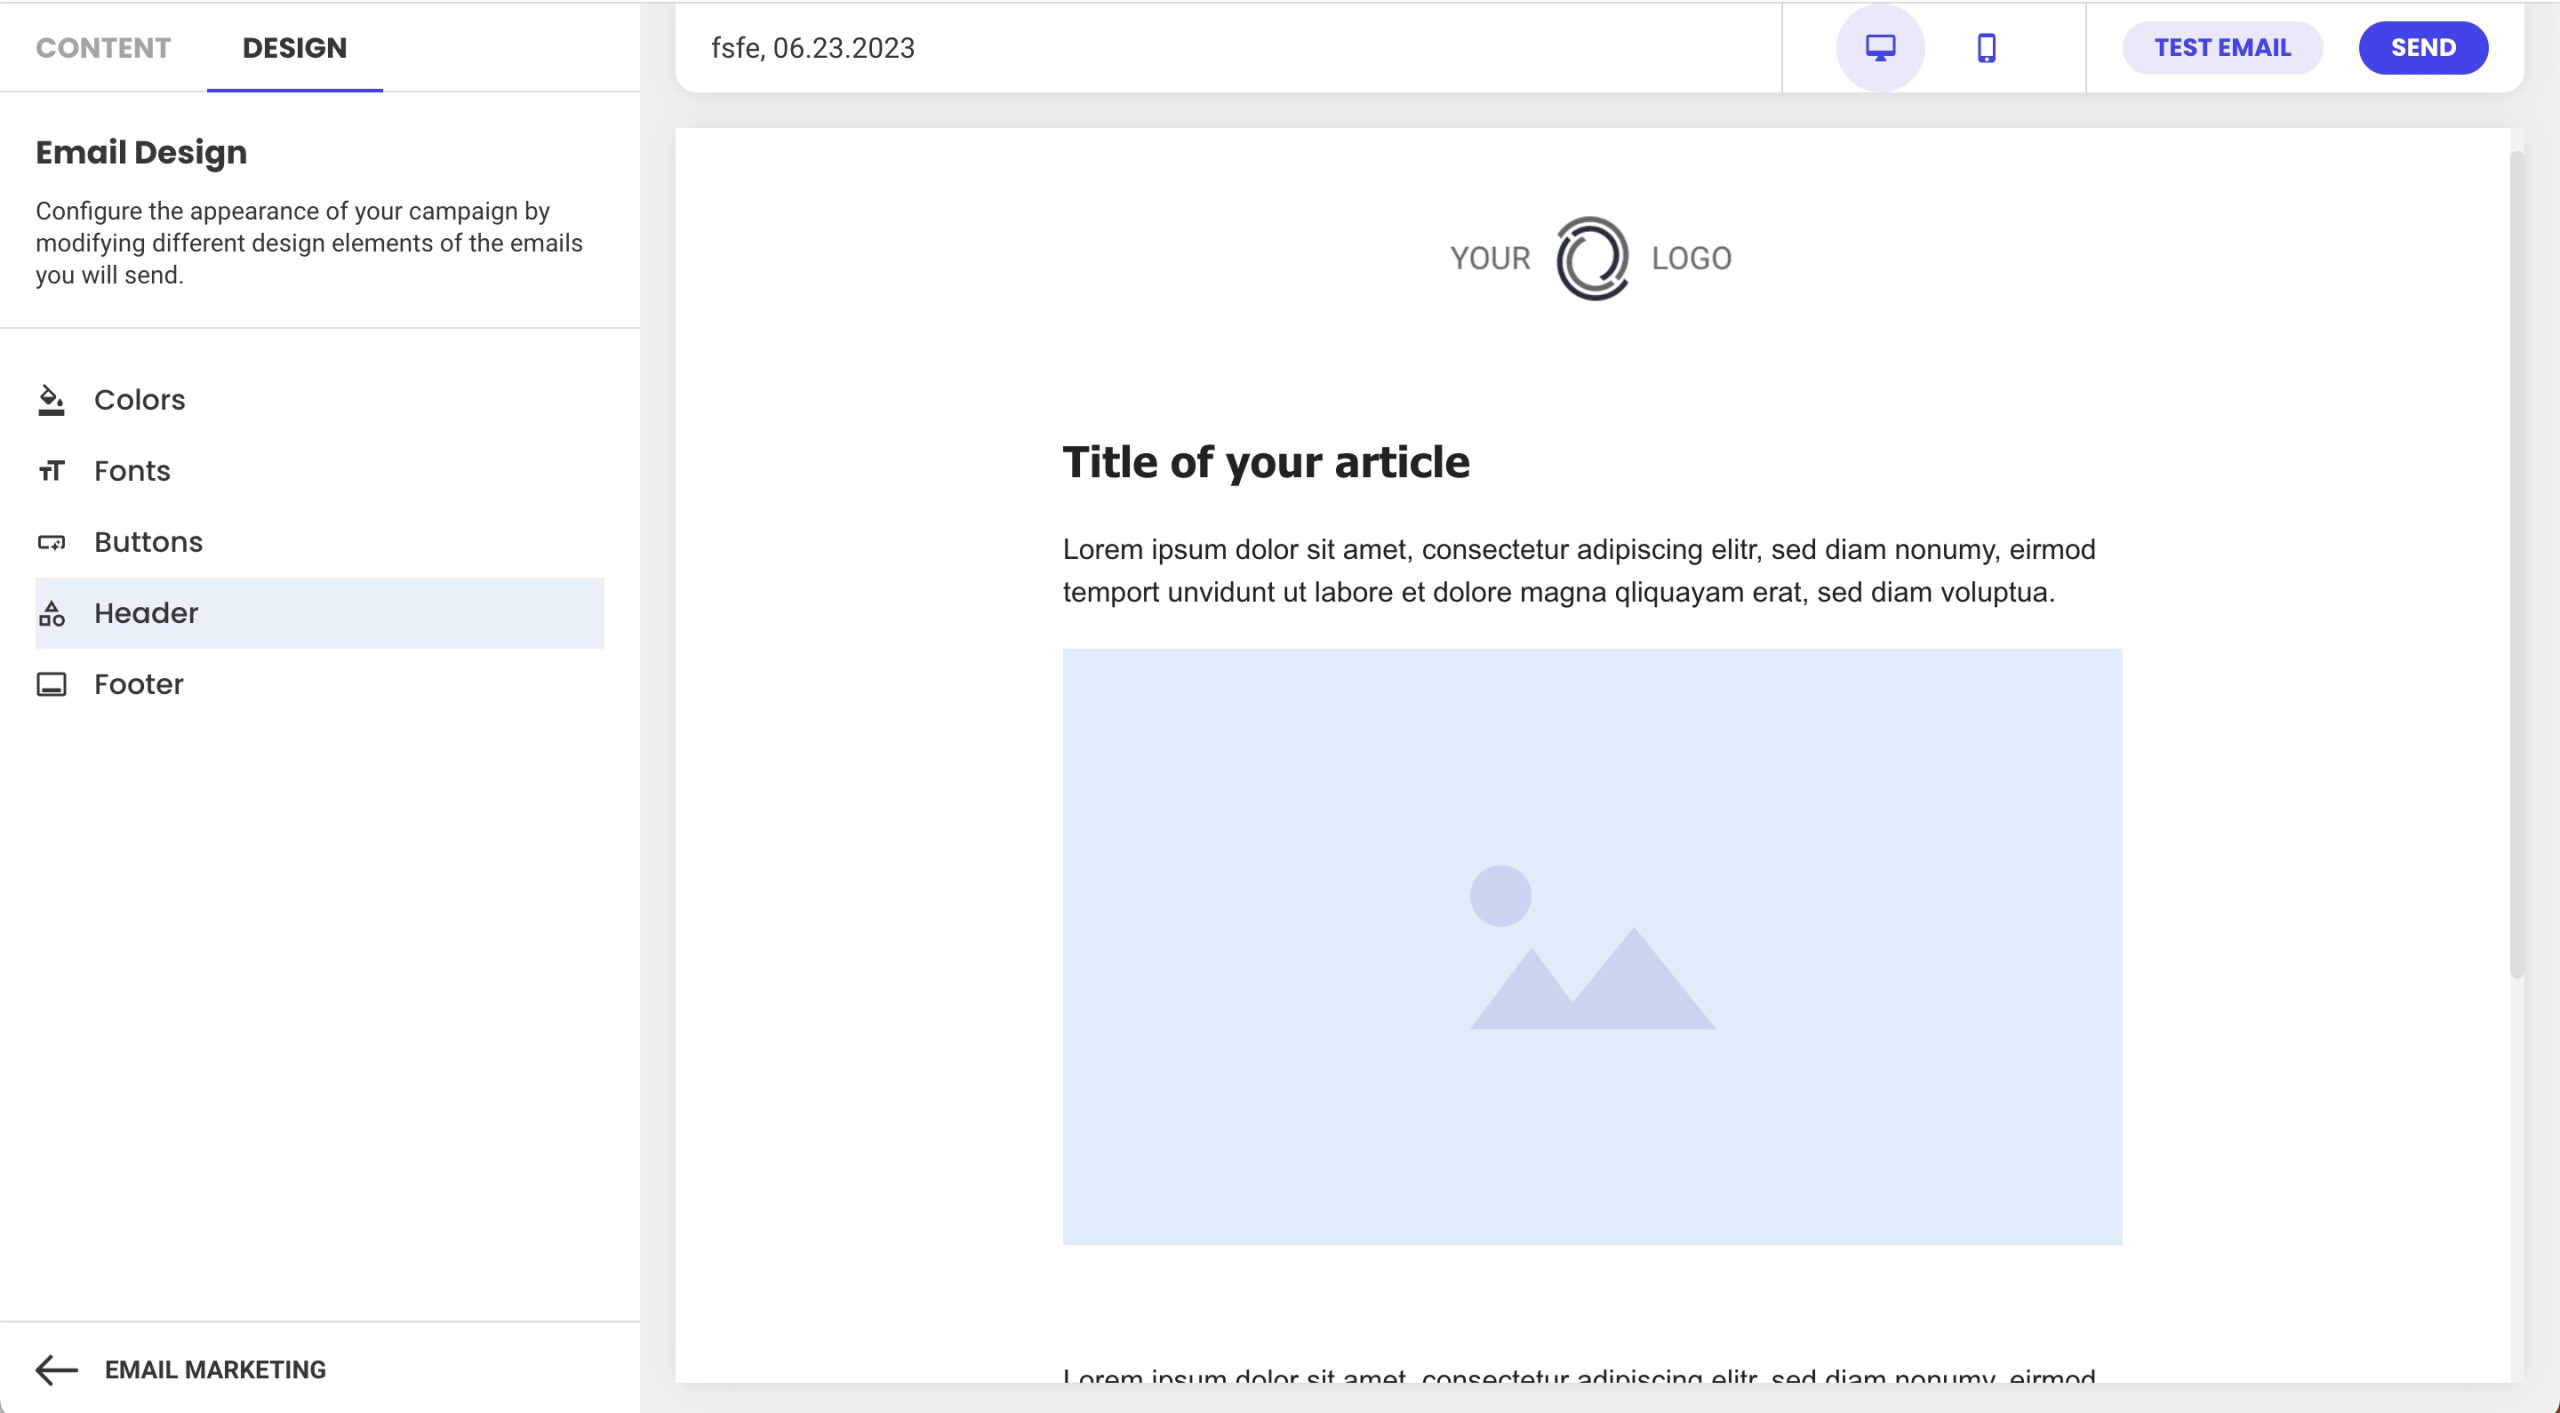
Step 5.Edit Your Email Design
Next, you can change the general design of your email. From the left-side menu, switch to the Design tab. Here you can change the text color, text fonts, the shape of the buttons, and the design of the header and footer area.
-
Step 6.Add Your Content
After you’ve set your general settings, you can start adding your content. Click on one of the sections created by the chosen layout. You can change the basic design of the sections from the Edit Section menu on the left. Then, add your custom text to the section. To add an image, hover over the image placeholder area and press Update. You can upload an image from your computer or choose from one of the previously uploaded images.
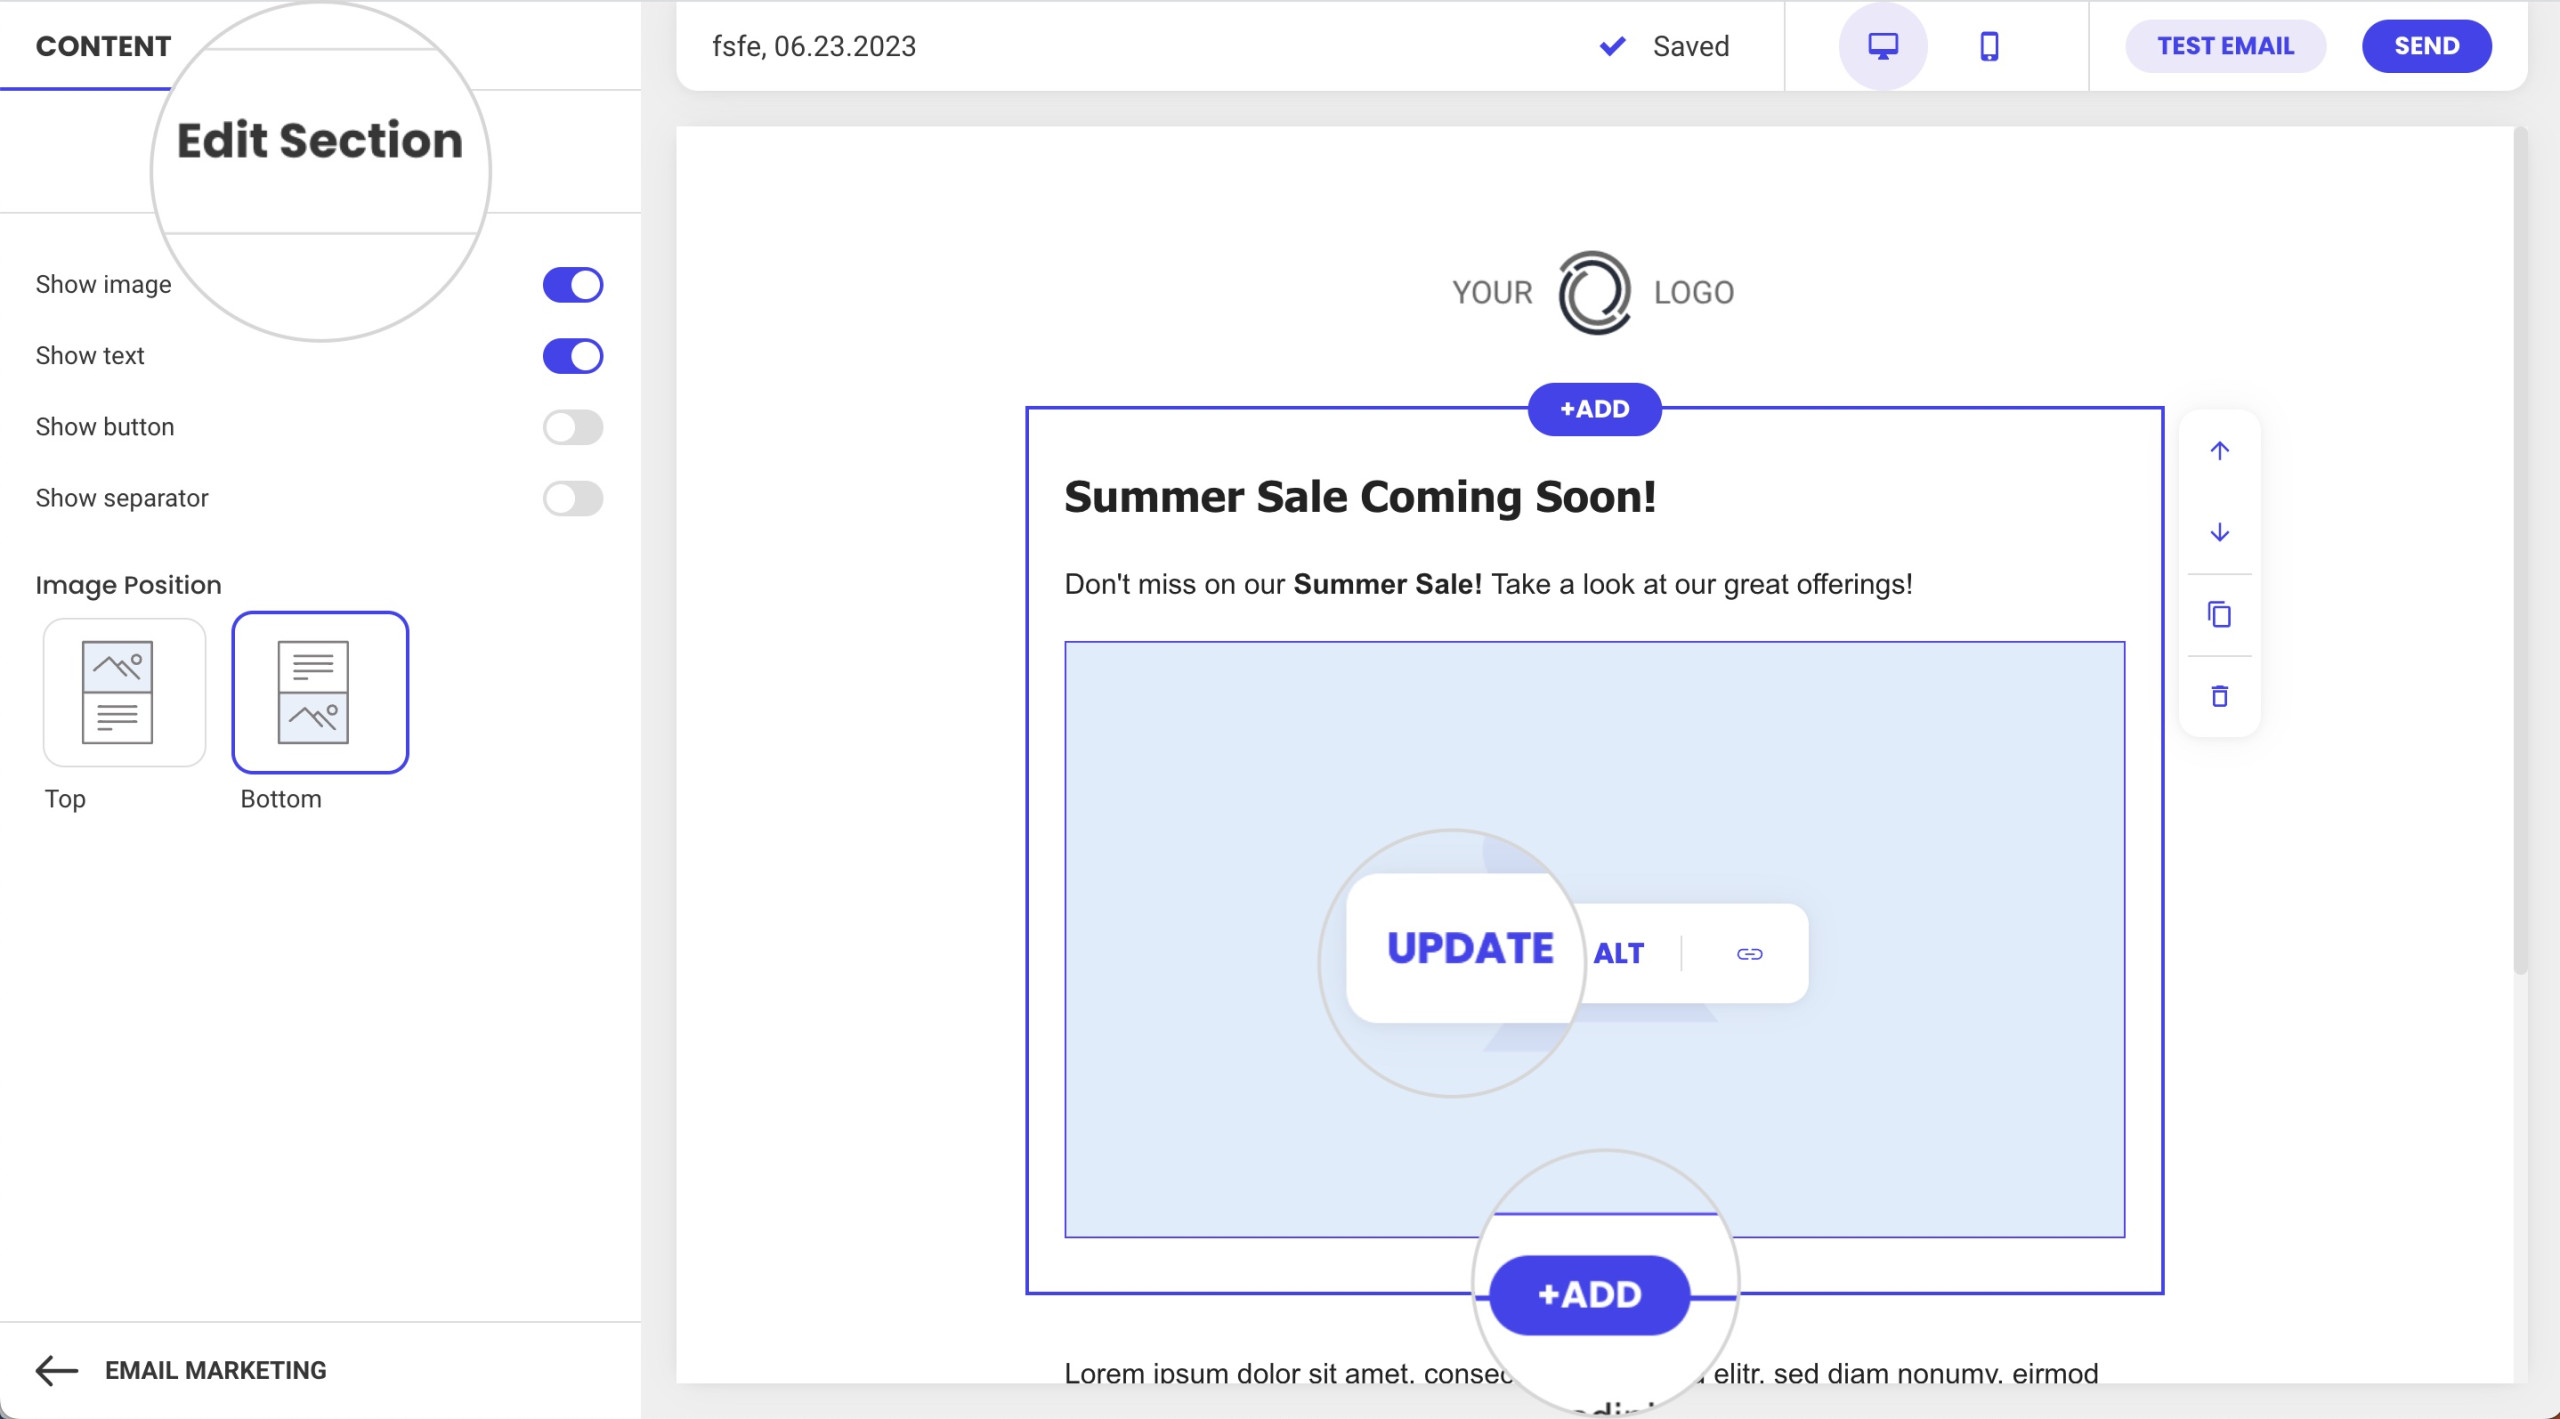
You can create a new section by using the ADD button at the top or bottom of the section you are editing. Depending on which Add button is pressed, a new section will appear above or below the current one.
The Email Builder will auto-save all your edits. If you are not ready to send the campaign, you can just exit it, and all your edits will be preserved.
-
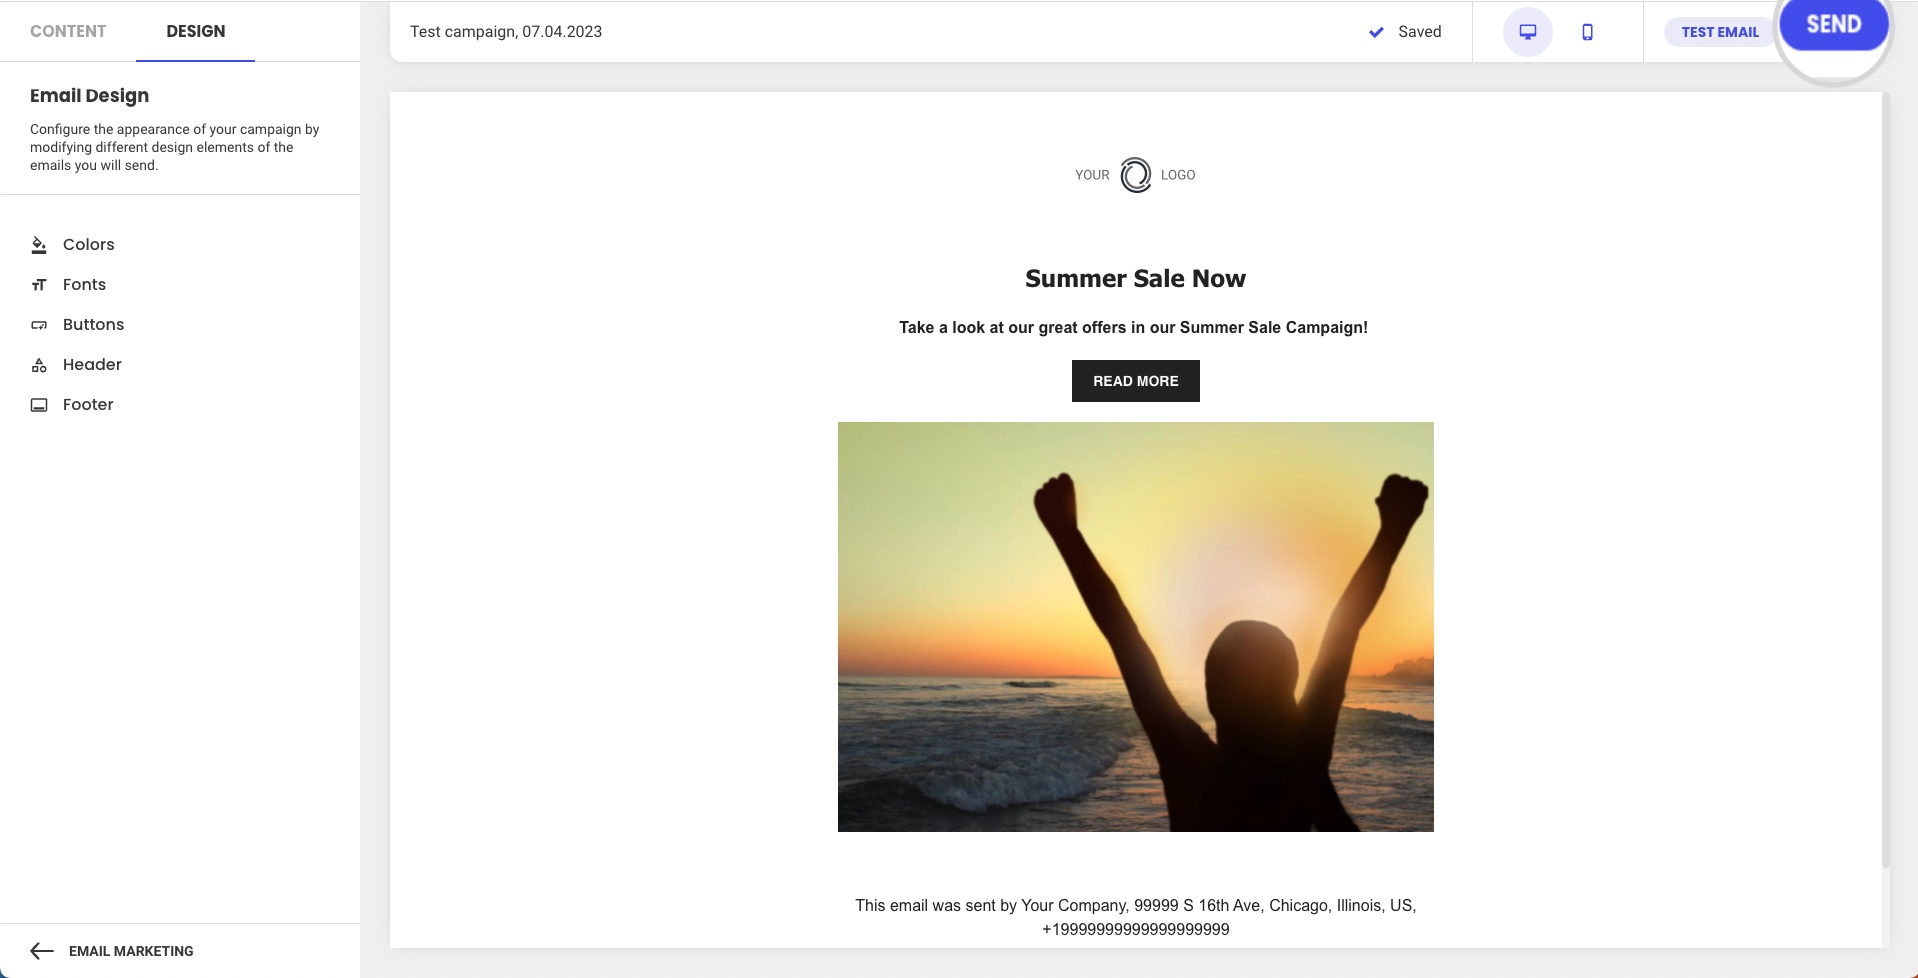
Step 7.Send Your Campaign
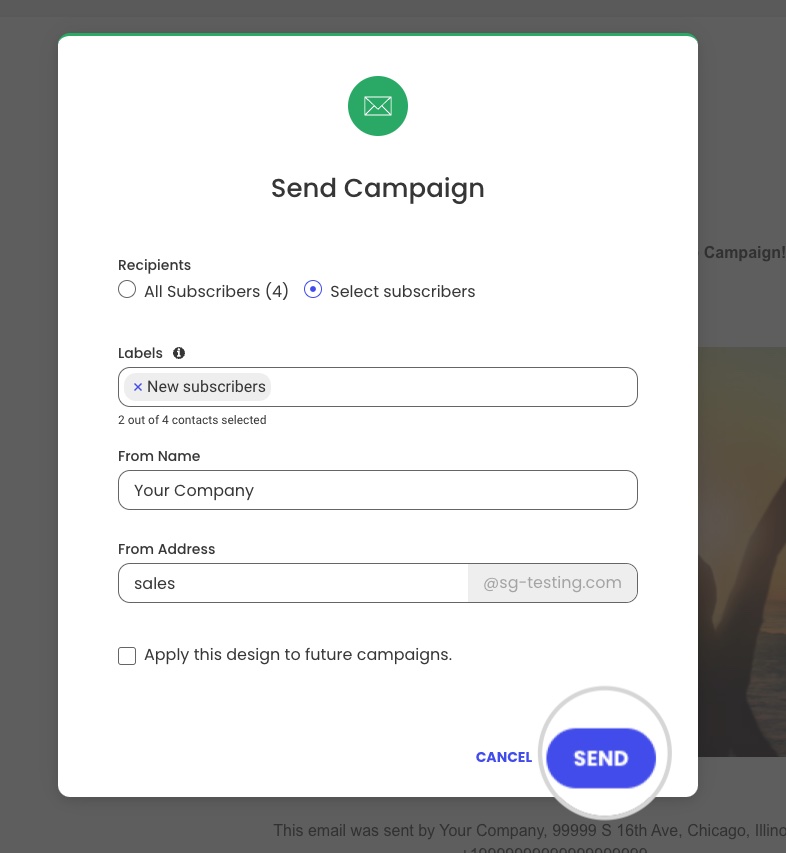
Once you’ve composed the campaign email, you can publicly release it by sending it to your recipients. While you are in the Email Builder, press the SEND button at the top-right corner.
You can choose to send the campaign to all Subscribed users in your Contacts list by choosing the All Subscribers option for Recipients.
Alternatively, you can choose Select subscribers to send the campaign to a group of subscribers. A new drop-down menu Groups will appear where you can choose one or more groups. Only subscribers under the selected groups will receive the campaign.
In From Name, write down the sender name that recipients will see. Typically, the From Name is your brand name.
In From Address, write the address that sends the campaign. It is added as a prefix for the domain name for which you have activated our email marketing tool.
After you’ve made your choice, press the SEND button to release the campaign.