Fill in Sender Details in SiteGround Email Marketing
Table of Contents
One of the most important requirements for email marketing established in the CAN-SPAM Act is to reveal your true identity to your subscribers. SiteGround Email Marketing makes this easy – you can fill in the information in a section dedicated to the sender details, which is automatically attached to every marketing email.
Read this step-by-step guide to learn how to add your sender details to SiteGround Email Marketing.
-
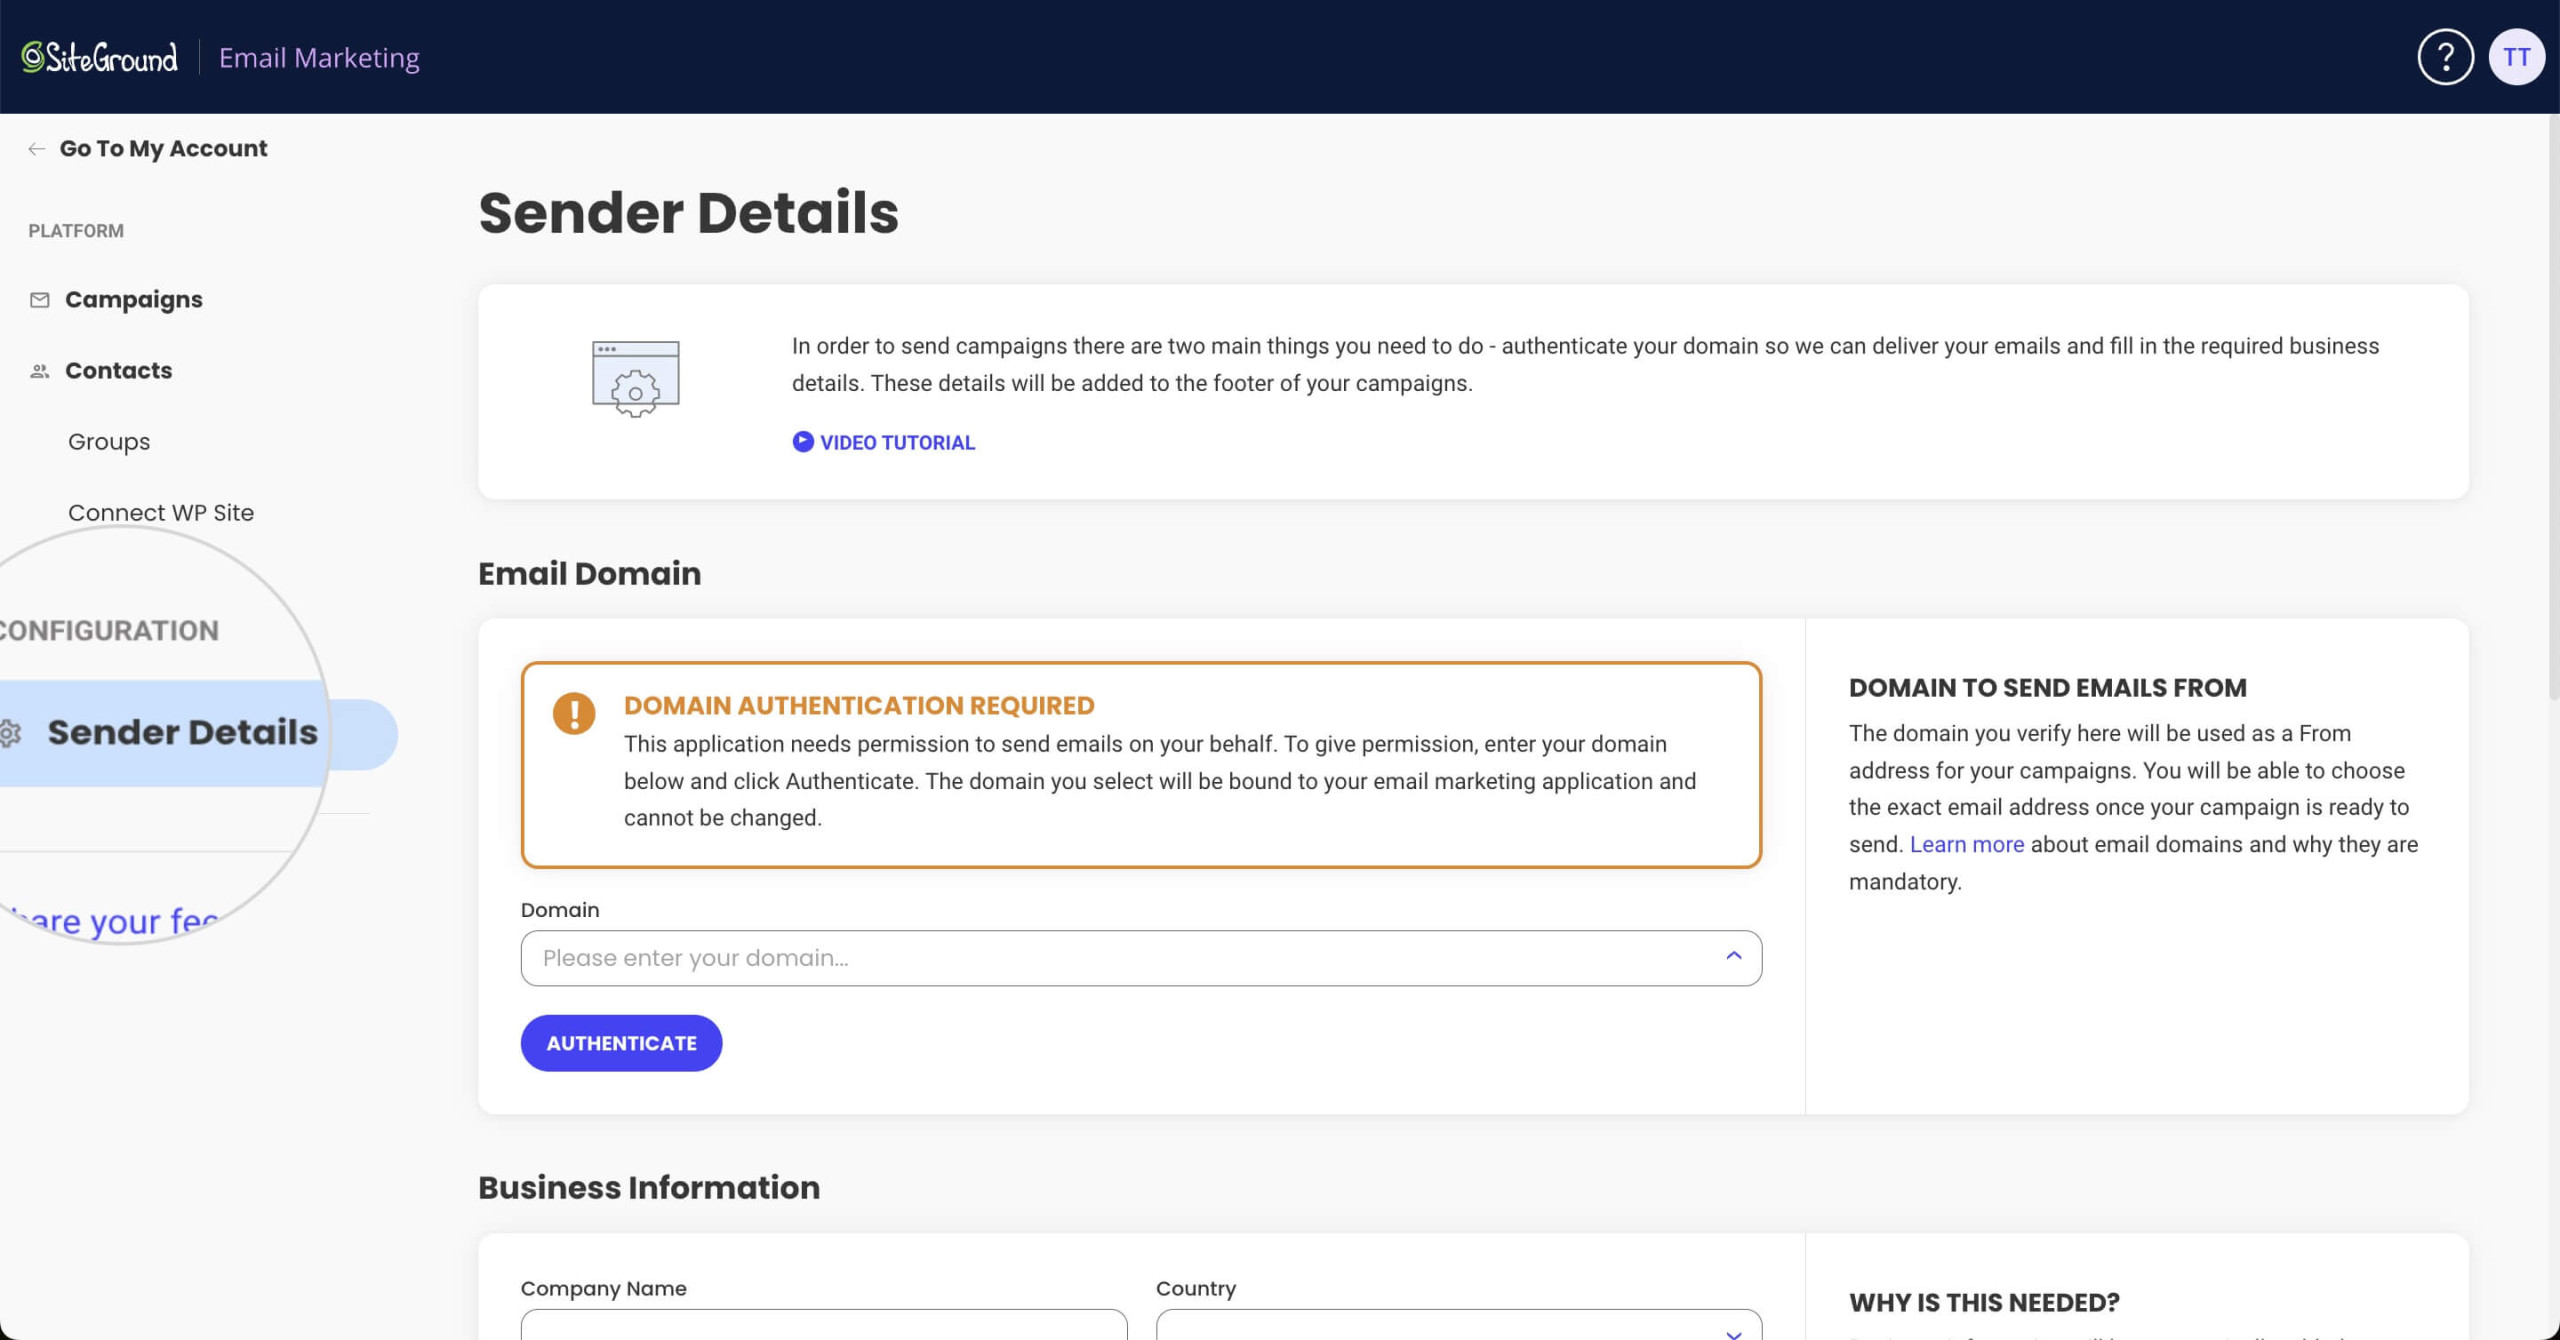
Step 1 Open the Sender Details section in Email Marketing
Once you are inside your Email Marketing tool, navigate to Email Marketing > Sender Details. This is the section that stores your sender information.
-
Step 2 Choose the Sender Domain
The first and most important piece of information is the Email Domain. Email Marketing will be sending marketing campaigns on behalf of this domain name. Click on the Domain bar to submit your chosen domain name.
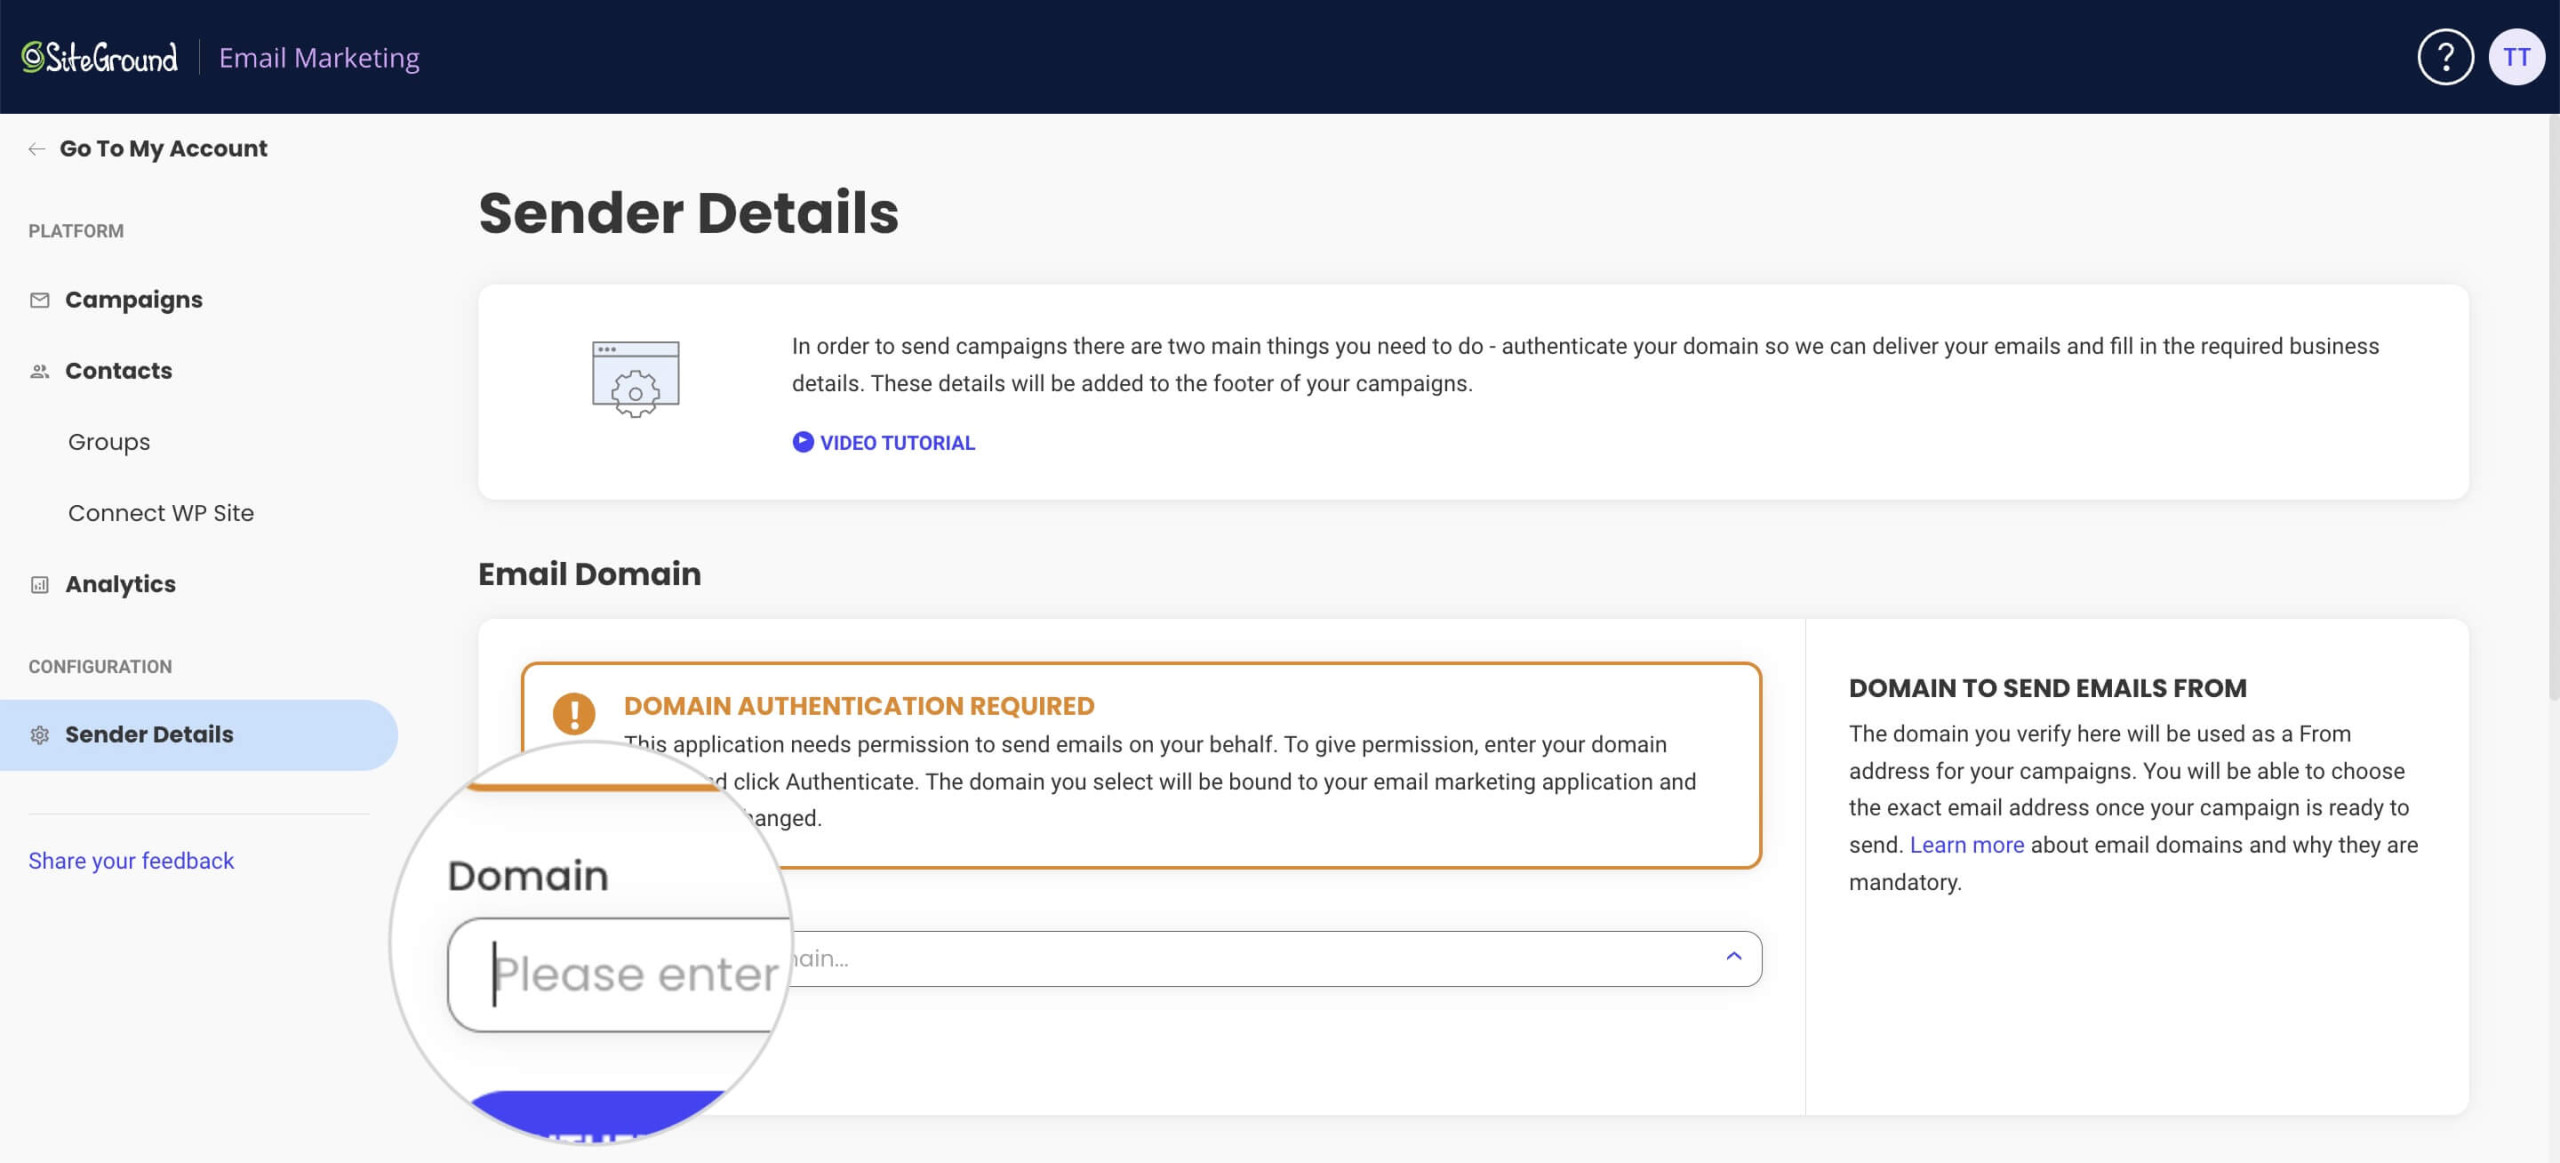
The process of choosing and authenticating the domain name depends on whether or not you use this domain in SiteGround Hosting services. For in-depth information, read this guide on how to enter a sender domain in Email Marketing.
-
Step 3 Fill in Your Business Information
Moving down the Sender Details section is the Business Information. These details will be visible in the campaign emails sent to your subscribers.
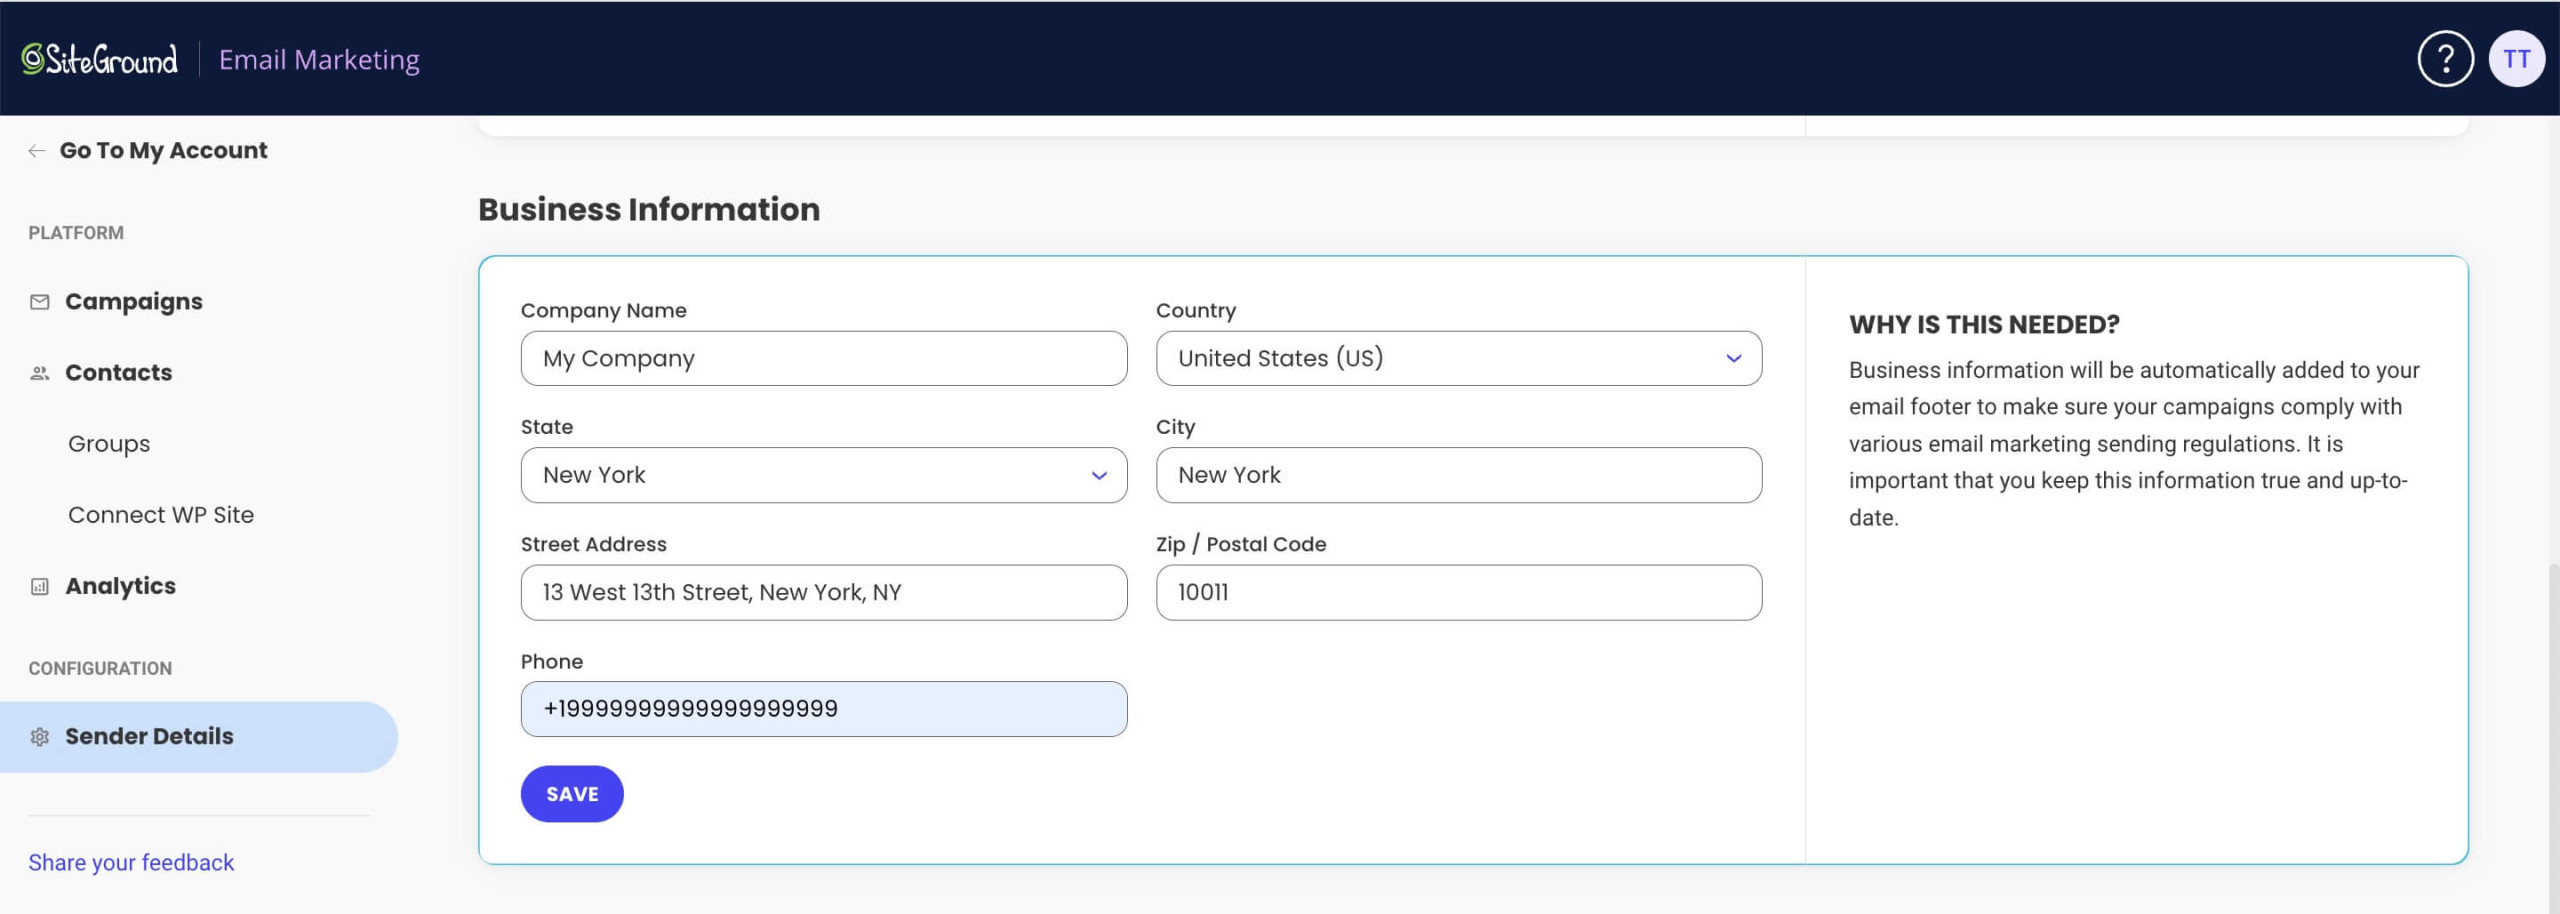
For additional information, read this guide on how to fill in your business information in Email Marketing.
-
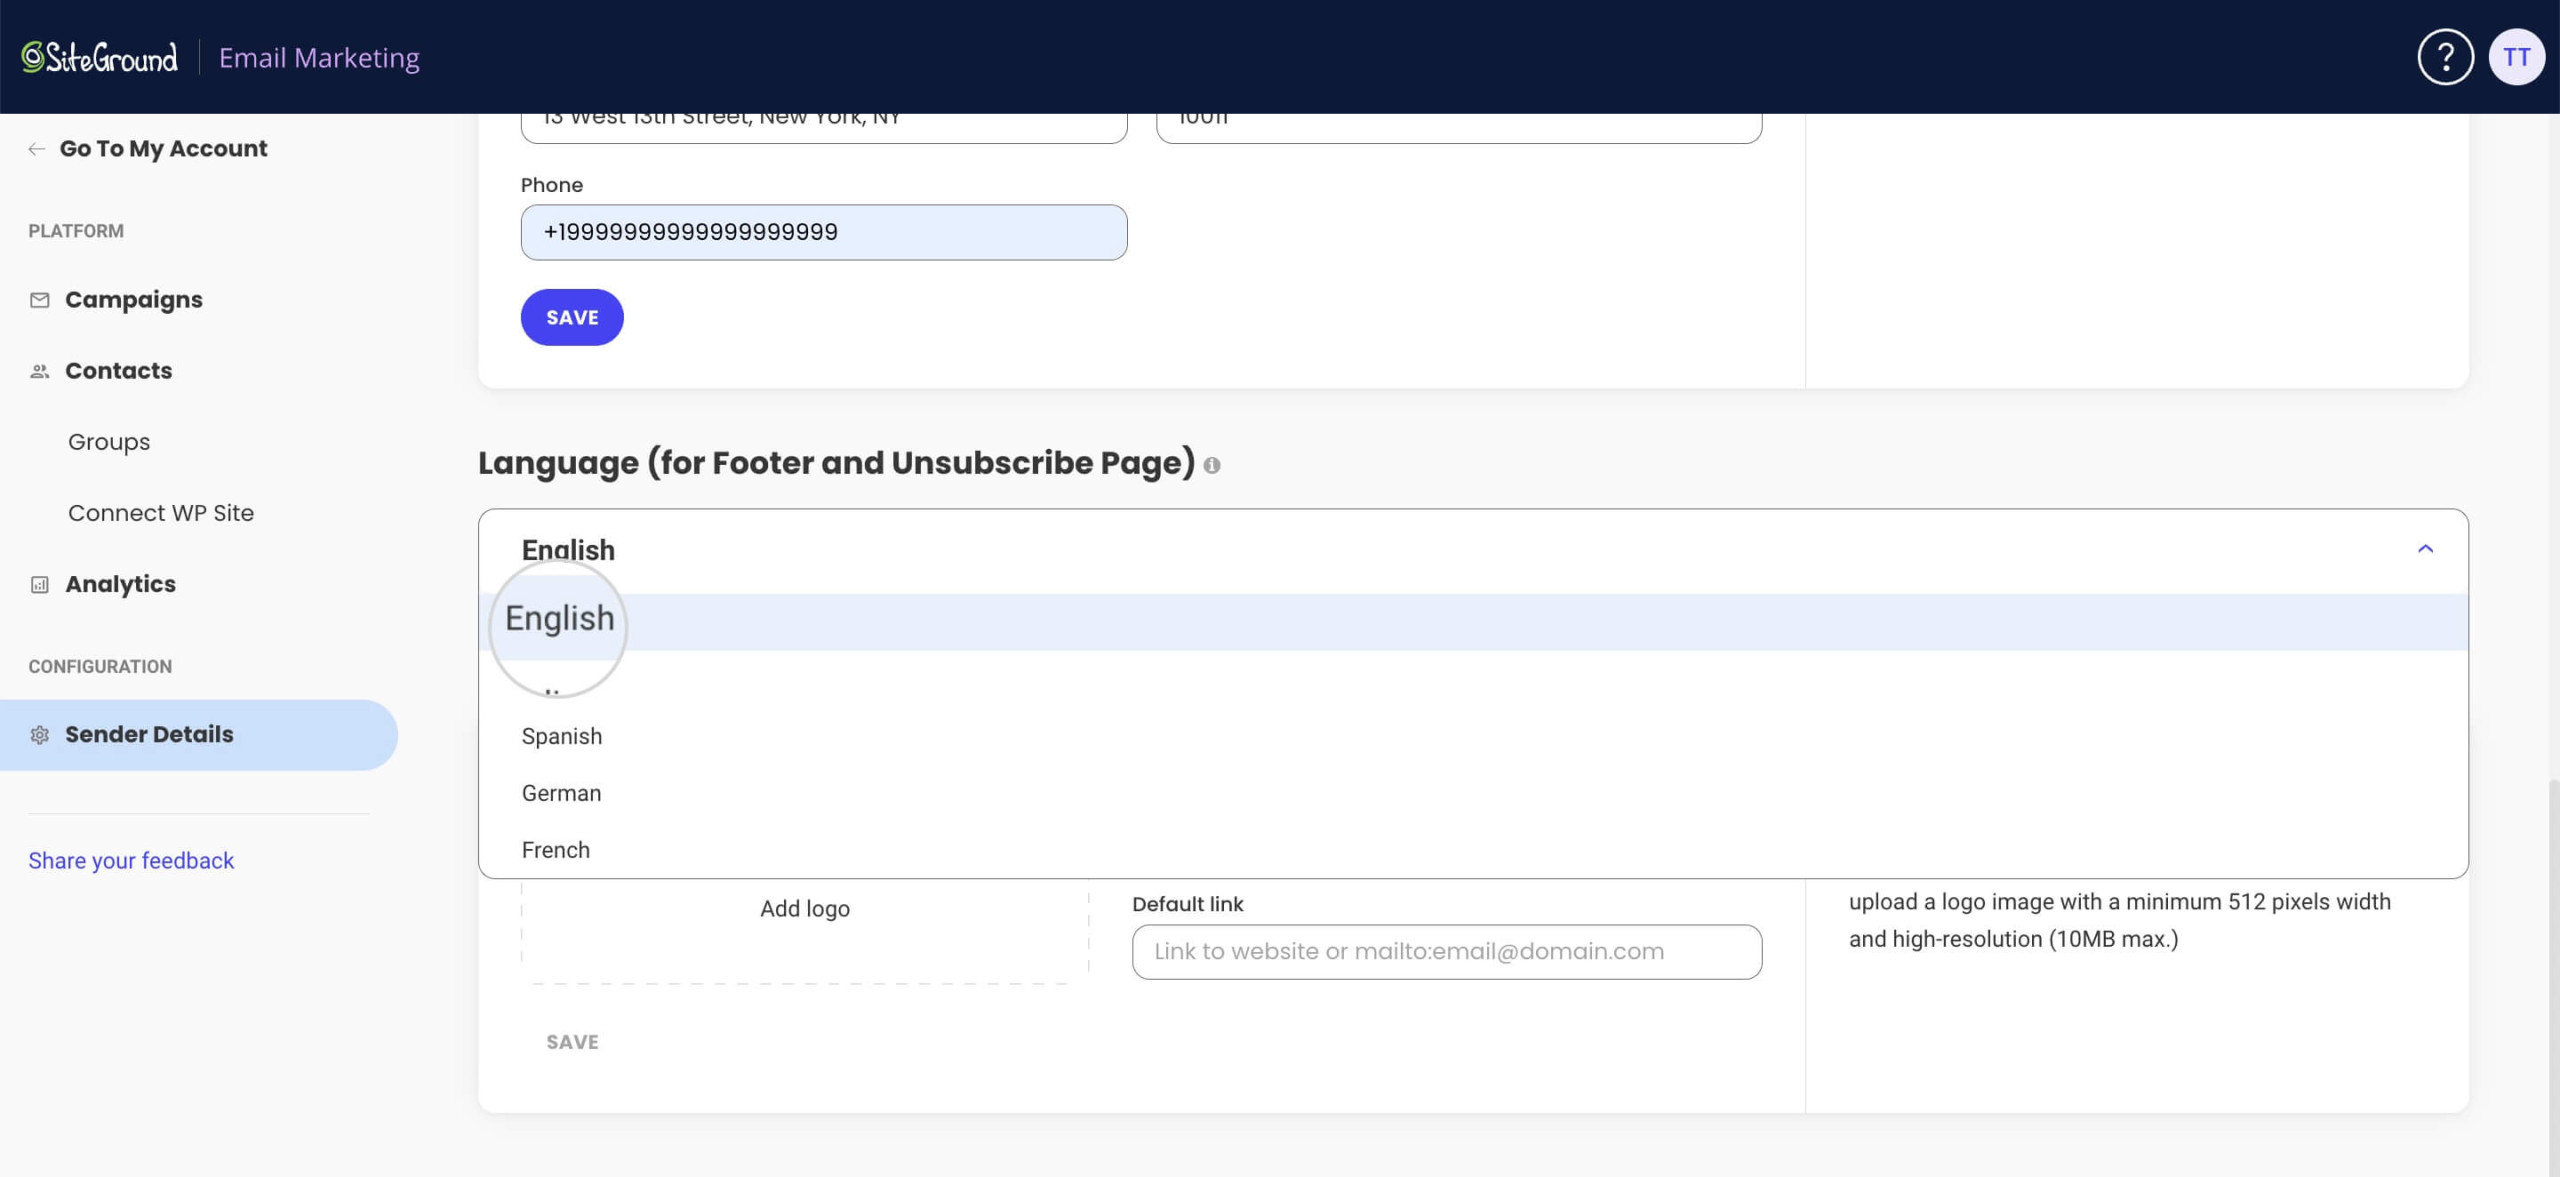
Step 4 Choose the Language
Next, choose the language of the preset text in your campaign emails. This setting mainly affects the text for the business information and the Unsubscribe button, found in the footer area.
You can select the language from the drop-down menu in the Language bar.
-
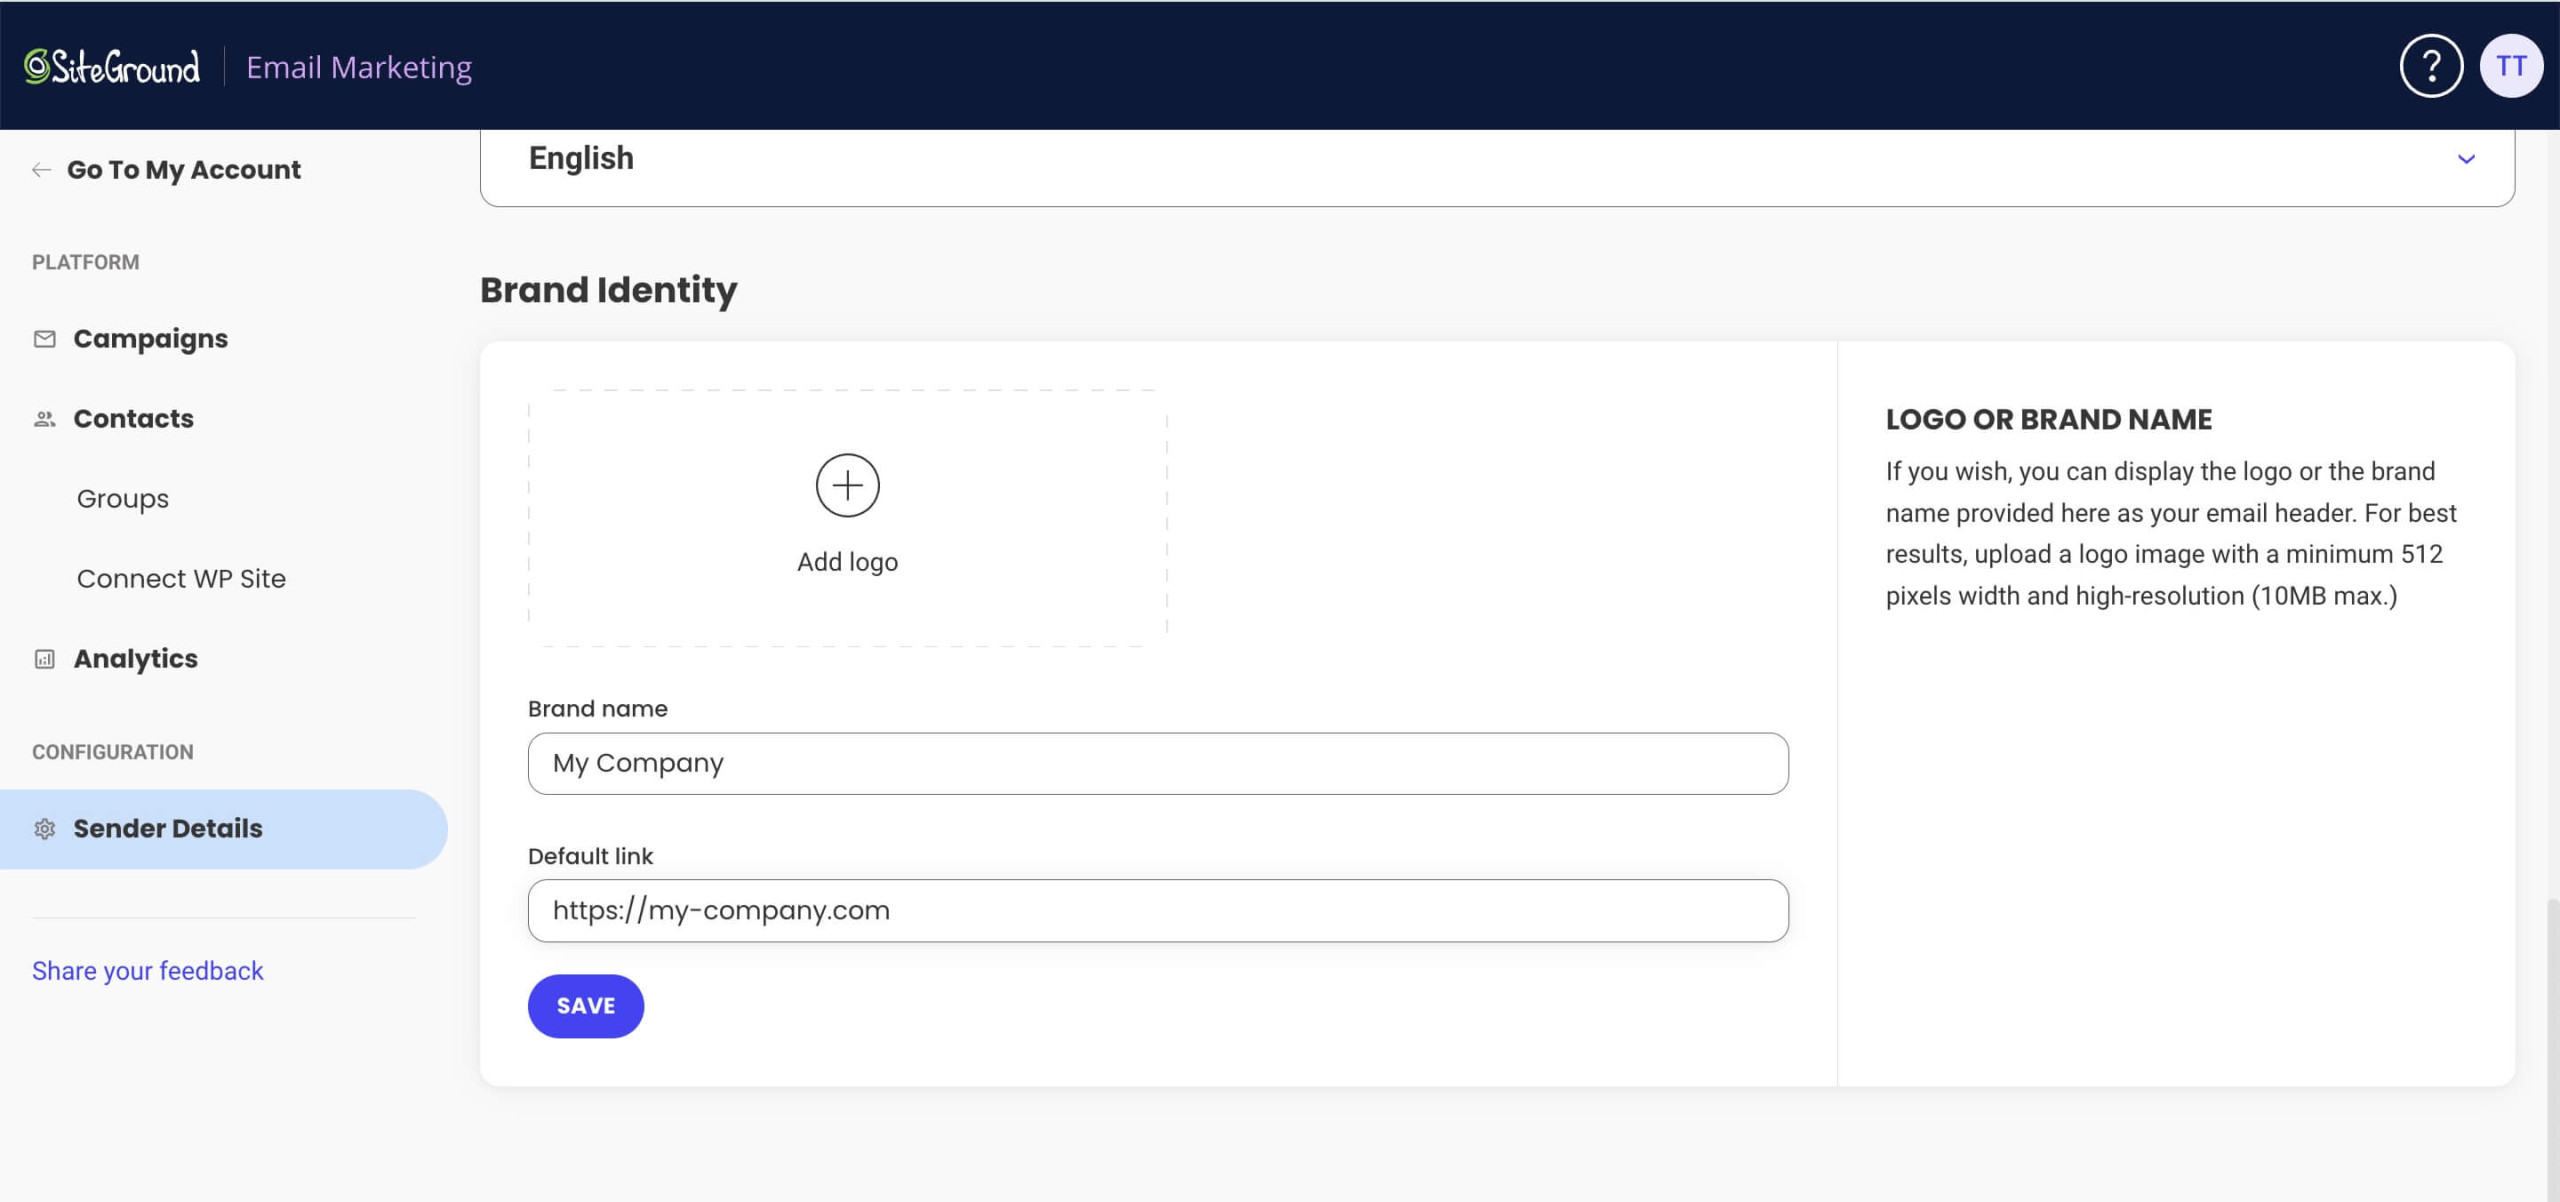
Step 5 Customize Your Brand Identity
Finally, you can reinforce your brand identity by adding your brand name and logo to the header of the campaign emails.
Move down to the Brand Identity section in Sender Details, where you can upload the logo and write down the brand name and website address of your business.
For in-depth information about the brand identity section, read this tutorial on how to customize your brand name and logo in SiteGround Email Marketing.