Install Joomla! Templates
Table of Contents
This tutorial explains how to install a new Joomla! template and set it as default for your website.
Joomla! 4
Find and Download your New Template
The first thing you need to do is to download the new Joomla! 4 template you’re willing to use for your site on your hard drive. Make sure to always download templates from trusted sources to maintain the security and stability of your website.
Upload the Template via the Extension Manager
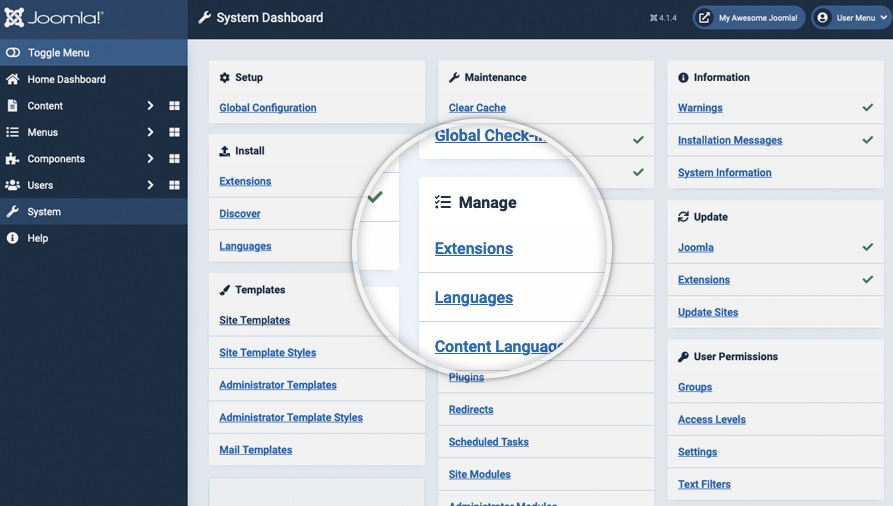
Once you have the desired template downloaded on your computer, log in to the administrative area of your Joomla! website and go to System -> Extensions under the Manage section.
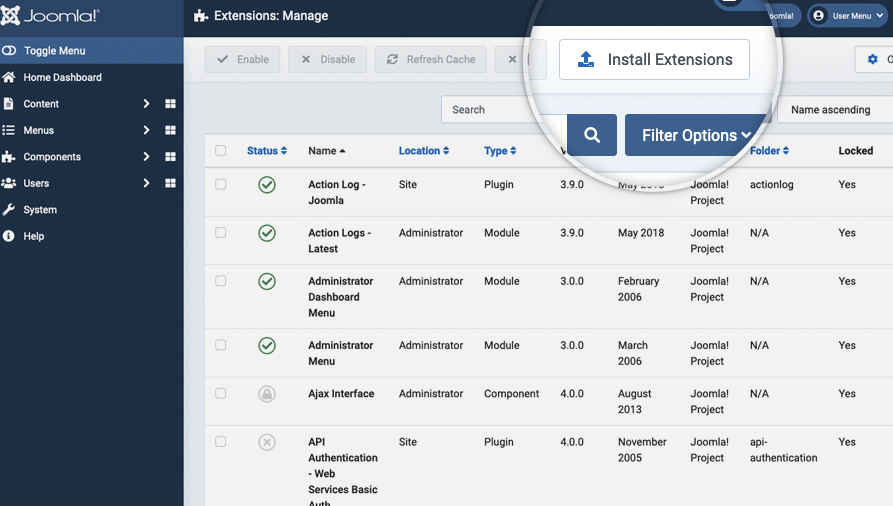
Click Install Extensions.
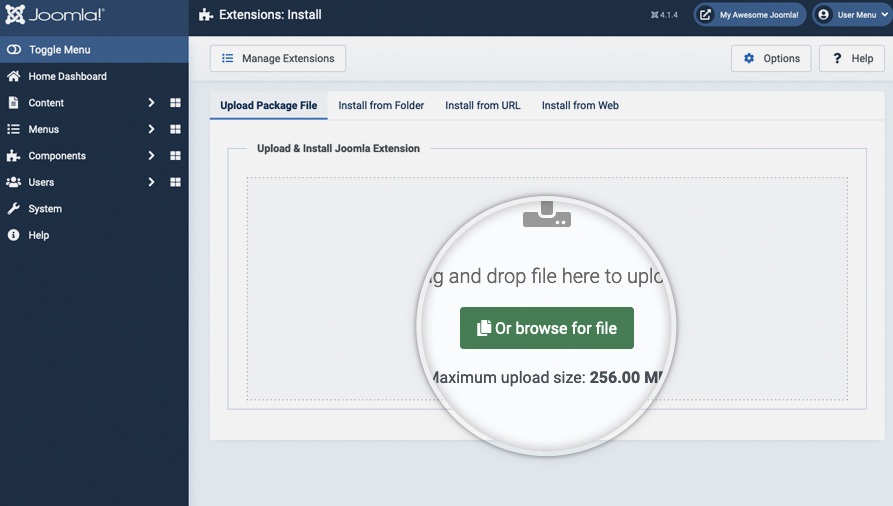
On the page that opens click the green Or browse for file button and find the file for the template you downloaded on your local computer.
Once the installation is complete the template will automatically be set as the default one for your website.
Joomla! 3
Find and Download your New Template
The first thing you need to do is to download the new Joomla! 3.x template you’re willing to use for your site on your hard drive.
Upload the Template via the Extension Manager
Once you have your Joomla! 3.x template downloaded on your computer, log in to the administrative area of your Joomla! 3.x website and upload the template through the Extension Manager (Extensions > Manage > Install). The process is the same for templates, modules, plugins, and components.

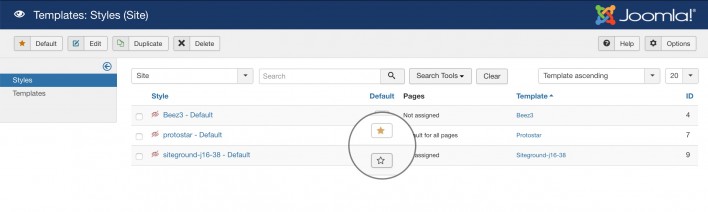
Change your default Joomla! 3.x template to the new one
Once the template is installed in your Joomla! 3 application, you need to make it default for your website so your pages get the new design. First, go to Extensions > Templates.

On this page, you will see a list of the installed templates available for your site and the administrative area. Locate the one you want to use on your site and click on the star icon next to it.