Backup Joomla! with Akeeba Backup
Table of Contents
Akeeba Backup is a Joomla! component that allows you to create and manage complete backups of your Joomla! website. Although the component has many functions, in this tutorial we will show you how to use it to create a single backup of your website and store it locally on your hard drive.
Joomla! 4
Download & Install Akeeba Backup
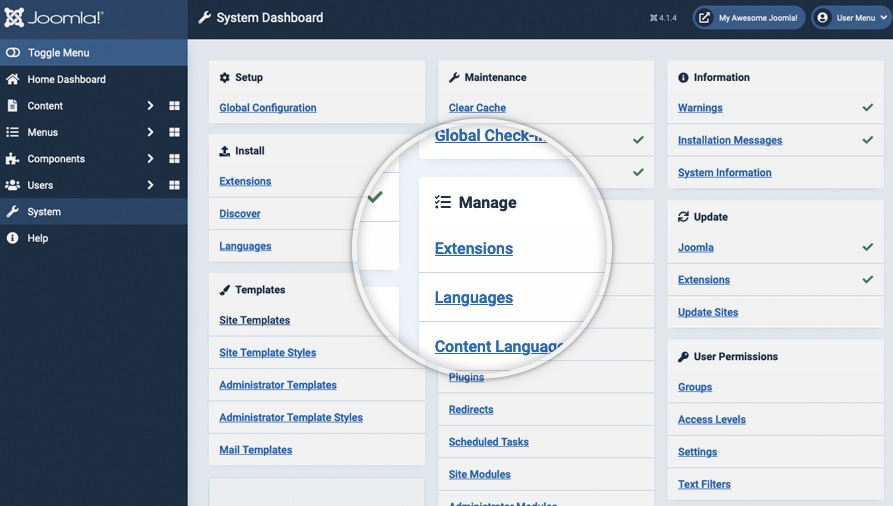
First, you need to download the component from the Official Akeeba Backup website. Then, log in to your Joomla! 4 admin area and navigate to System -> Manage -> Extensions.
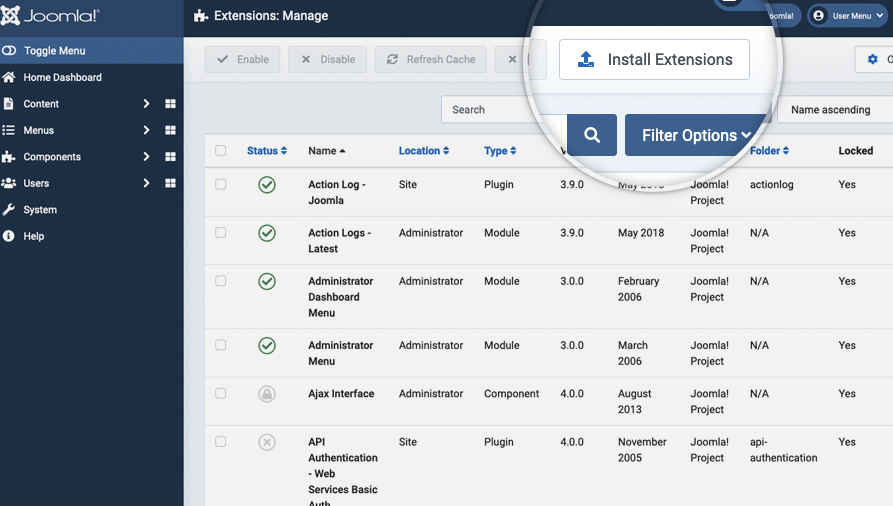
Click Install Extensions.
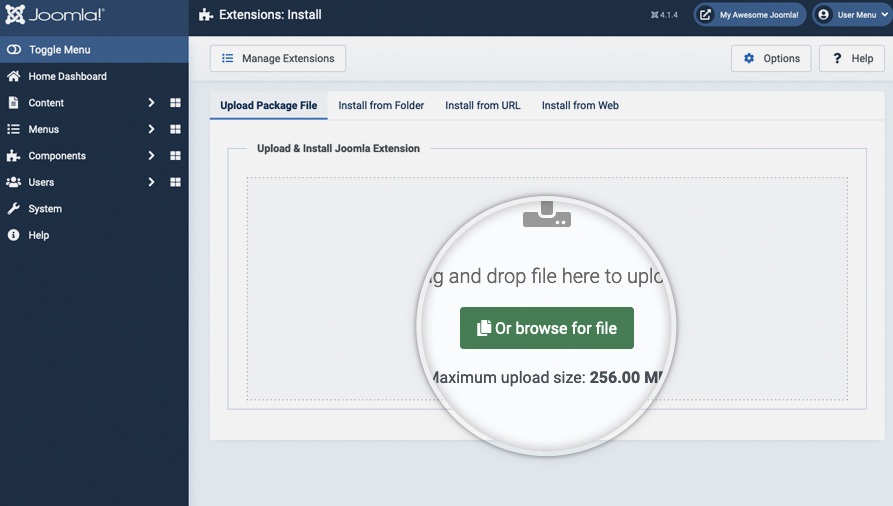
Then click Or browse for file to browse to the location of your extension’s archive on your local computer and select it.
Create a Joomla! 4 Backup with Akeeba
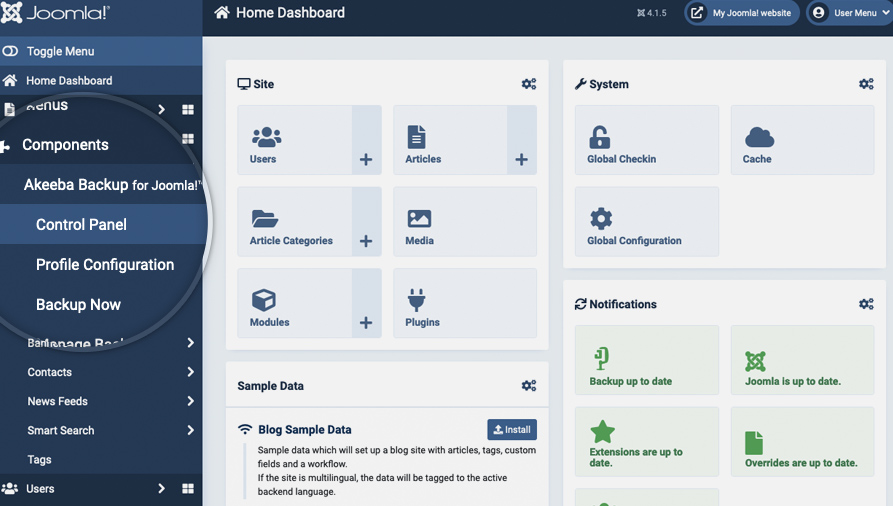
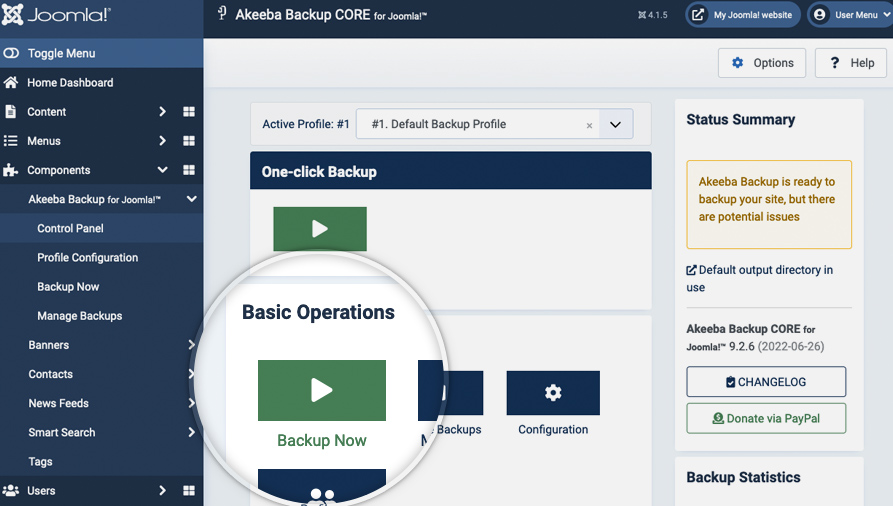
To access the Akeeba Backup main page go to your Joomla! administrator dashboard and then go to Components -> Akeeba Backup for Joomla! -> Control Panel.
On the page that opens, click Backup Now.
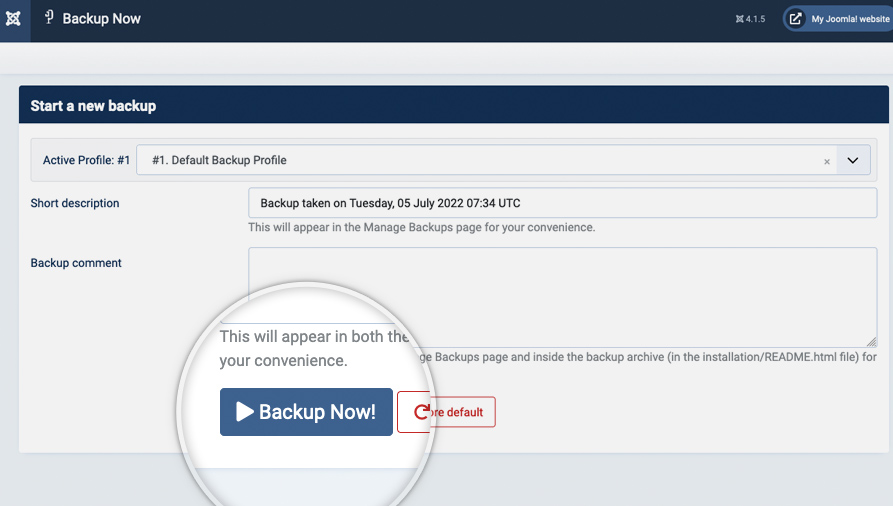
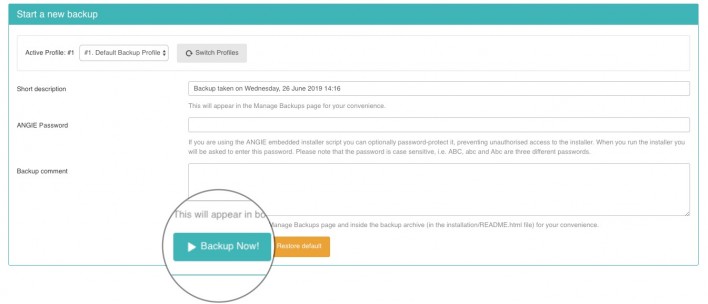
On the next page, you will be provided with the ability to write a short description and to add a comment for that backup. It is good practice to use the comments field so you can later know why you’ve created this backup. Finally, press Backup Now! to begin the backup process.
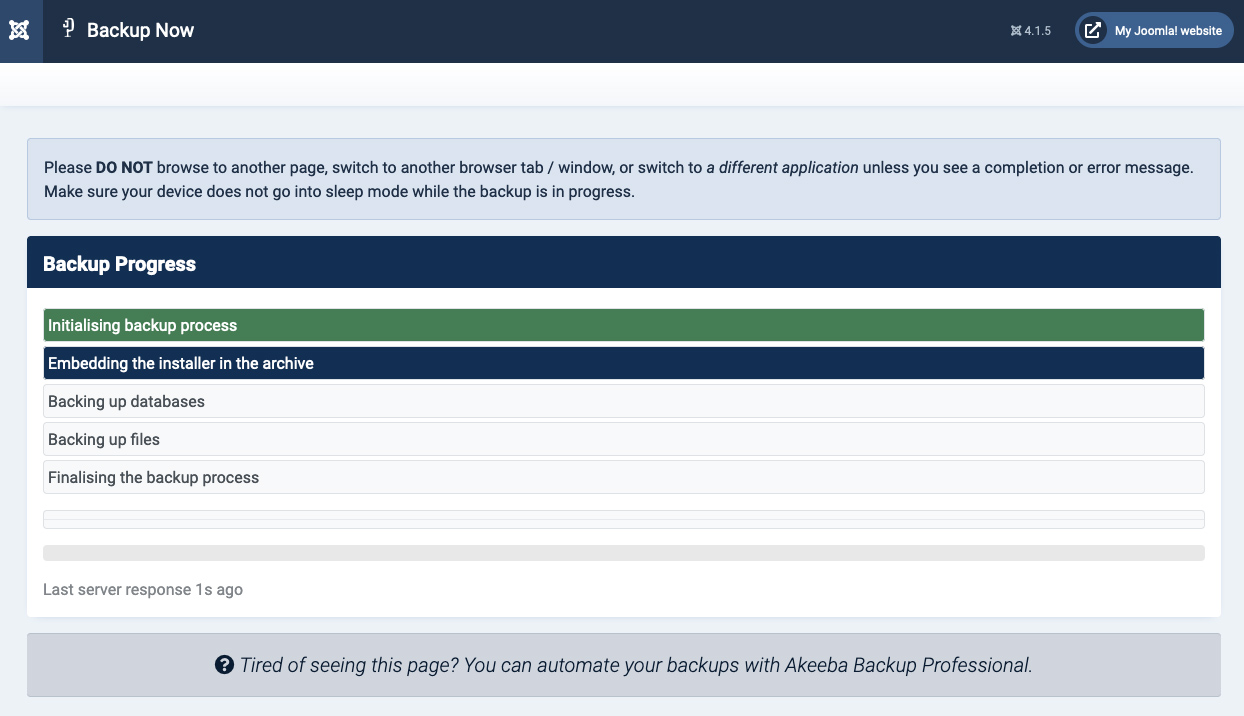
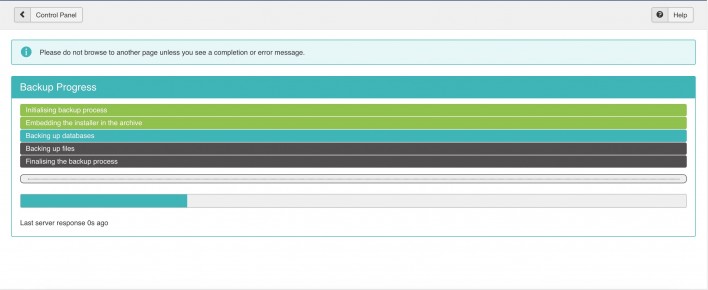
Once you click the button, the backup creation process will begin. You can monitor the backup progress while waiting for its completion.
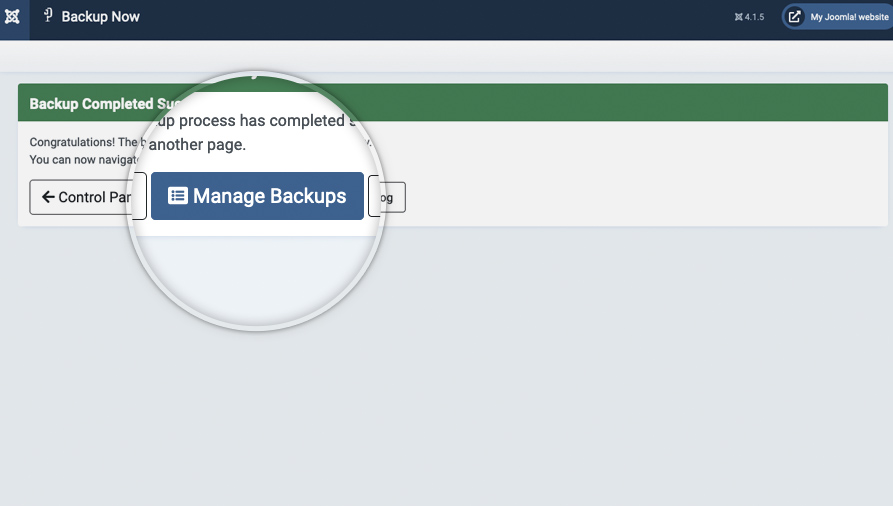
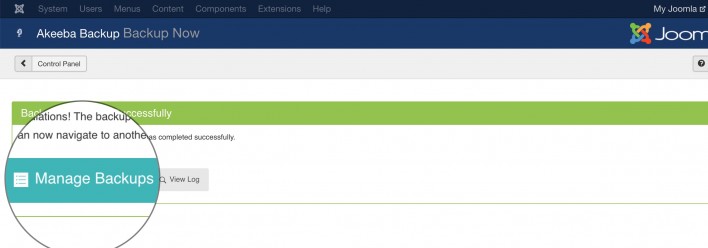
When the Akeeba component is done with the backup creation, the screen will refresh and you’ll be brought to a page showing that the process was successful. On this page, click on Manage Backups to proceed.
Download the Backup to your Local Computer
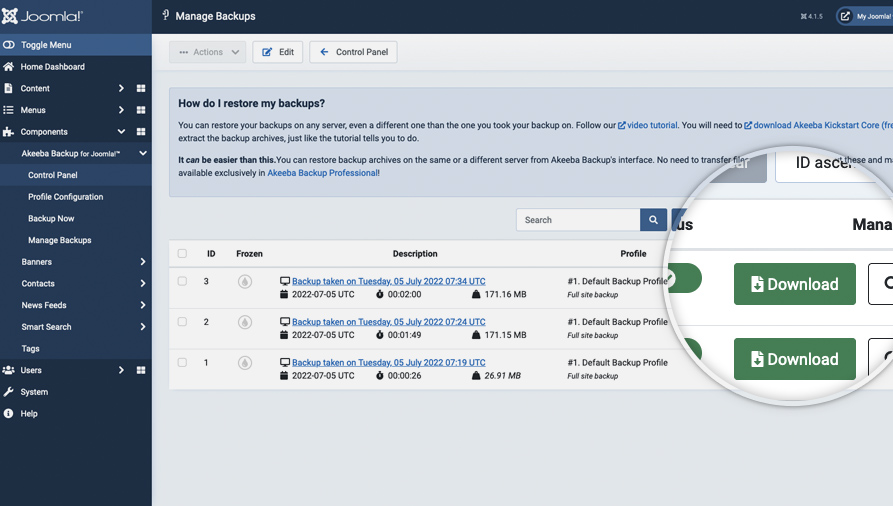
Here you will see a list of all the Joomla! 4 backups you’ve created using the Akeeba component. Find the one we’ve just created and click on the download icon on the right side of the page. The download of your archive will begin immediately.
If you have a big website Akeeba Backup will split your backup into archive parts. You need to download all the parts for the backup and in case you want to extract it – open the first one with your favorite archiving application.
That’s it! You now have a complete backup of your Joomla! 4.x website stored on your local hard drive!
Joomla! 3
Download & Install Akeeba Backup
First, you need to download the component from the Official Akeeba Backup website. Then, log in to your Joomla! 3 admin area and navigate to Extensions > Manage > Install.
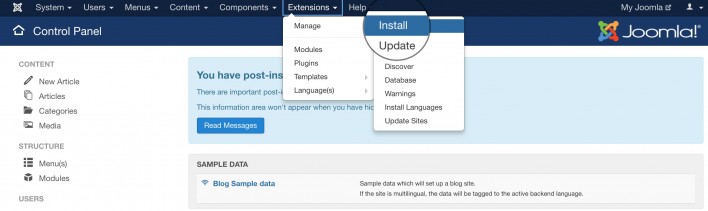
Now, you need to install Akeeba Backup. The installation process is the same as for any other Joomla! 3.x extension you’ve ever installed – click Or browse for file, select the .zip file you’ve downloaded from the Akeeba’s official website and the extension will be automatically installed.

Once the installation completes you will be brought to a page that confirms that the installation was successful. Now, you need to go to the Akeeba page in your Joomla! 3.x backend. To do this go to Components > Akeeba Backup.

Create a Joomla! 3.x Backup with Akeeba
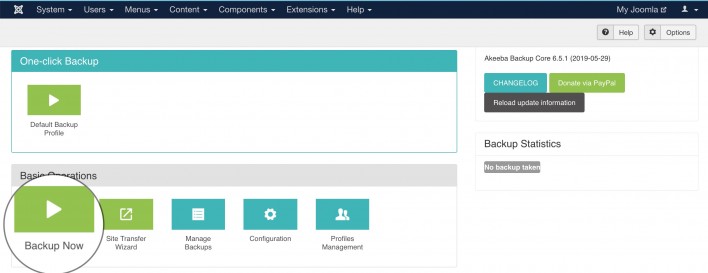
Once you access the Akeeba component, you will see the Akeeba Backup main page. Here, you need to click on Backup Now.
On this page, you will be provided with the ability to write a short description and to add a comment for that backup. It is good practice to use the comments field so you can later know why you’ve created this backup. Finally, press Backup Now! to begin the backup process.
Once you click the button, the backup creation process will begin. You can monitor the backup progress while waiting for its completion.
When the Akeeba component is done with the backup creation, the screen will refresh and you’ll be brought to a page showing that the process was successful. On this page, click on Manage Backups to proceed.
Download the Backup to your Local Computer
Here you will see a list of all the Joomla! 3.x backups you’ve created using the Akeeba component. Find the one we’ve just created and click on the download icon on the right side of the page. The download of your archive will begin immediately.
If you have a big Joomla! 3.x website Akeeba Backup will split your backup into archive parts. You need to download all the parts for the backup and in case you want to extract it – open the first one with your favorite archiving application.

That’s it! You now have a complete backup of your Joomla! 3.x website stored on your local hard drive!