How to Find and Access WordPress Error Logs (Complete Guide)
Table of Contents
At some point, every WordPress site falls victim to an error. With so many wheels moving in WordPress, something is bound to break, causing an error.
Although it is one of the most reliable and well-supported content management systems (CMS), WordPress is also not immune to issues. In such cases, error logs can prove invaluable as they pinpoint the exact problem and save precious time.
Thankfully, WordPress can generate error logs whenever there is an issue. Read this guide to learn how to enable WordPress error logs, how they help you, and how to find and access them.
That is one of the most crucial core WordPress files that handles essential WordPress settings. Once the wp config.php file is edited, your website will start generating error logs that you can access and examine.
Read along to learn step-by-step instructions on how to enable WordPress error logs.
-
Step 1. Access your WordPress Website Files
To begin, you should access your WordPress installation folder. There are several ways to do that, but generally, the two most popular methods are using a file manager in your hosting account or an FTP program (like FileZilla) connected to an FTP account.
FTP
If you’ve chosen to manage your website files via FTP, you need an FTP client and an FTP account that grants access to the files.
After you connect to your FTP account, navigate to the website’s root folder. Depending on your hosting configuration, the path may vary. The most common root folder path for WordPress websites is:
yourwebsite.com/public_html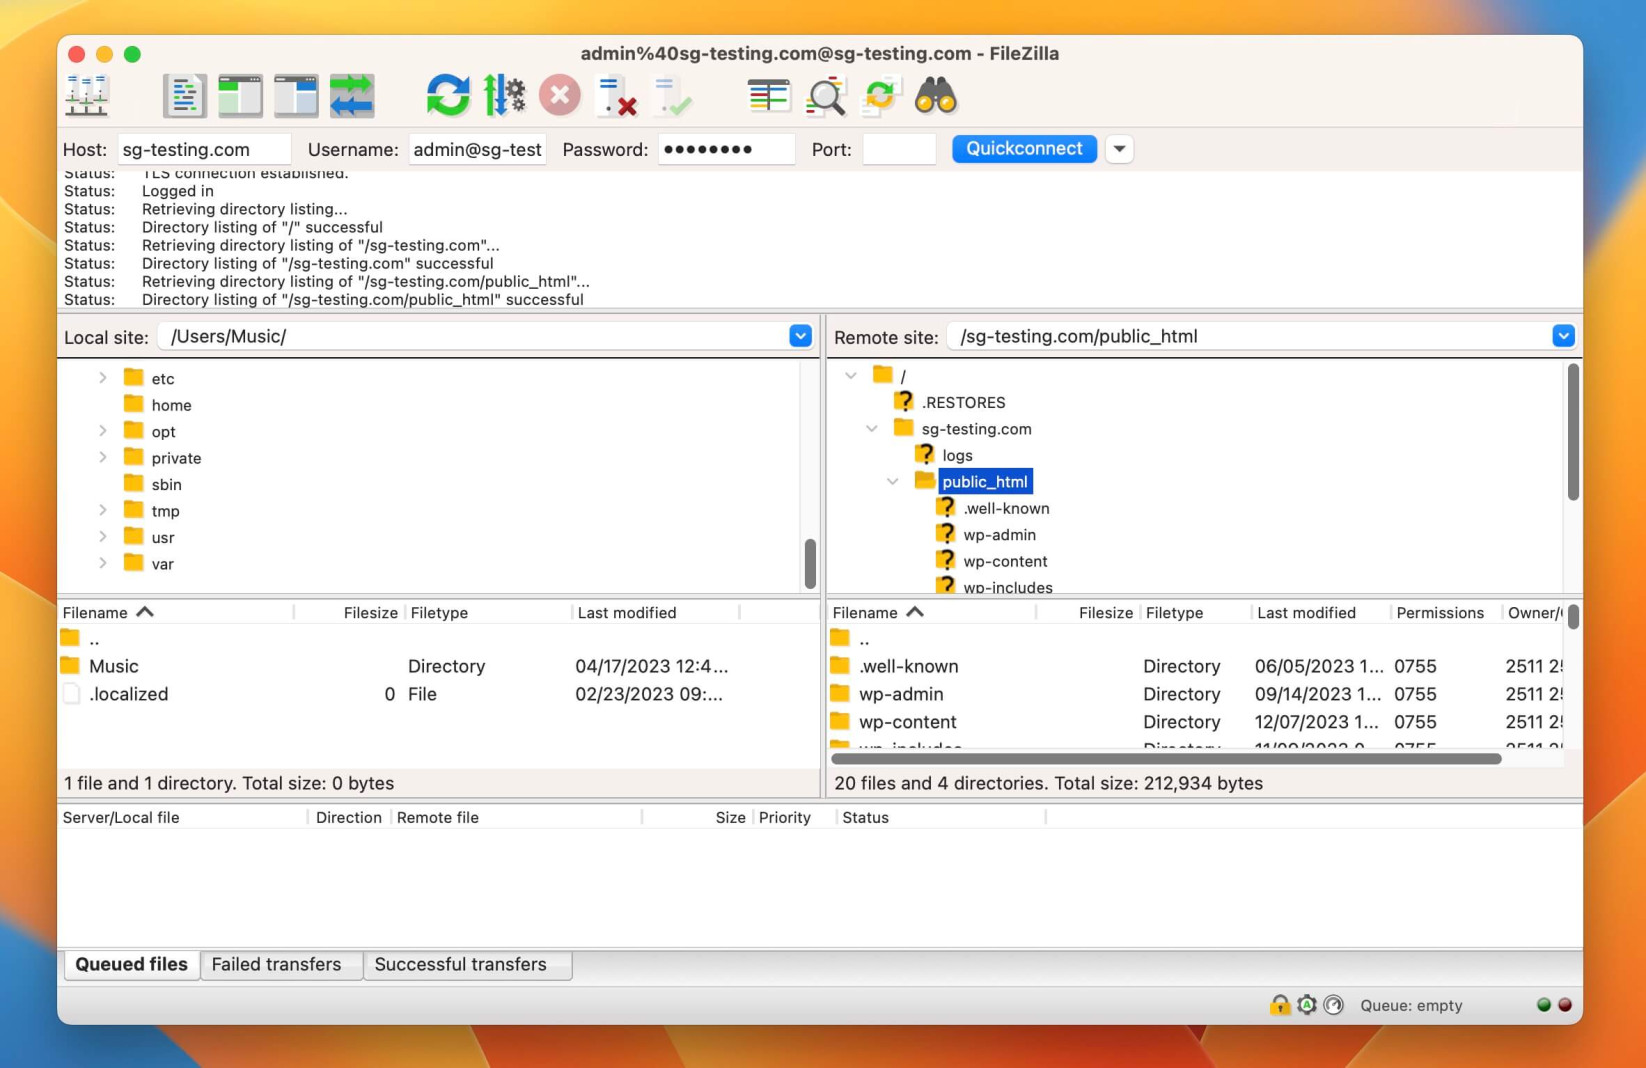
SiteGround clients can enable SFTP access to all their websites using single SFTP login details. To learn more, read this guide on Multisite SFTP by SiteGround.
File Manager
Many hosting providers offer website file management tools. Instead of creating an FTP account and connecting it with an FTP program (client), you can open your website files with a few clicks.
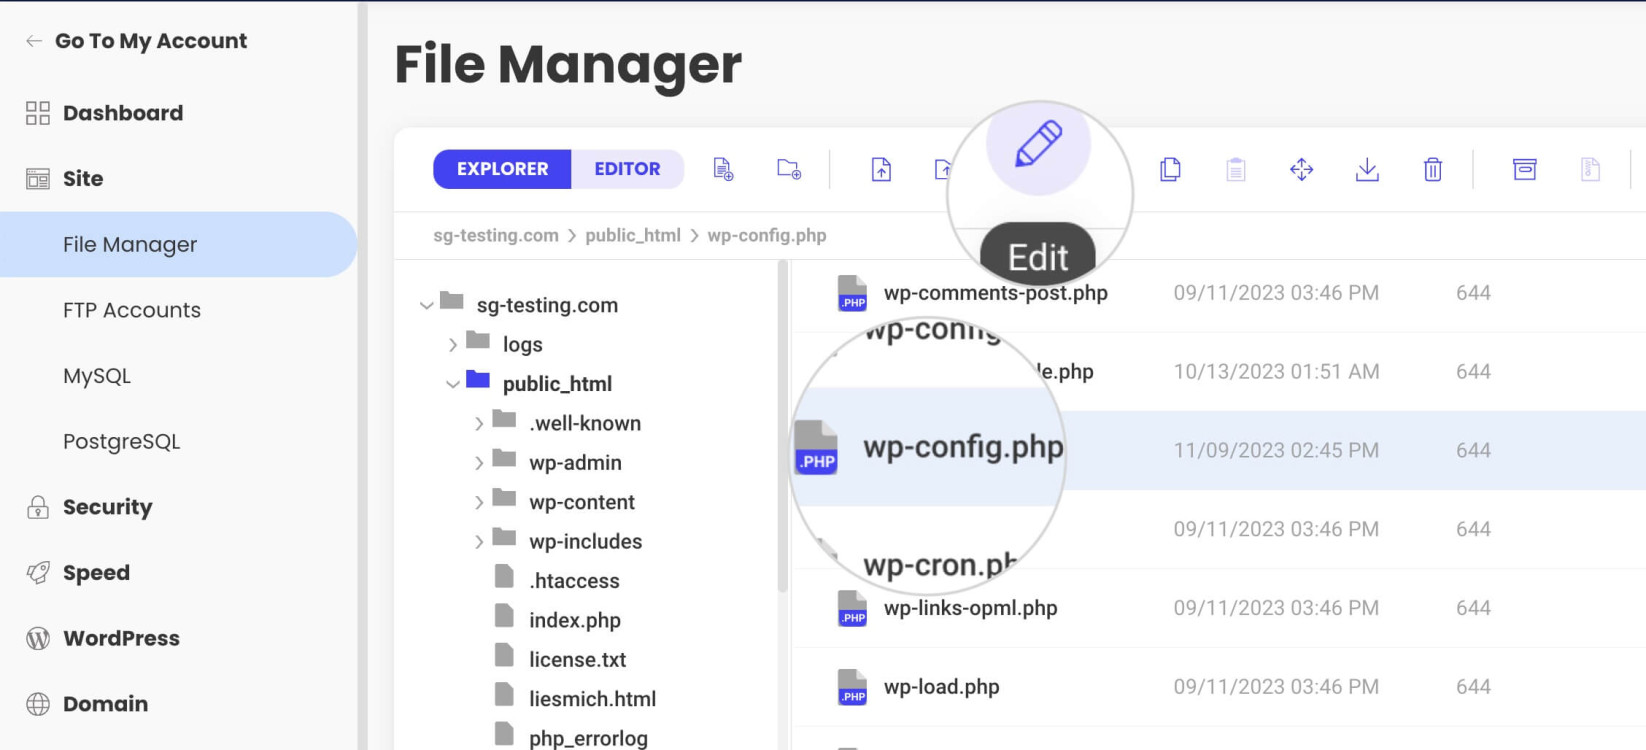
SiteGround clients can access their website files from Site Tools > Site > File Manager. Read this guide on managing your files with File Manager for more information.
The root folder of every WordPress website in Site Tools is
yourwebsite.com/public_html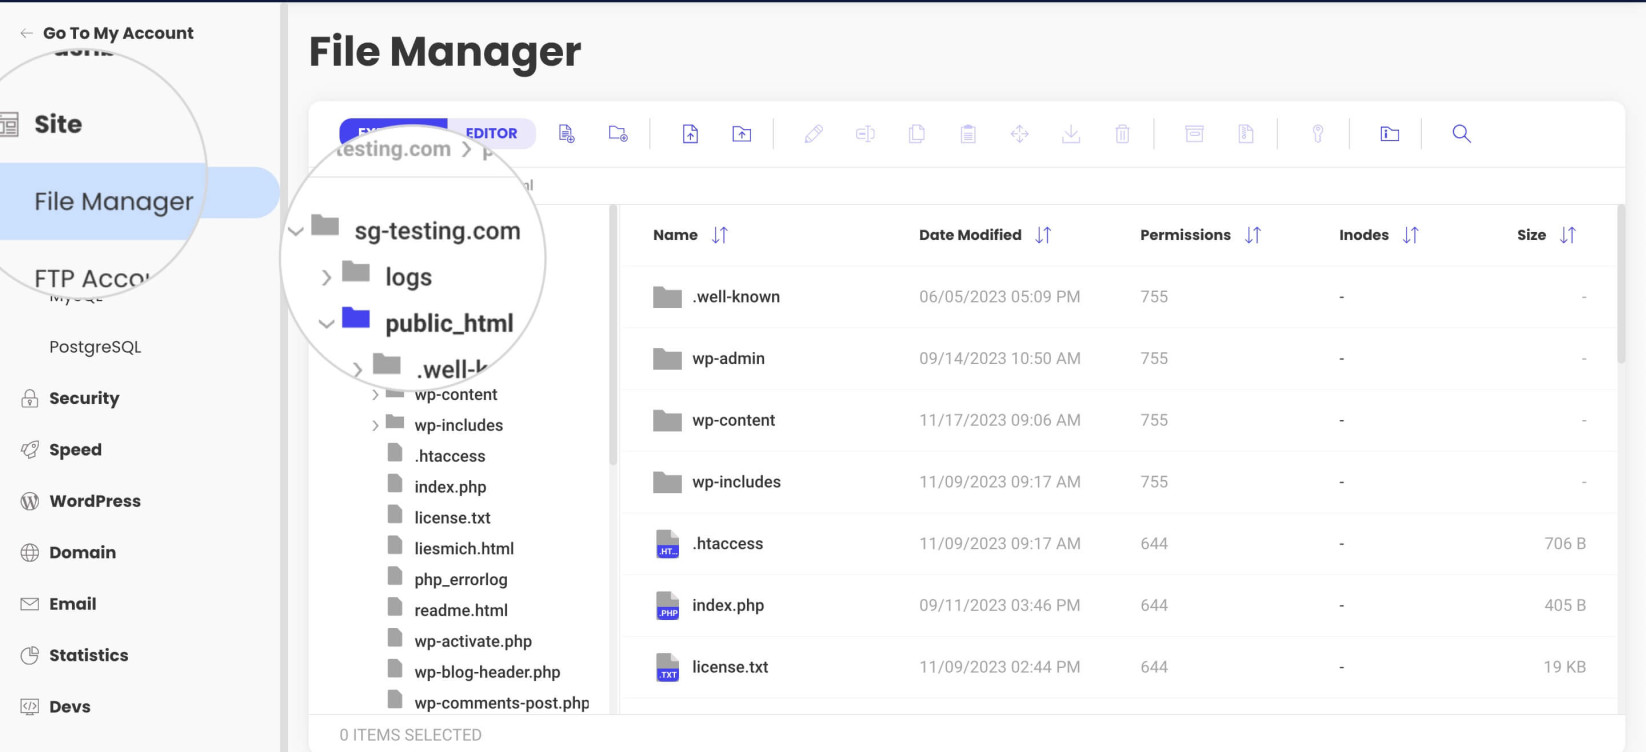
-
Step 2. Locate and Edit wp-config.php
Now that you are inside the root directory, you must locate and edit the wp-config.php file to enable WordPress debug mode and WordPress logs. Here comes the difference between using an FTP client and File Manager.
FTP
Most FTP clients cannot edit files directly on the FTP server. Therefore, you have to download the wp-config.php file on your local computer to be able to edit it.
For example, if you use FileZilla, select wp-config.php from the right-hand side window representing the files on the FTP server. Right-click on it and choose Download.
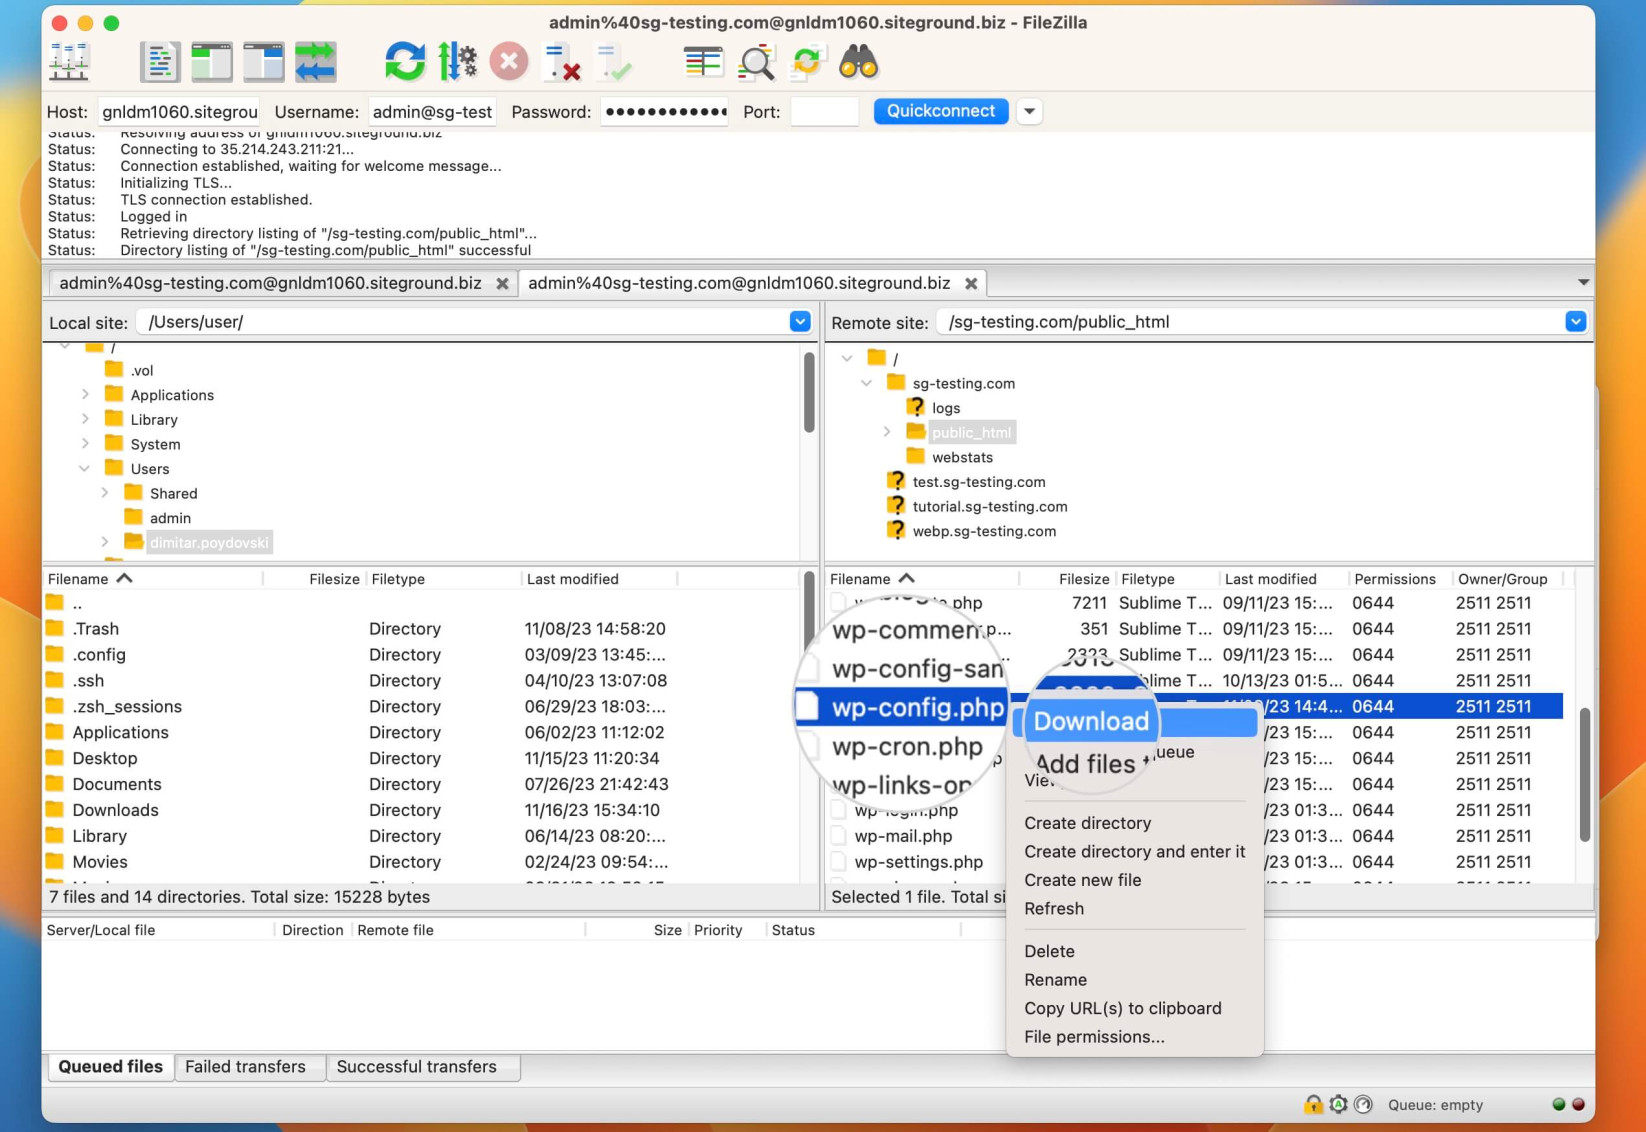
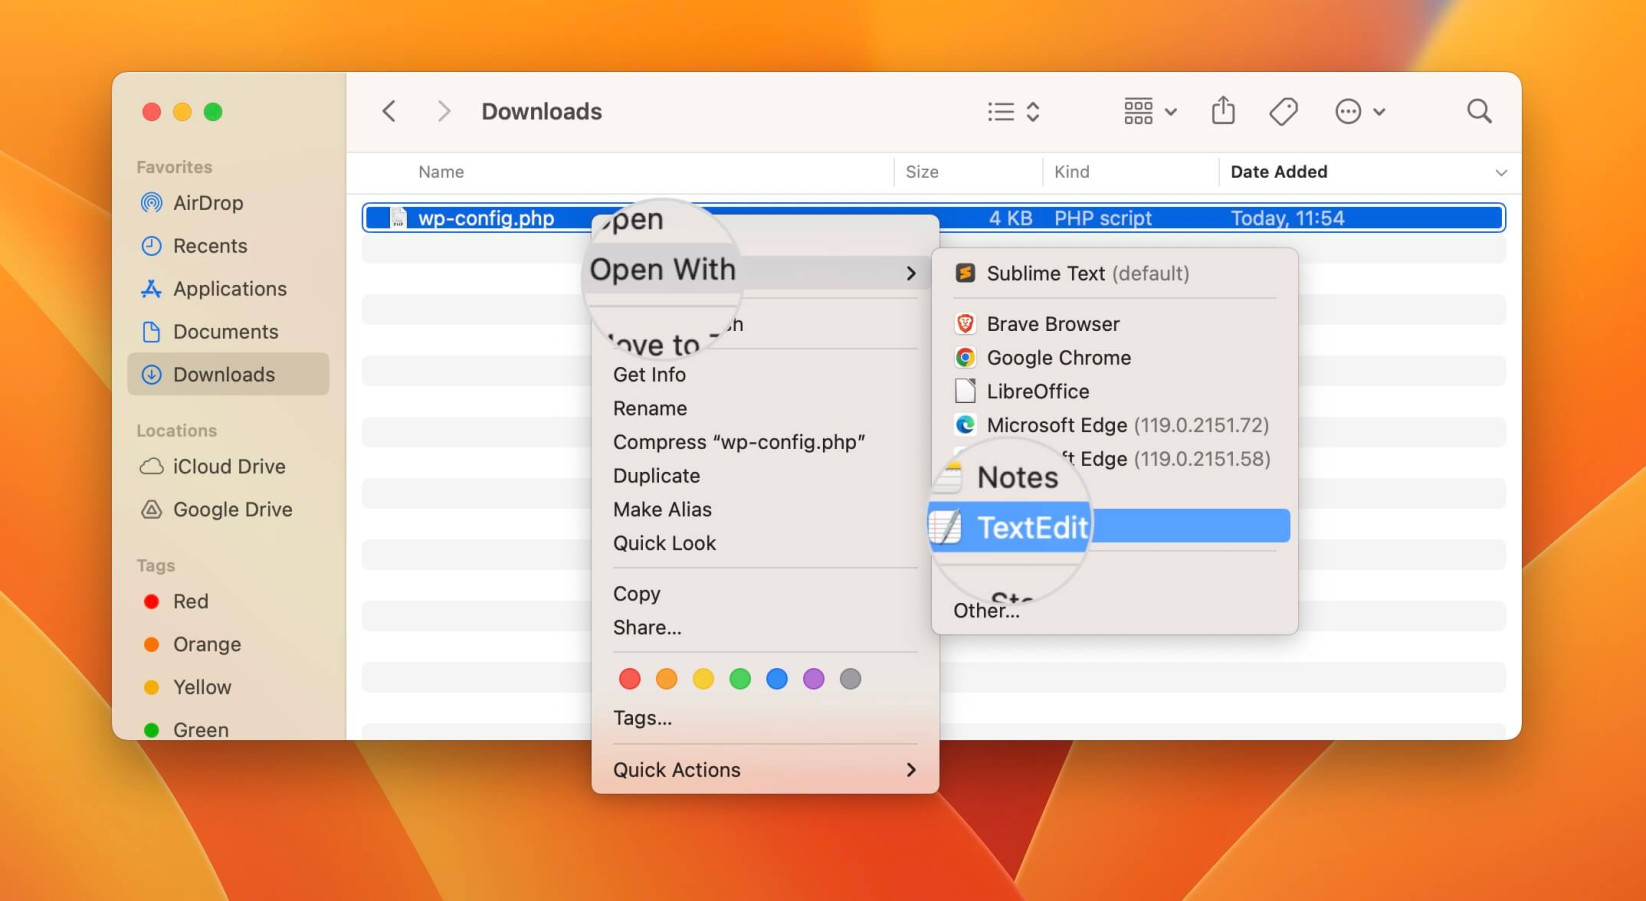
Once you’ve downloaded the file, you can edit the code with any text editor like Notepad (for Windows) or TextEdit (for Mac).
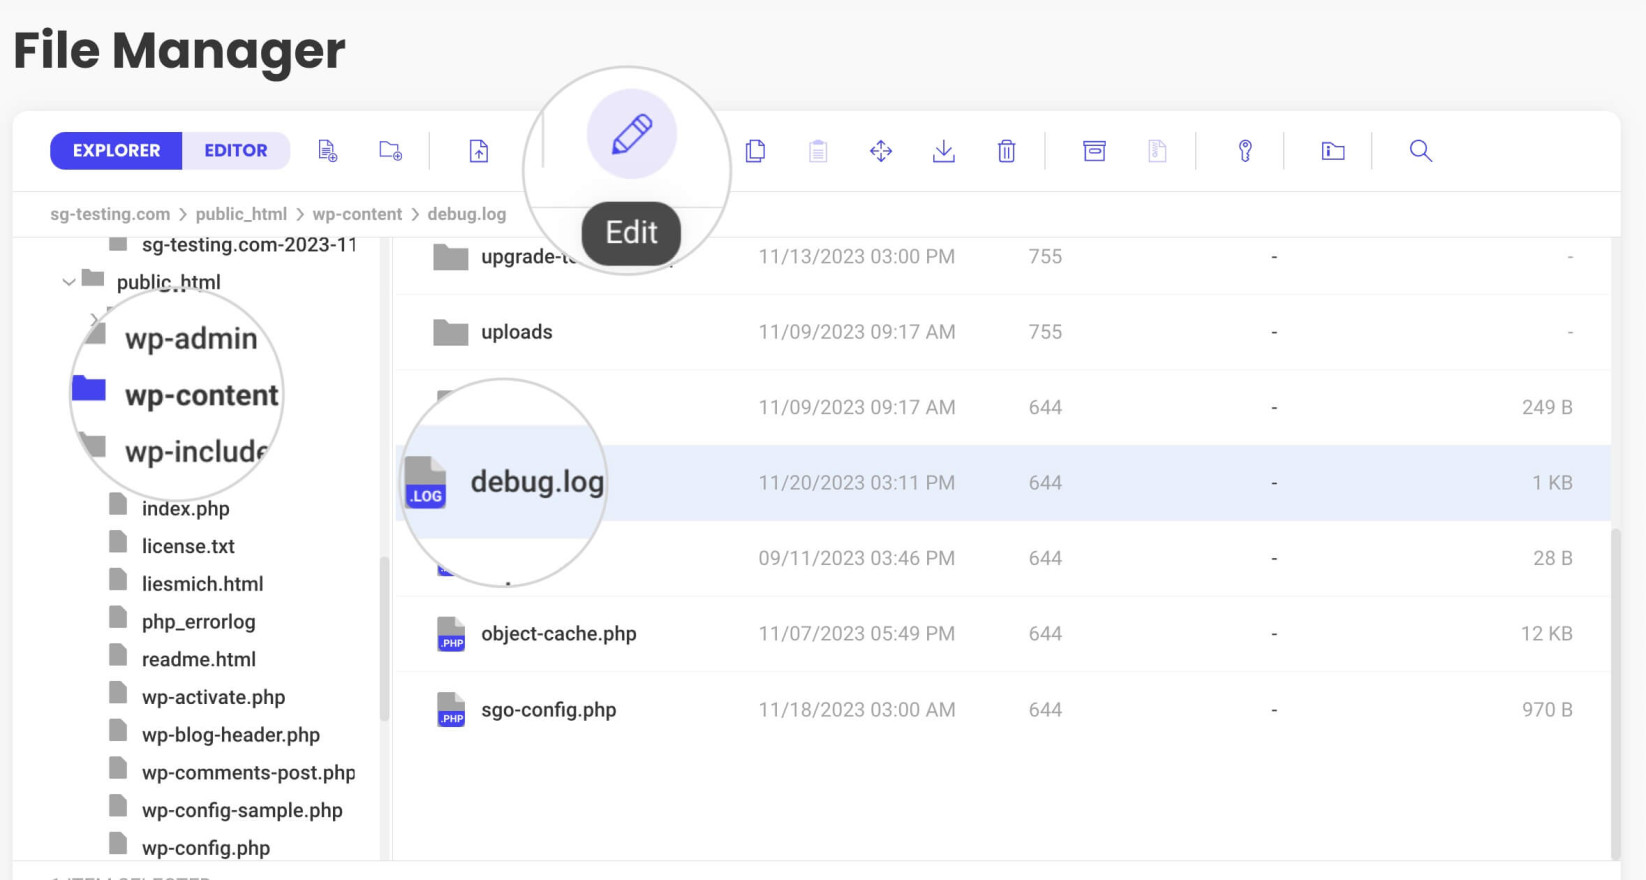
File Manager
Editing the wp-config.php file from a file manager is more straightforward. Select the file and choose Edit to open it in text editor mode.
-
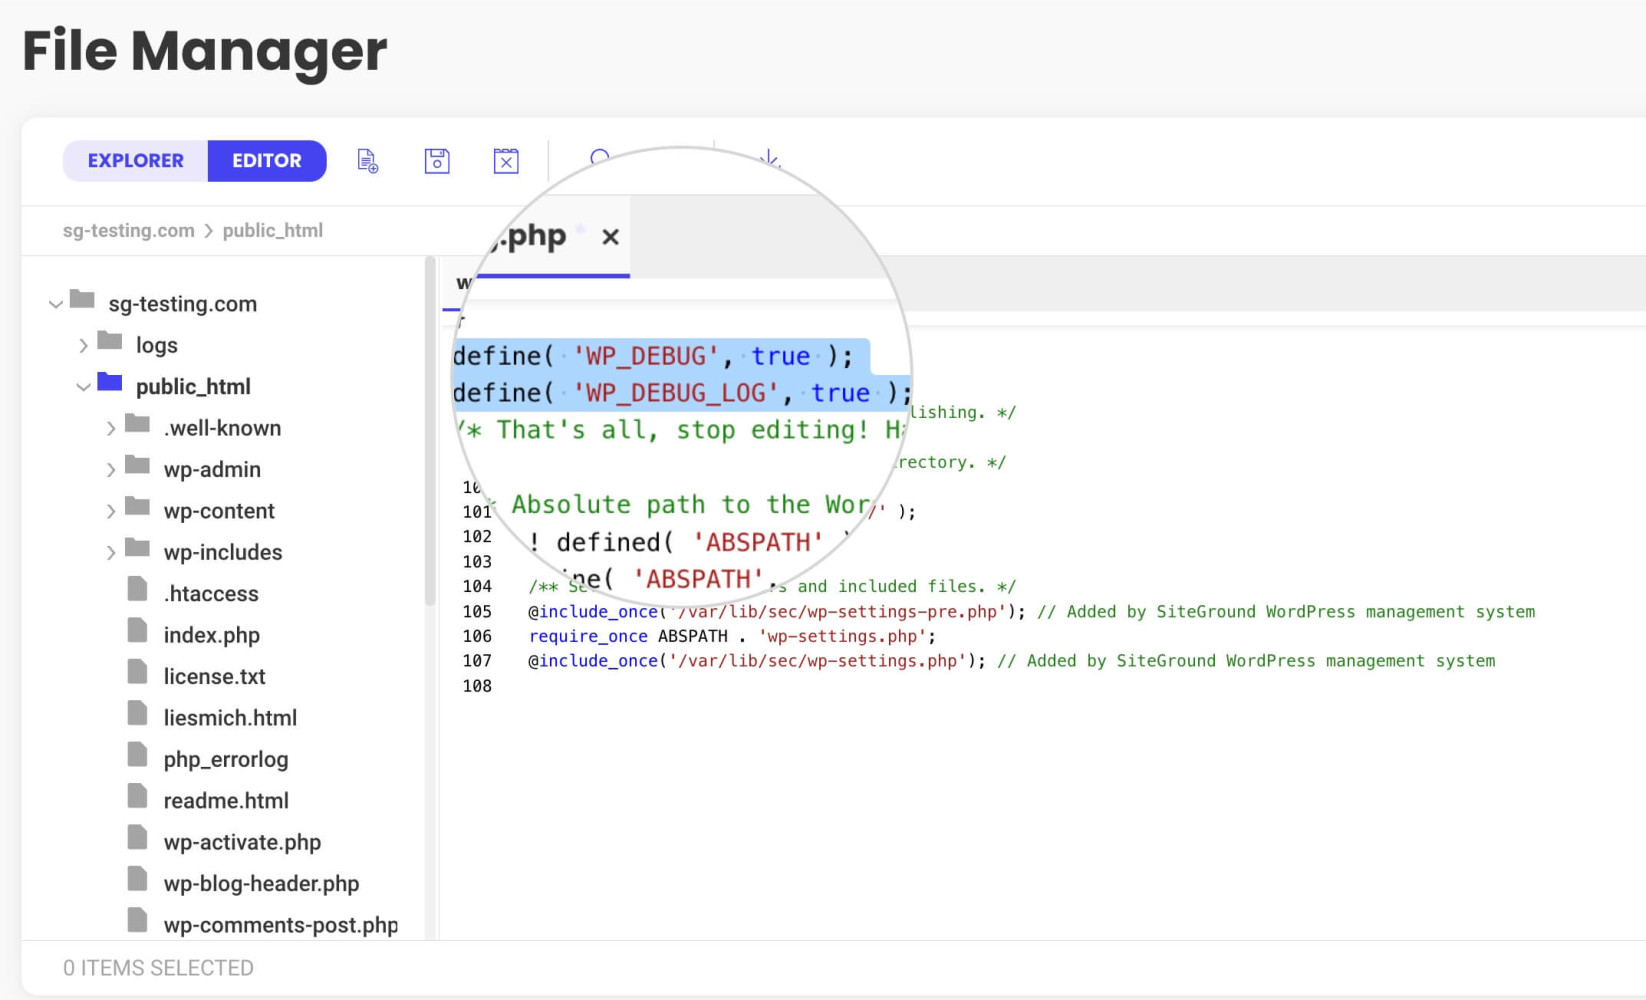
Step 3. Enable Debug Mode and Error Logs in wp-config.php
The wp-config.php core WordPress file contains numerous general settings for your WordPress site. First, locate the line saying “/* That’s all, stop editing! Happy publishing. */” or “/* That’s all, stop editing! Happy blogging. */”(for older WordPress versions).
Just above it, you can add the commands enabling WordPress debug mode and WordPress error log.
To enable debug mode, add the following line:
define( 'WP_DEBUG', true );To enable error logging into an error log file, add the following code:
define( 'WP_DEBUG_LOG', true );Here is what the wp-config.php file looks like with the two lines added.
FTP
Once you’ve modified wp-config.php on your computer, you should upload the updated file back to your website via FTP.
Reconnect to your website through an FTP account, navigate to the root directory, and upload the wp-config.php file.
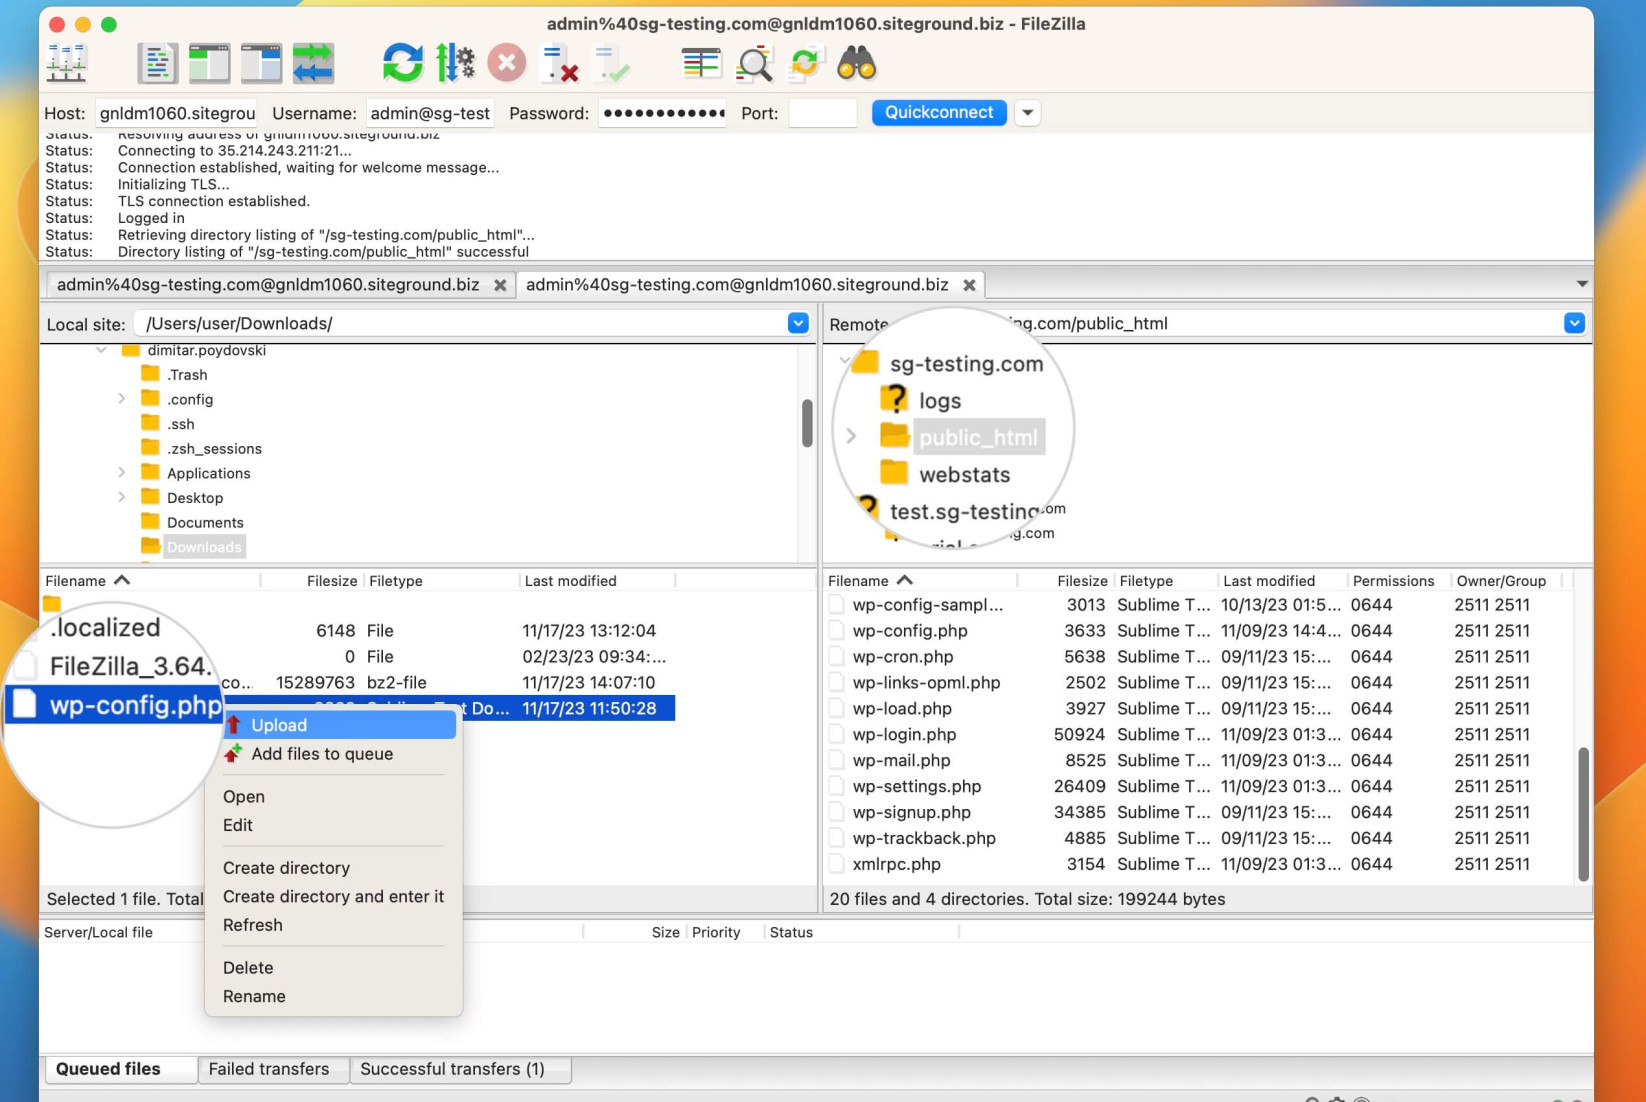
Since you are replacing the current version of your website’s configuration file with the one you edited, the FTP software will ask you to confirm overwriting the existing file. Confirm the action to proceed and enable the WordPress error log file.
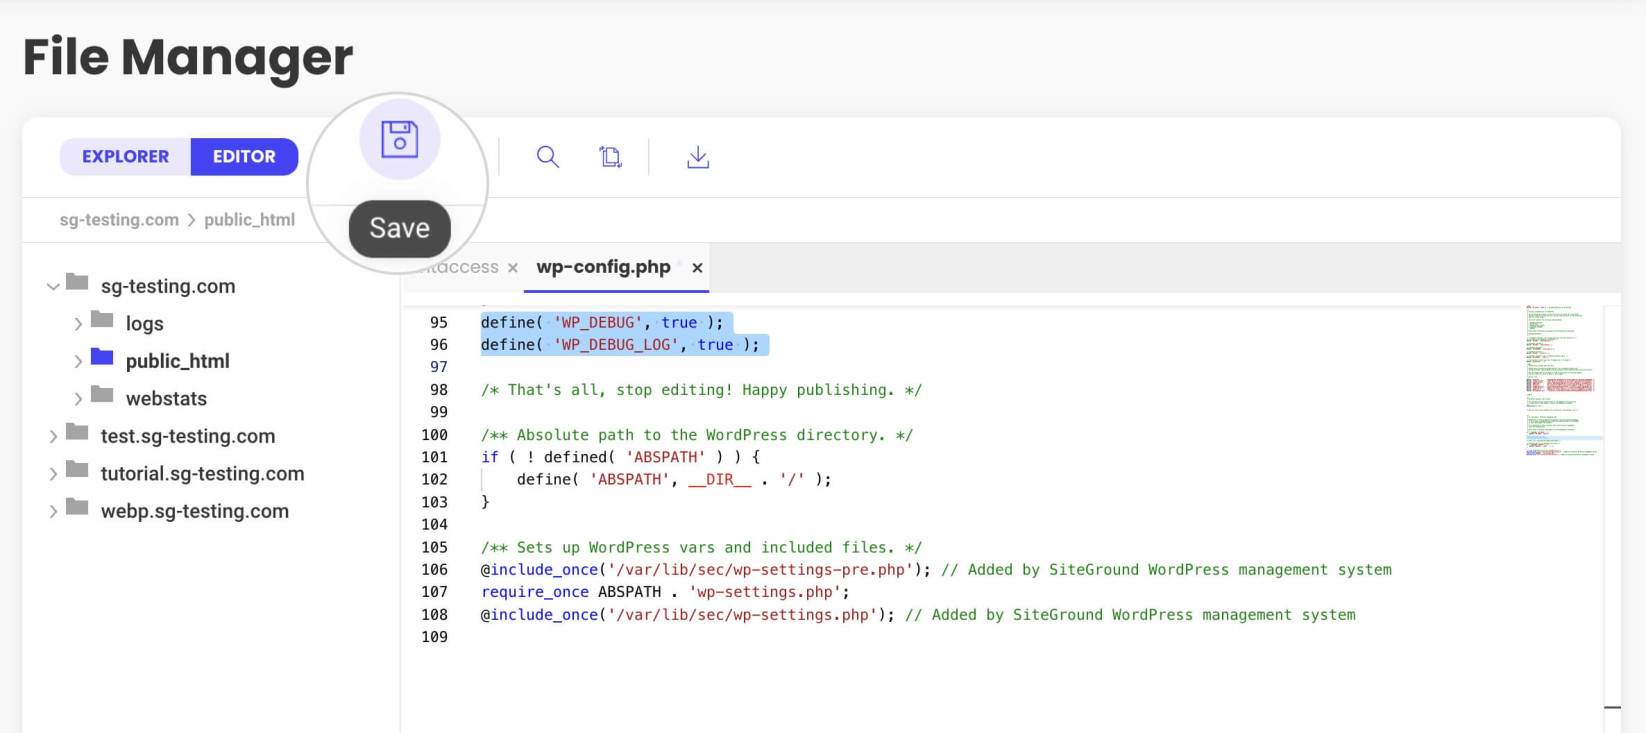
File Manager
If you’ve chosen to edit the wp-config.php file directly with a file manager in your hosting account’s control panel, you just need to confirm the changes. Press the Save button to keep the settings enabling the WordPress error logs.
The full path of the file is:
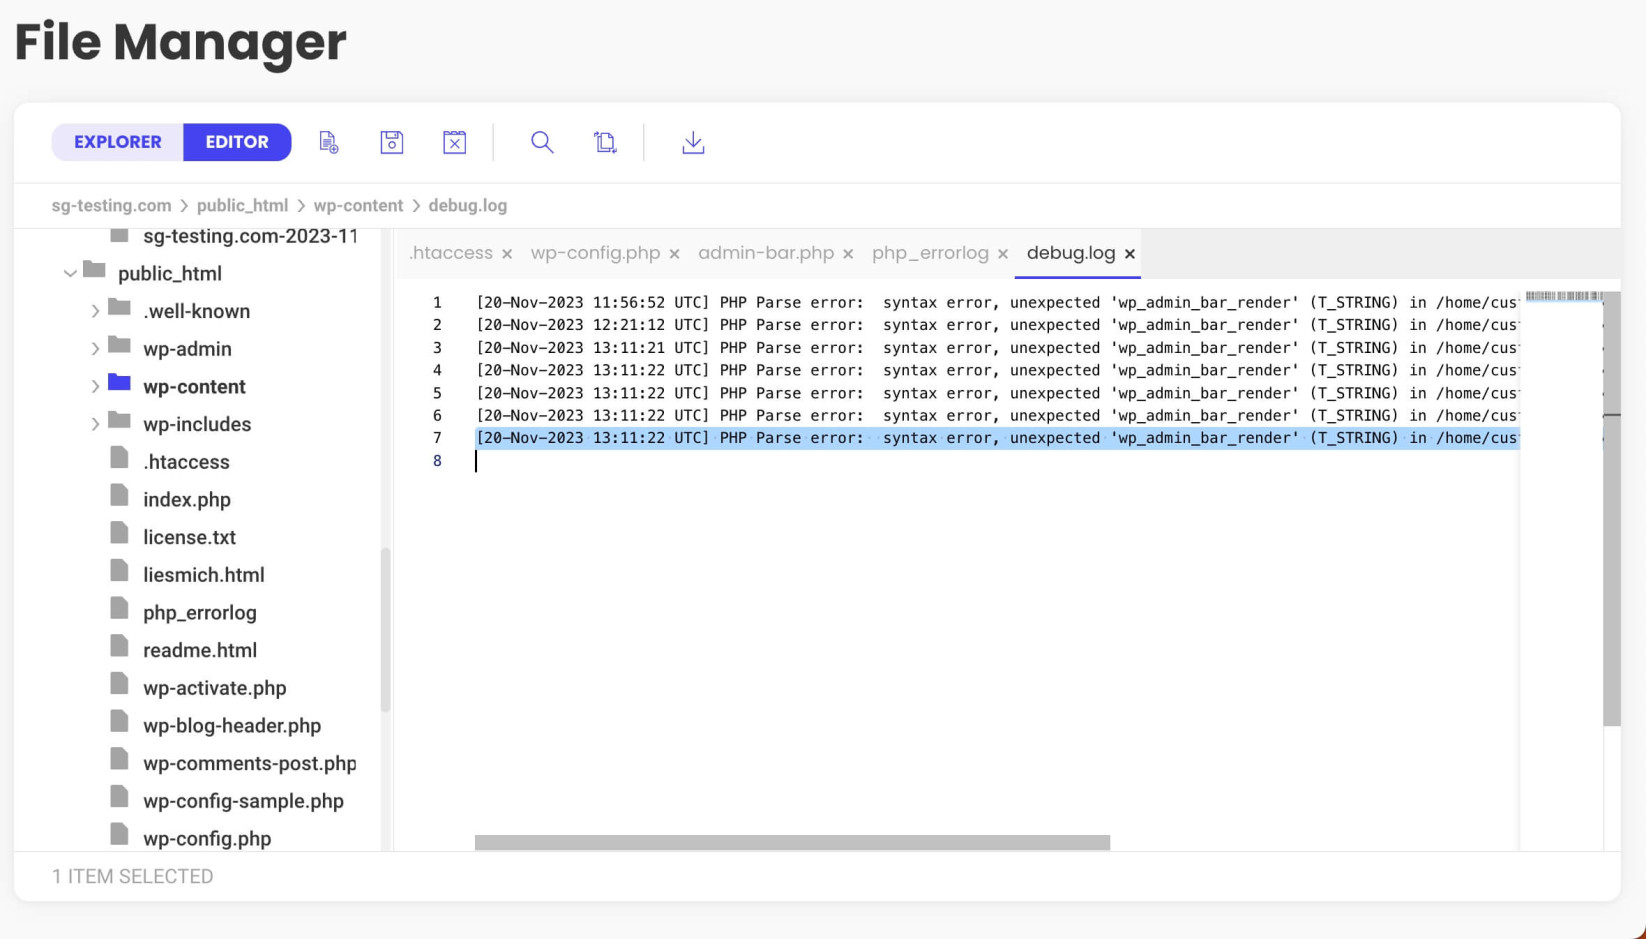
yourwebsite.com/public_html/wp-content/debug.logYou can download the file using an FTP client and open it with text editing software on your computer or simply use a file manager in your hosting panel.
SiteGround users can view the debug.log file with Site Tools > Site > File Manager by selecting it and choosing Edit.
The file keeps records of all WordPress errors that occurred on your website in chronological order.
How WordPress Error Logs Help
WordPress error logs provide detailed information about issues on your website. They record existing PHP errors, helping you quickly identify and fix problems. This can be particularly useful for diagnosing PHP code issues that are not immediately apparent. For example, those that occur in the background or only under specific circumstances.
The logs contain detailed information that is extremely useful when troubleshooting problems, compatibility issues, etc.
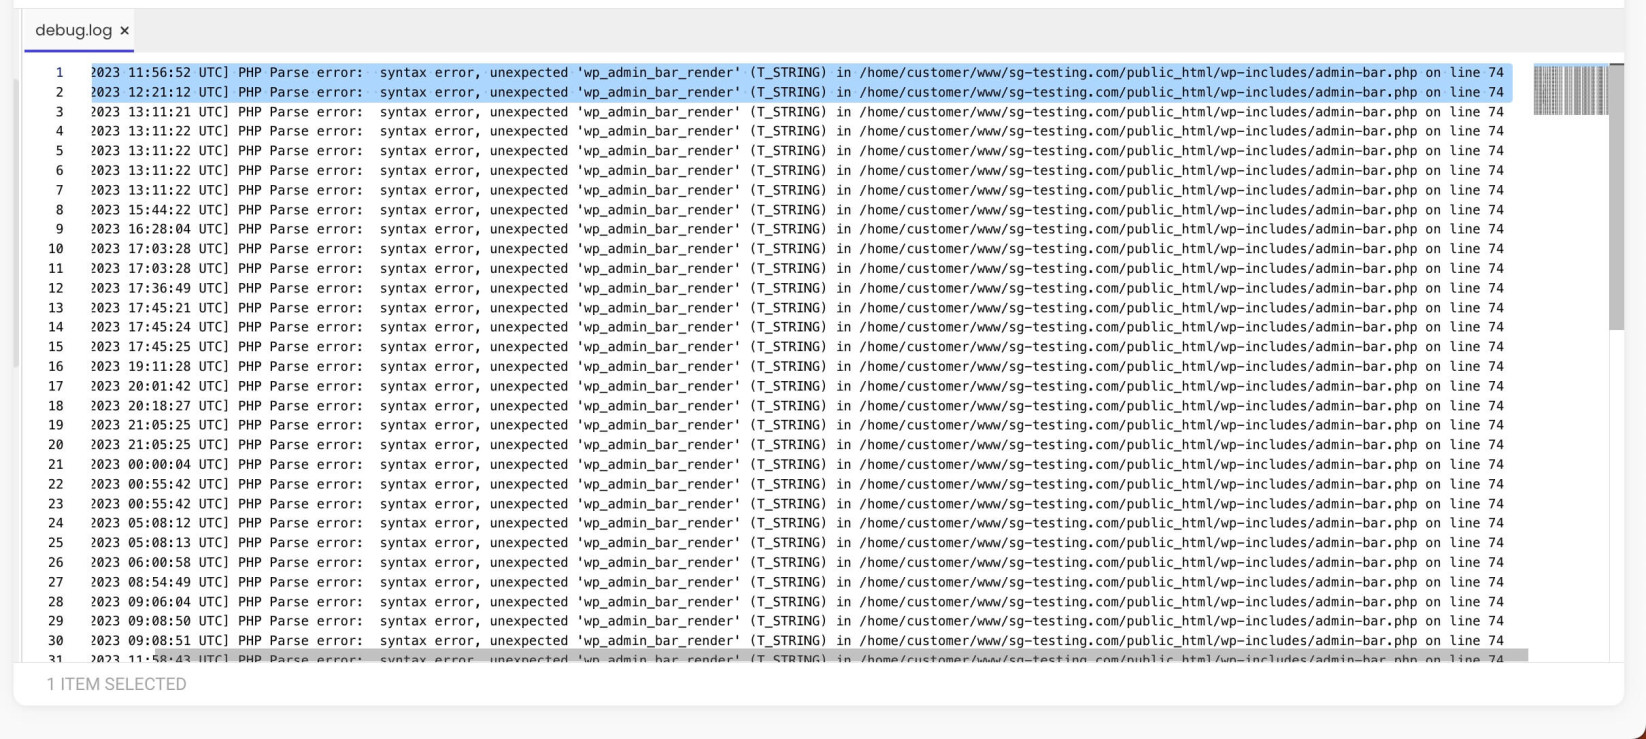
Each entry contains the following information:
- Timestamp of when the error occurred
- Description of the error
- The full path of the file containing the error
- The line in the code where the error occurs
How to Fix Errors Using WordPress Error Logs
The WordPress debug log files are indispensable in resolving problems on your website. Depending on your expertise, experience, and preferences, you can put them to use in numerous ways.
Fix errors in the WordPress files
Advanced WordPress users can use the information from the debug log to identify the file and line containing coding issues. If you are comfortable manually editing the files, you can easily find the issue and correct syntax or other problems.
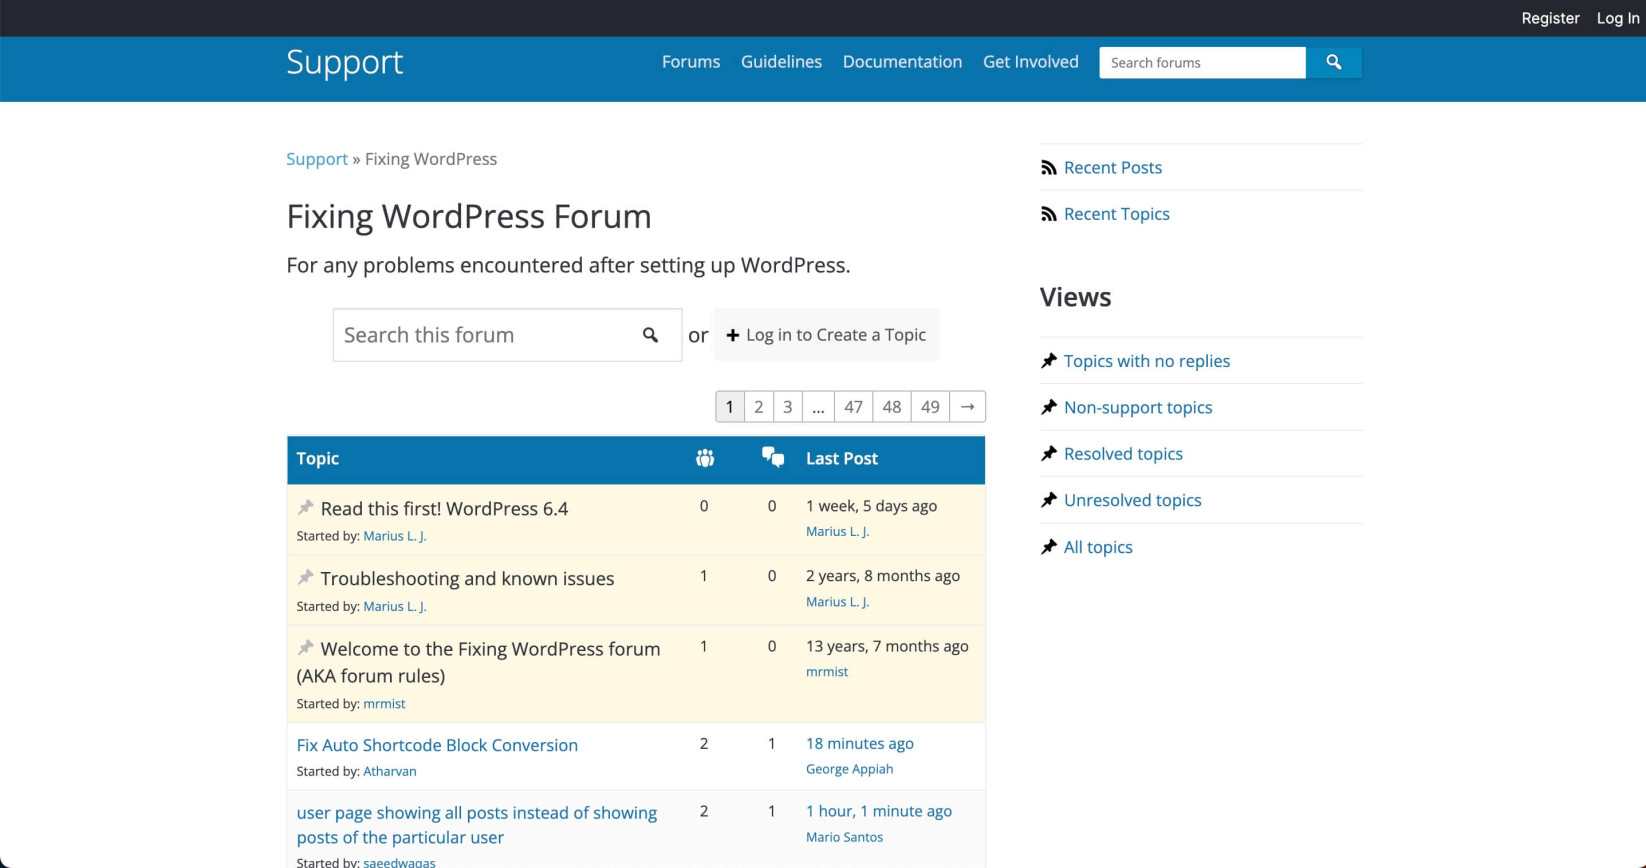
Visit WordPress Forums
Even if you are uncertain of the problem, it’s very likely that someone else has already encountered it and figured it out. The WordPress support forum is an inexhaustible source of information, enabling millions of WordPress users to share their experiences and help each other.
You can always search the forum for your problem or report the error in a new thread. If you start a new thread, you can better illustrate the issue by including the error codes from the debug logs. This will enable the WordPress experts to provide you with an accurate solution.
Restore Backups
You don’t have to fix problems by hand all the time. Sometimes, getting rid of WordPress issues is as simple as restoring a website backup.
By studying your WordPress error logs and access logs, you can decide whether a backup restore would be an appropriate solution.
Then, depending on the tools at your disposal, you can restore your website. WordPress users may use backups from WordPress plugins or a backup system in their hosting.
SiteGround users benefit from a fully automated backup system that stores daily backups for the last 30 days. To learn more, read this guide on how to use the SiteGround Website Backup Tool.

Contact a Developer
Some issues can be too overwhelming and complex to deal with by yourself. One of WordPress’ perks is that it maintains a strong community of developers specializing in all sorts of WordPress-related issues. Thus, no matter how hard the error is, you will find WordPress experts who can give you a hand.
You can find a developer from the WordPress forums, freelancer websites, etc. See what their client reviews say, and examine their services.
SiteGround users can take advantage of exclusive discounts for WordPress development services from our partners specializing in WordPress-related problems. You can find more details in your Client Area > Marketplace > Partner Perks.
Best Practices for Managing WordPress Error Logs
Undoubtedly, WordPress logs are extremely useful in diagnosing and troubleshooting critical problems on your website. However, just like any other facet of your website, WordPress error logs require diligent management. Here are some general guidelines for using WordPress error logging.
- Regularly Check Debug Logs: Make it a habit to check the error log for new error messages. Regular monitoring helps you catch issues early before they escalate.
- Understand Error Messages: When reviewing the log files, you’ll encounter various types of error messages. Understanding what they mean is crucial for effective troubleshooting. Common errors include warnings, notices, and fatal errors, each indicating different levels of severity.
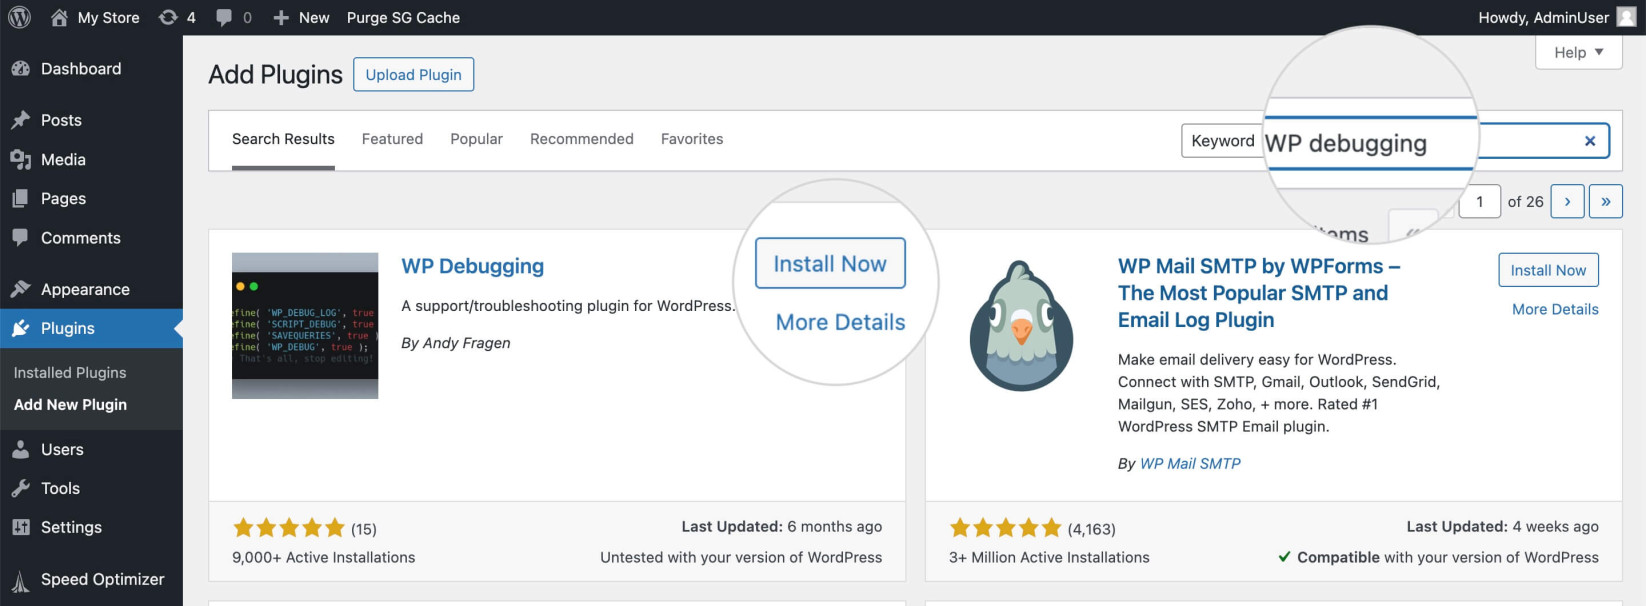
- Use WP Debugging Plugins: If you’re not comfortable editing files or want more control over logging, consider using a WP debugging plugin designed for error management. Plugins like Query Monitor or WP Log Viewer offer user-friendly interfaces for enabling the WordPress debug mode and viewing and managing WordPress error logs.
- Clean Up Logs: WordPress error logs can grow large over time, making them difficult to navigate. Not to mention, they can exhaust the web server space. Periodically clear out old entries in the WordPress error logs, especially after resolving issues. This keeps the file size manageable and makes it easier to spot a new error code.
- Secure Your Logs: WordPress logs can contain sensitive information. It’s important to restrict access to them. You can do this by setting proper file permissions or using .htaccess rules to prevent direct access to the error log file.
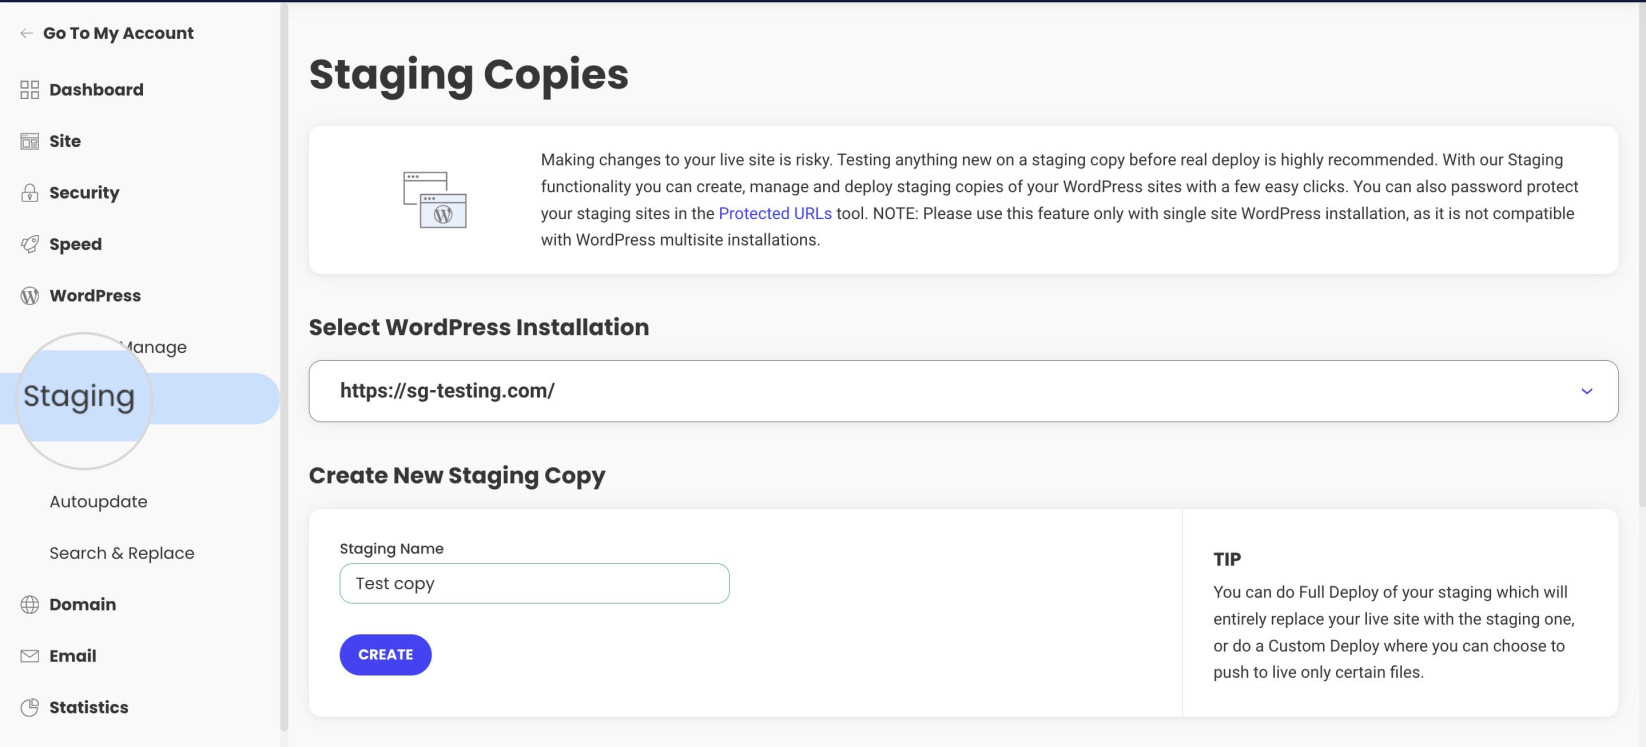
- Use Logs for Development, Not on Live Sites: Ideally, you should enable WordPress debug mode in a staging or development environment, not on a live site. The WordPress Staging tool from SiteGround can be quite helpful for this purpose.
If you still prefer to work directly on your live site, remember to disable the WordPress debug mode on your live site by setting ‘WP_DEBUG’ to false once the issues are resolved.
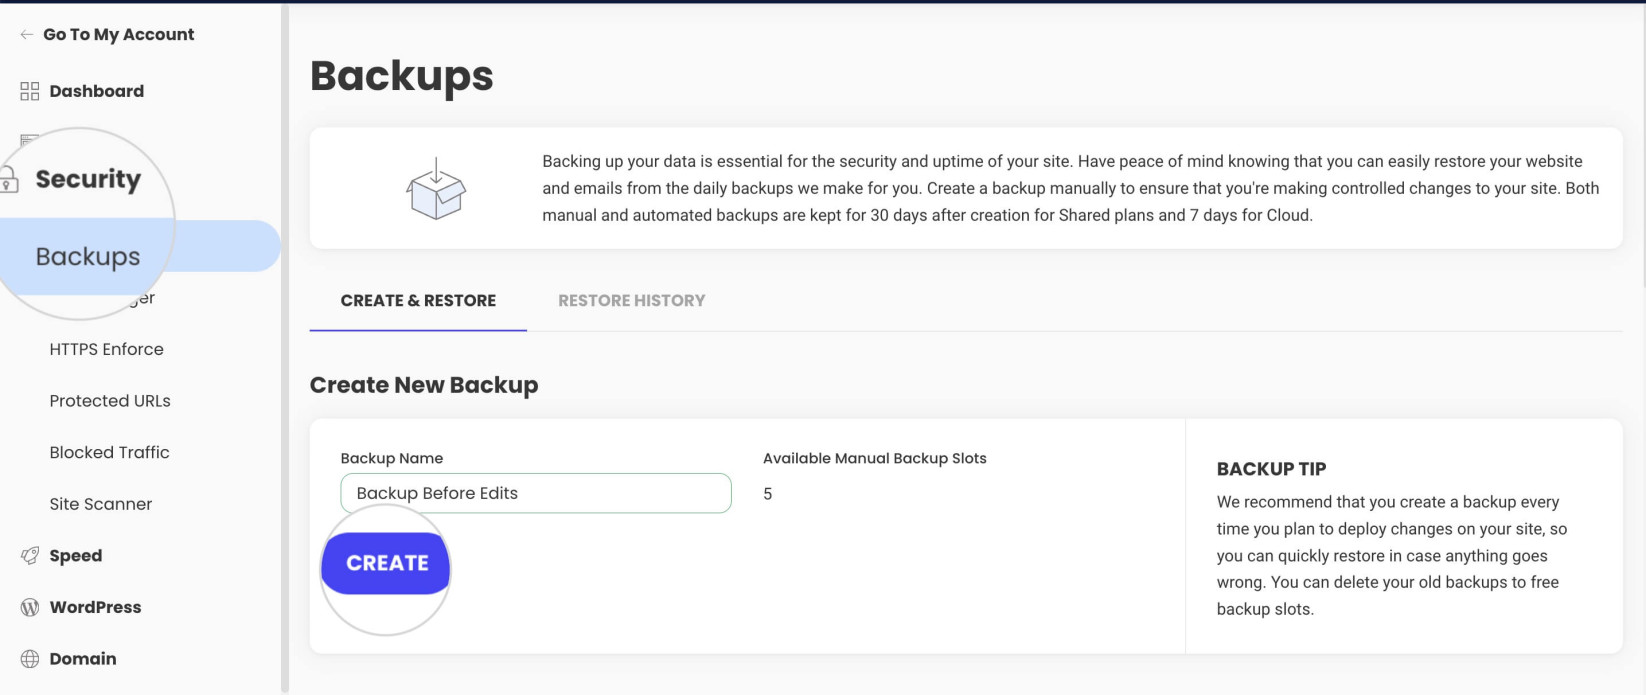
- Backup Before Troubleshooting: Before making any changes to your site based on log information, ensure you have a recent backup. This allows you to restore your site if something goes wrong when you troubleshoot errors.
Summary
Every WordPress site breaks at some point despite its owner’s best efforts. Troubleshooting and debugging website errors is a common task in a webmaster’s daily routine.
To aid you in repairing your website, WordPress features a debug mode that logs all existing errors. Learning how to enable the WordPress debug mode and access WordPress error logs is an essential skill that will help you isolate and fix problems in a short time before they damage your site’s reputation.
The purpose of this guide was to explain how to enable the WordPress debug mode, how WordPress error logs can help your website, and how to find and access them. With this new-found knowledge, we are certain that you will approach website problems with a higher level of confidence.
FAQ about WordPress Logs
How Do I Clean Up a WordPress Error Logs File?
To clean the WordPress error logs file, periodically delete it via a file manager or FTP program. The file will be regenerated automatically, recording only new errors.
You can also download the file on your local computer to keep a history of the previous errors.
Can I Delete WordPress Logs Files?
Yes, you can safely delete WordPress error logs files. These files are not critical to WordPress sites.
Is It Safe to Edit Errors in WordPress Logs Files?
No, editing files containing errors recorded in the WordPress logs file is not safe. If you are uncertain about the solution, your changes to the code can lead to further complications.
Before editing such files, take safety precautions like creating a backup of your website or editing the files on a staging copy, not the production site.