Microsoft Outlook Tutorial
Table of Contents
Automatically configure Outlook
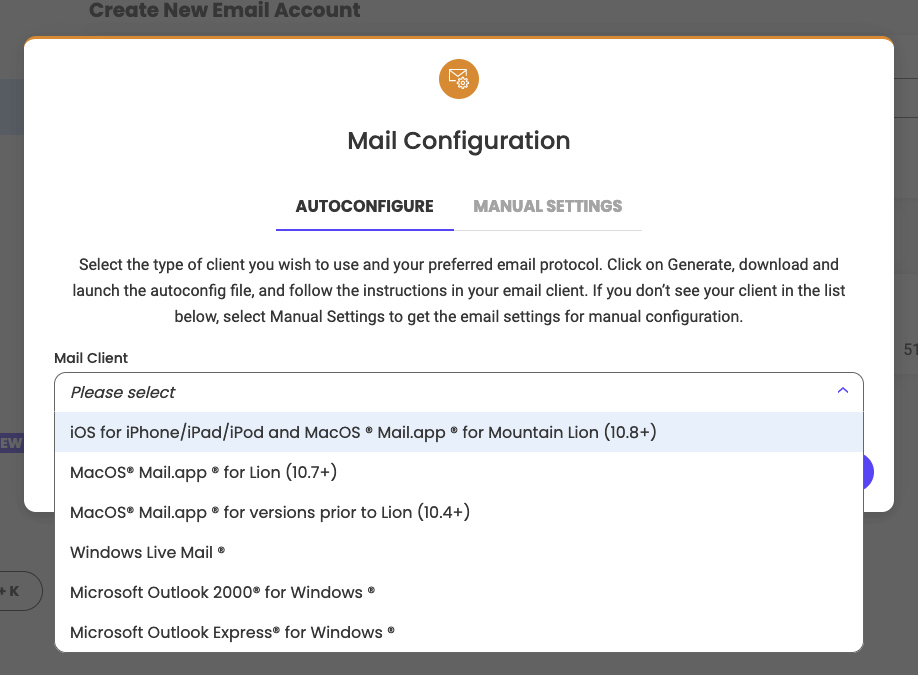
You can easily configure your email accounts in Microsoft Outlook. To get the mail settings, go to your Site Tools > Email > Account. Go to the kebab menu for the corresponding email account and click on Mail Configuration.

Select the Autoconfigure tab and from the drop-down menu, choose the correct version for your Outlook:
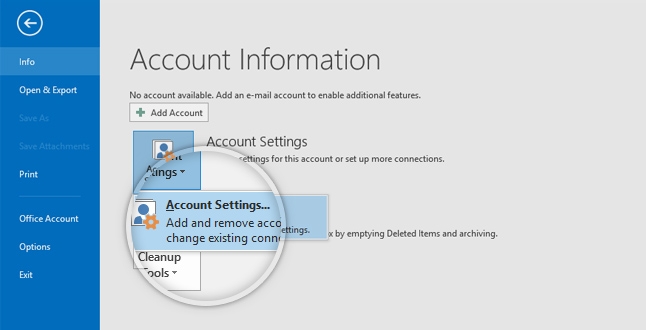
Now, to add an email account in your Microsoft Outlook, open the application and navigate to File > Account Settings > Account Settings. If you’re using the Mac version, the menu will be in Outlook > Preferences > Accounts.
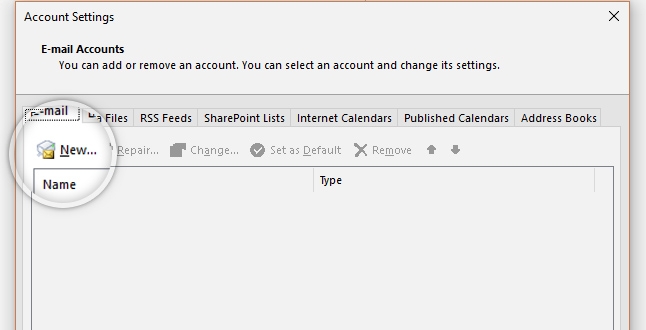
On the new window that opens click New.
Then type in your name, email address, and password in the respective fields and click Next.
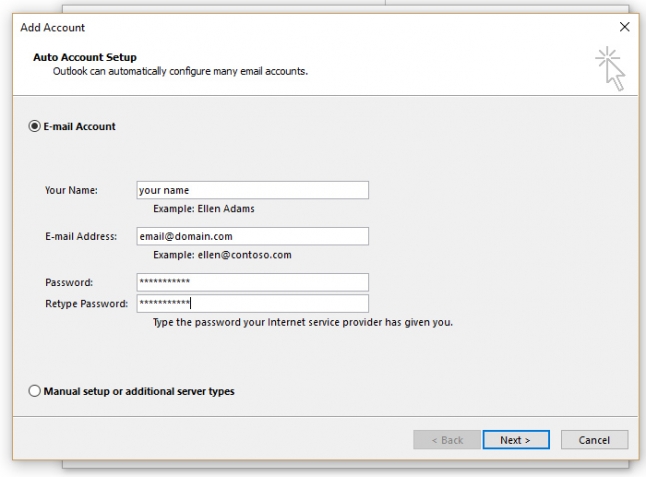
Outlook will automatically connect to the hosting server, find the automatically created settings and set them for you. You need to only click Next to add the account.
Manually configure Outlook
To add your email account to the latest version of Microsoft Outlook first click on the File menu and then on Account Settings > Account Settings. If you’re using the Mac version, the menu will be in Outlook > Preferences > Accounts.
To begin, click on New on the new window that opens.
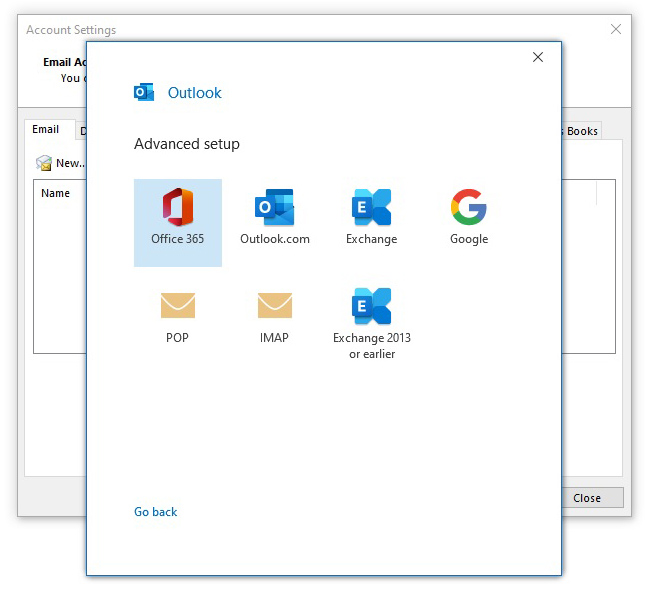
A new window will appear where you should input your full email address. Click on Advanced options and click on the checkbox for Let me set up my account manually. Then click Connect. On the next step select POP or IMAP depending on the protocol you want to use to connect. The difference between POP and IMAP is explained in this tutorial.
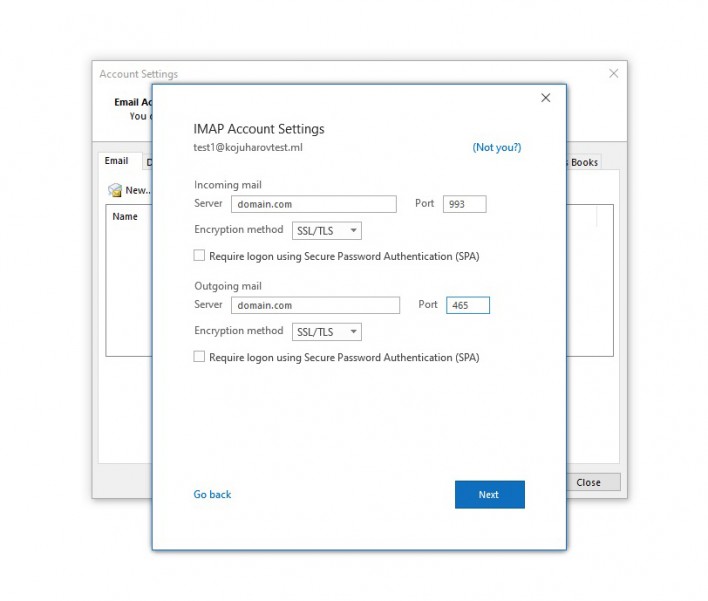
Now you need to fill in the appropriate information about your email account. Here’s a brief explanation of the different fields and what you should add in them:
- Incoming mail section
- Server: check the exact hostname to use with each of your mail accounts in your Site Tools > Email > Accounts, choose the preferred email account and go to kebab menu > Mail Configuration and select Manual Settings tab;
- Port: if you chose IMAP – use 993, if you chose POP3 – use 995;
- Encryption method: SSL/TLS;
- Require logon using Secure Password Authentication (SPA) – leave unchecked;
- Outgoing mail section
- Server: check the exact hostname to use with each of your mail accounts in your Site Tools > Email > Accounts, choose the preferred email account and go to kebab menu > Mail Configuration and select Manual Settings tab;
- Port: use 465;
- Encryption method: SSL/TLS;
- Require logon using Secure Password Authentication (SPA) – leave unchecked;
You can also find the exact settings to use with each of your mail accounts with your Outlook in your Site Tools > Email > Accounts, choose the preferred email account and go to kebab menu > Mail Configuration and select Manual Settings tab.
Click Next and input the password for your email address. After that click Connect.
If the information you provided is correct the email account should be added to your Outlook.