How to Setup Email Autoresponders Tutorial
Table of Contents
How to set up automatic email responses in Site Tools – Video Tutorial
Creating Email AutoResponders
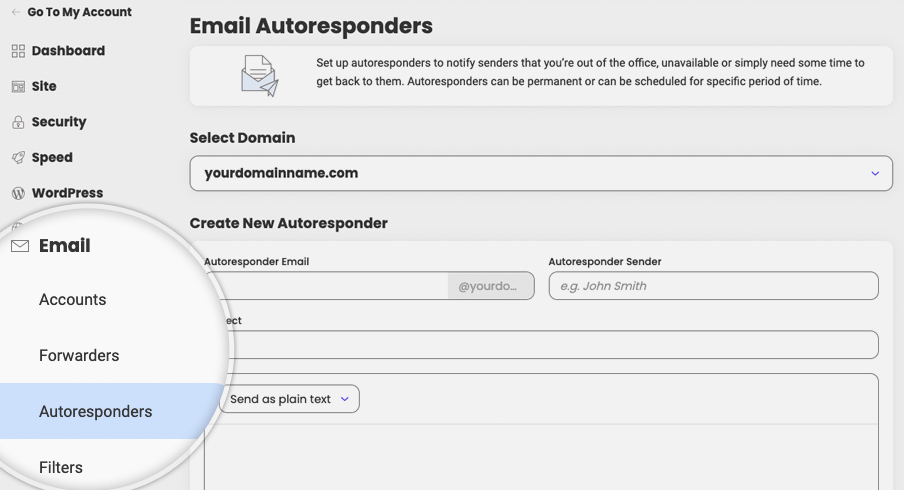
To access the autoresponders menu, go to your Site Tools > Email > Autoresponders:
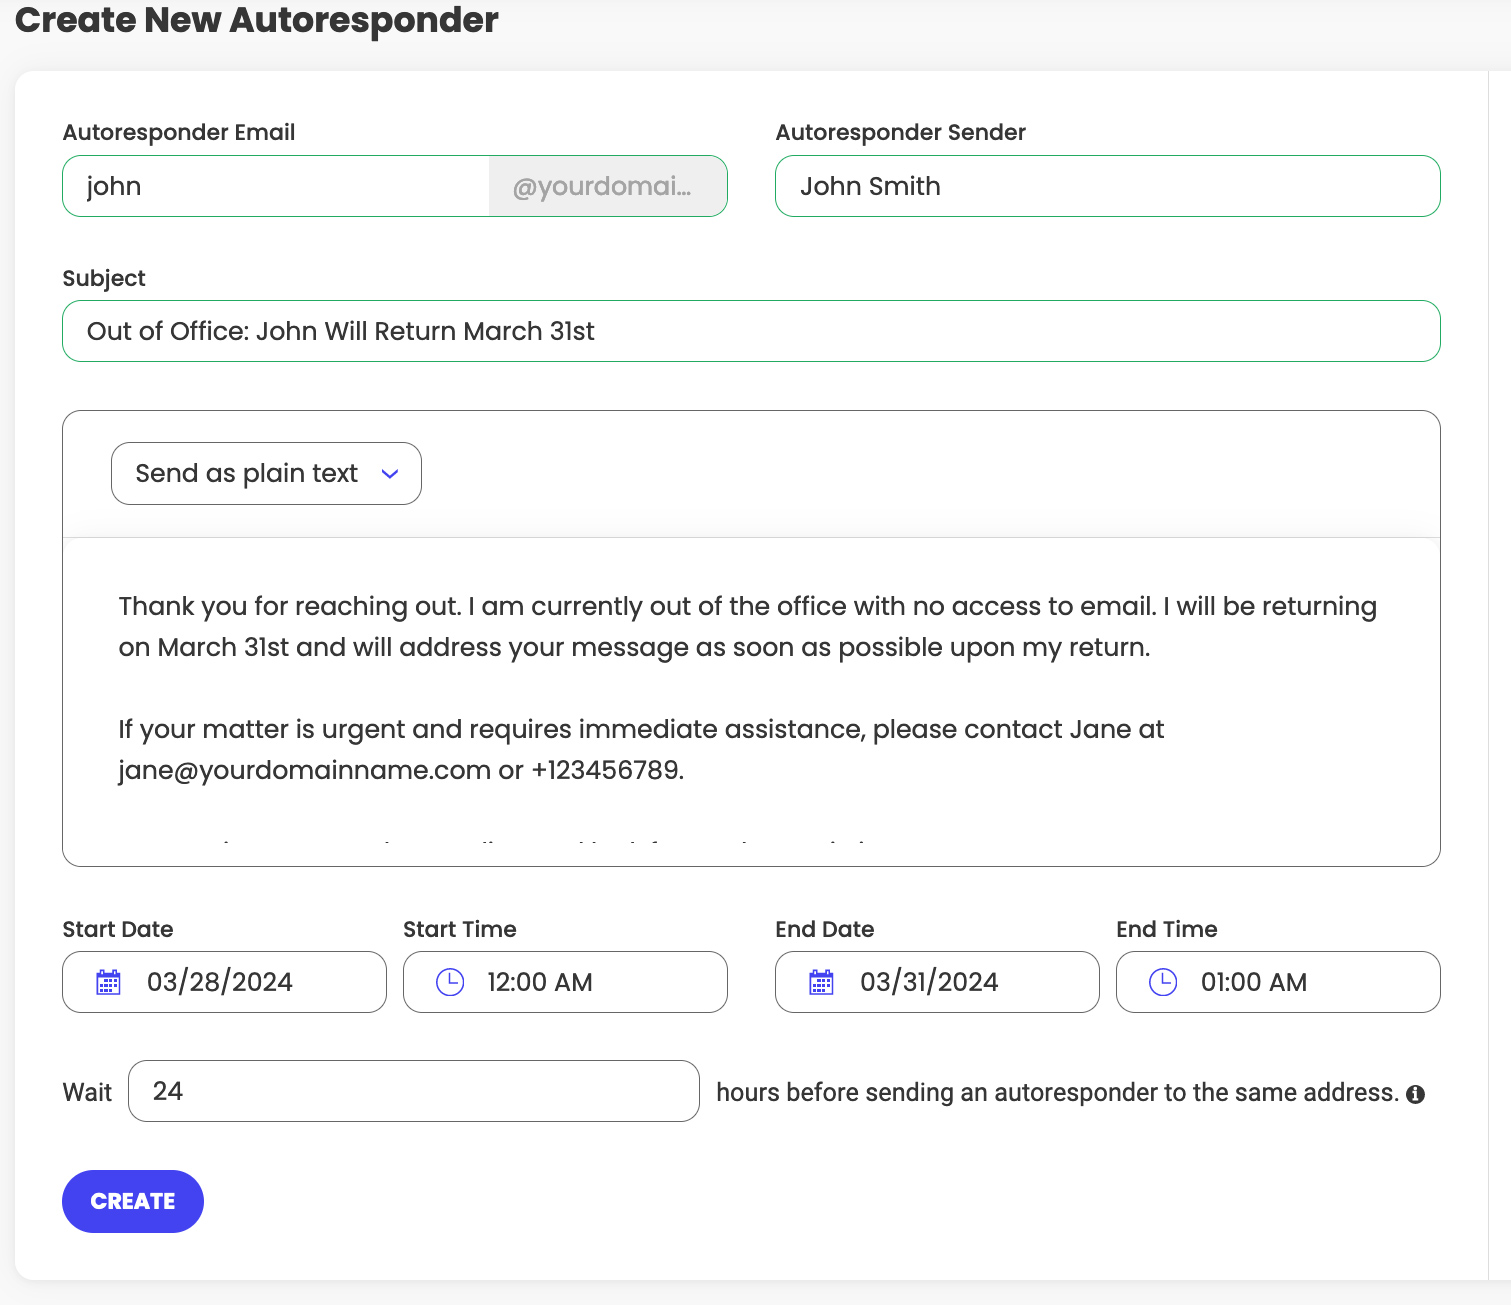
Configuring your autoresponder involves several important fields that allow you to customize when and how your automated messages are sent. Here’s a detailed breakdown of each field:
- Email Address: Enter the email address that will send the auto-responses. This is the address associated with the account you’re setting the autoresponder for.
- From Name: Specify the name that recipients will see in the ‘From’ field of the auto-response. This could be your full name, your position, or the name of your company or department.
- Subject: Create a subject line for the auto-response email. It should be clear and concise as this is the first thing the recipient sees and it should indicate that the email is an automated response.
- Body: Type the message you wish to convey to your recipients. This message should be courteous and informative, providing details such as expected return time and alternative contact options if necessary.
- Start Date (optional): Choose the date when you want the autoresponder to begin sending messages. This is useful if you’re planning ahead for a future absence. Leave empty if you want the autoresponder to take effect immediately.
- Start Time (optional): In addition to the start date, you can specify the exact time of day when the autoresponder should activate.
- End Date (optional): This field requires filling the Start Date to be provided. You can set an end date for the autoresponder. After this date, the autoresponder will no longer send automated messages.
- End Time (optional): Similar to the start time, you can set the precise time on the end date when the autoresponder should cease operation.
- Wait Interval: This setting allows you to control how frequently the autoresponder sends messages to the same email address. The first autoresponse to any new incoming email is sent immediately, ensuring that each sender receives an initial acknowledgment without delay. If the same email address sends another message, the autoresponder will only send another reply after the wait interval has passed. By setting a wait time (in hours), you prevent the autoresponder from sending repeated messages to a recipient within a given timeframe. For example, if you leave this to the default value of 24 hours, the same recipient will not receive another auto-response if they send another email within 24 hours of their first message.
By carefully configuring each of these fields, you can tailor your autoresponder to match your specific needs and schedule. This ensures that your automated replies are sent only when necessary and appropriate, maintaining professionalism and clear communication with your contacts.
Click on Create to create the autoresponder.
Deleting Email Auto Responders
There may come a time when you need to delete an autoresponder, perhaps because it’s no longer needed or you wish to create a new one with different information.
To remove an autoresponder go to your Site Tools -> Email -> Autoresponders. Under the Manage Autoresponders section you will see all autoresponders you have created regardless if they are active or not. Click the Delete button for the one you do not need any more and confirm the deletion in the popup that appears.
