Create Drupal Articles and Pages
Table of Contents
Drupal has two main content types – Articles and Pages. Articles are time-sensitive pieces of content like blog posts, news, press releases, etc. On the other hand, Pages are more static type of content like your About us or Contact pages for example. In this tutorial, we will show you how to create each one of them.
Create a Page and assign it to the Menu
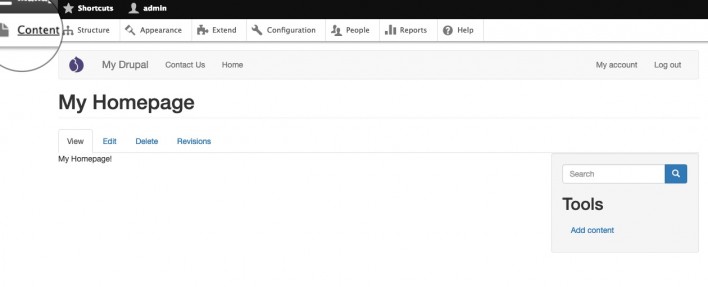
For the purpose of this tutorial, we will create a new page and assign it to the top menu of our Drupal website. To begin, log in with your admin account and click on the Content tab.
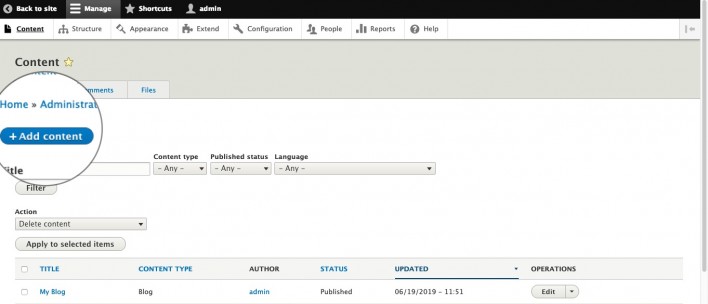
This would redirect you to the Content management page. To add a new Page or article, click on Add content.
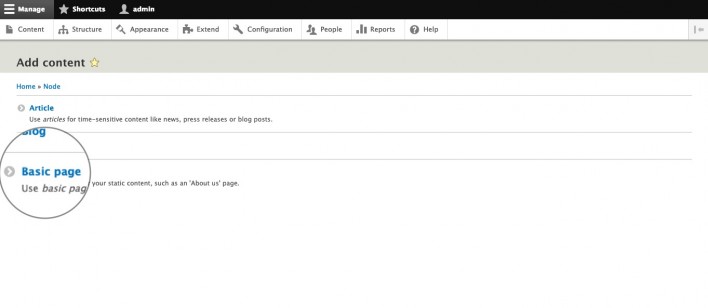
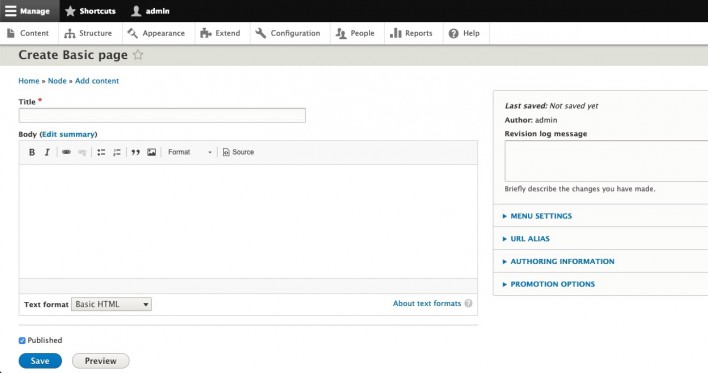
Next, select the Basic page type of content.
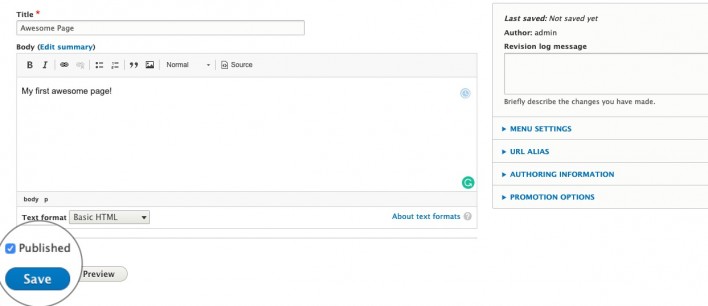
The default Drupal content editor will appear. Add a Title for your page and of course – its content. For the purpose of this tutorial, we will make a page named Awesome page and paste some content to serve as sample data.
Now, let’s add that page to the top navigation. Open the Menu settings tab on the right and place a tick on Provide a menu link. Once you do that, you will be able to select a Menu link title, Description, Parent item and Weight for that menu. Menu items with lower weight are displayed before links with higher weight.
Finally, click on Save at the bottom of the page to publish your new Awesome page. That’s it, you can now navigate to your website and see the content you’ve just created!
Create an Article
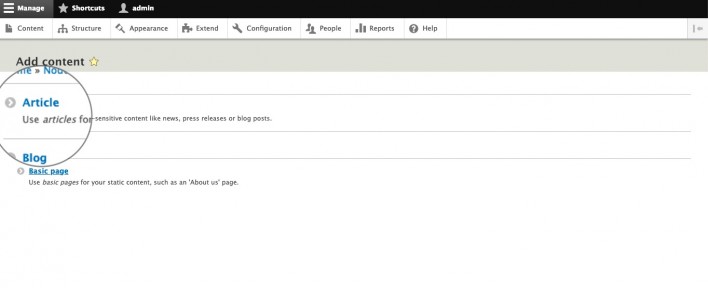
Creating Articles is very similar to the process of creating a page. Again, start by clicking on the Content tab > Add content but this time select Article instead of the Basic page.
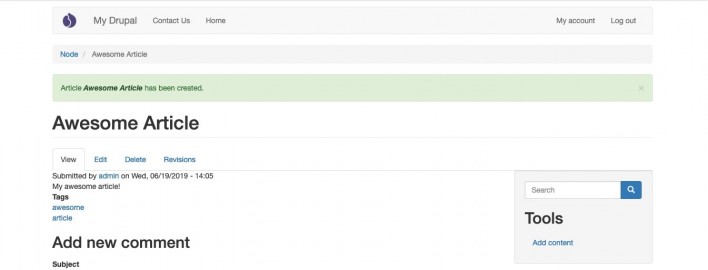
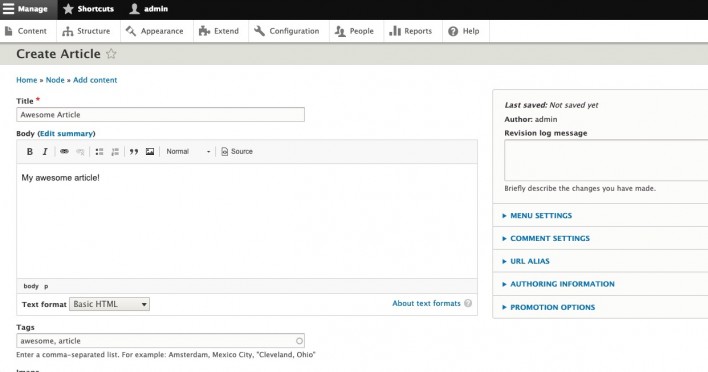
Now, you can add your content. Note, that there’s a Tags field. In it, you can add different tags that describe your new publication. You can separate different tags by commas. They are a useful way to organize your articles but remember to keep using the same tags for posts on the same topic. The idea is that you will be able to filter out content based on your tags later on in the development of your site.
Once you enter your content, click on the Promotion options tab on the right. You will see the different ways you can use to publish your new article. You can put it on your front page or even stick it on top of all your articles. By default, your articles will be published on your main page and the newer ones will be on top. For the purpose of this tutorial, let’s leave it that way.

Finally, press Save to publish your page. That’s it, you can now open your site and see the newly added article!