Install and Use Panels for Drupal
The Panels project for Drupal allows you to easily create customized layouts for your website and then use its drag-and-drop functionality to rearrange the layout, add and remove content and different page elements to it. You can download it from the official Panels project page.
You can install Panels as any other Drupal module. For detailed information on how to do that, refer to our tutorial on how to install Drupal modules.
However, there are few required modules that you need to install and enable before you can add Panels – the cTools module and the Page_manager.
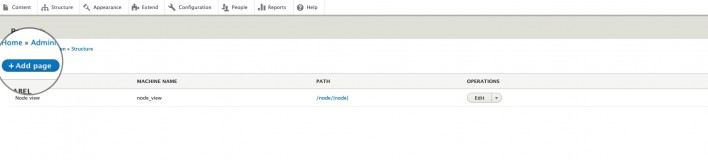
Once you have Panels installed, start creating a new type of content. Once you go to Structure > Pages and click on Add a page.
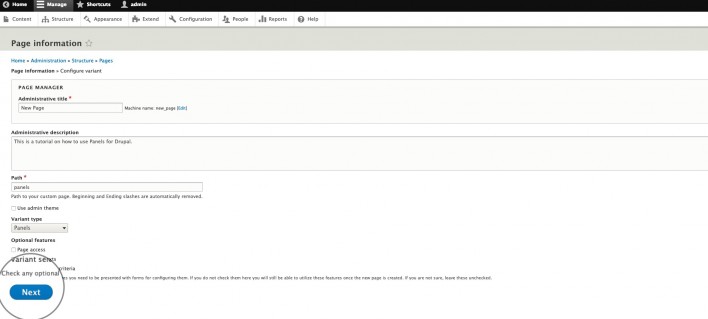
One the next page choose an Administrative title, create a Path for your panel and make sure that Variant type is set to Panels. Click Next when you’re finished.
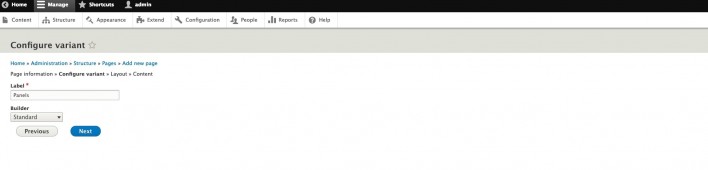
Now choose a Label for your Panel layout and click Next when you are finished.
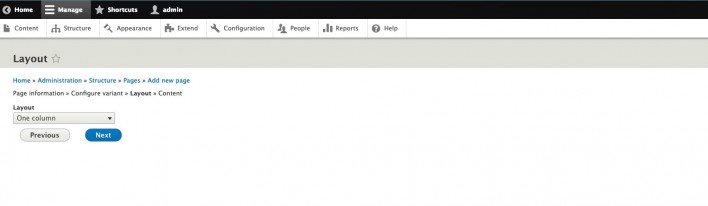
Now you should choose a Layout for your panel. Press Next when ready.
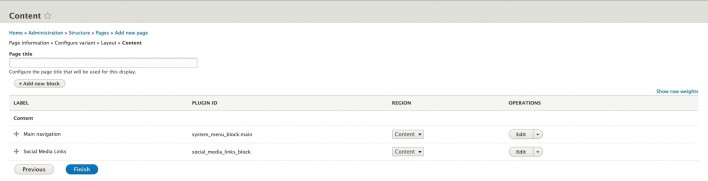
On this page you should enter a Page Title. Now you can add blocks to your layout using Add new block to select the blocks you want to place in the panels for display. When you have placed the desired blocks, click on Finish.
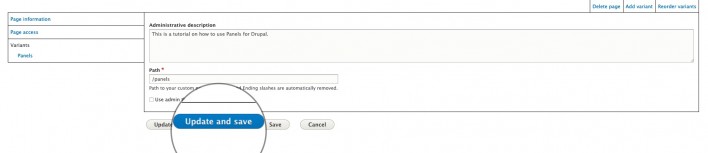
You will be redirected to another page where you should click on Update and Save.
When ready, you may map the Panel to your menu via Structure > Menus > Edit next to the desired menu > Add link.

That’s it! The panel will be visible on your website now.
