Drupal Upgrade
Table of Contents
This tutorial explains in simple steps how to upgrade your Drupal application to the latest stable version.
Upgrade Using Composer
To upgrade your Drupal web site using Composer, you should first log in your account via SSH. Detailed instructions on how to use SSH can be found in our SSH tutorial. After you log in to your account via SSH, navigate to the Drupal installation’s home folder.
Then run the following command below to check for available updates:
composer update --dry-runThis will show you all available updates for your Drupal version, including the modules and themes.
Now, to update only the Drupal core, without any modules or themes – use this command:
composer update drupal/core-recommended --with-dependenciesTo update Drupal all dependencies use:
composer update drupal/core 'drupal/core-*' --with-all-dependenciesThat’s it! You have successfully updated your Drupal 9 using Drush.
Upgrade Drupal Manually
The first step is to visit the official Drupal site and download the latest stable release of Drupal.
Once the download is complete, you need to upload the new version of Drupal on your website. The safest way to do that is to create a new folder in the public_html directory of your website, e.g. drupal_new, and upload the new version package there. Then you need to extract the archive file through Site Tools > Site > File Manager.
Once you have the new version uploaded in the drupal_new folder, copy the necessary files and folders from the old version of Drupal to the new one.
Here we assume that you already have a full backup of your live Drupal site. Navigate to the backup folder of your Drupal site and copy the .htaccess file and all directories except core/ and vendor/, and upload them into the drupal_new folder by overwriting any existing files.
Now, go to your Site Tools > Site > File manager > public_html > drupal_new/sites/default folder and open the settings.php file for editing.
Edit the following line:
$settings['update_free_access'] = FALSE;
and change it to:
$settings['update_free_access'] = TRUE;
The changes above will allow you to run the update.php script from your browser.
The next step is to update the database of your Drupal. Go to http://yourdomainname.com/drupal_new/update.php where yourdomainname.com is a variable that should be replaced with your actual domain name. The screen should look similar to the one below.
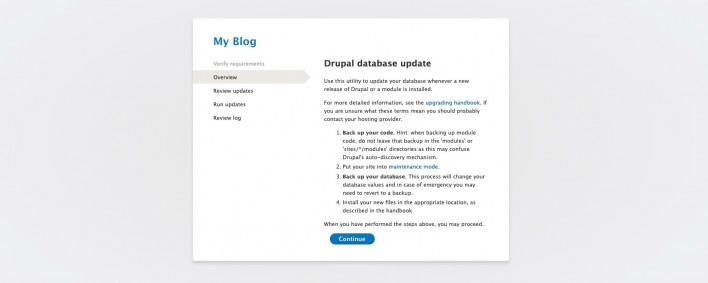
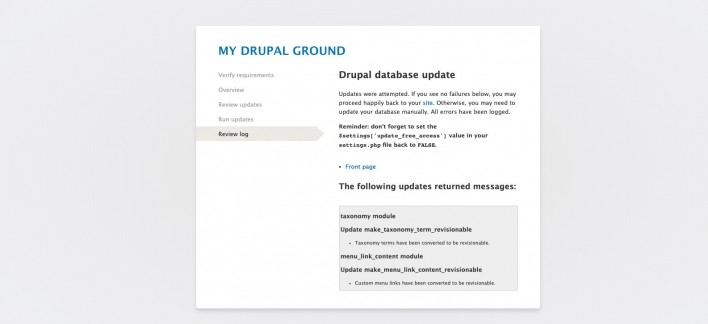
Click on the Continue button and follow the instructions. A list with the pending updates will be published. You can check them. Click on the Apply pending updates button to perform the update. If there are no errors reported, your Drupal application is successfully upgraded.
Open a new window in your browser and point it to the site you have just upgraded. As we performed the upgrade in a test folder drupal_new you should point your browser to http://yourdomainname.com/drupal_new/
Once you are sure that the upgraded version of the site works properly you can delete or rename the old folder to drupal_old and rename drupal_new to drupal in order to put the new version live.
That’s it! You have successfully updated your Drupal 8 website!